• Home
  • Suggest A Craft
  • DIY Newsletter

Bath and Body

Soap Making, Oils and Recipes

  • About CraftGossip
  • Our Network
    • Bath & Body Crafts
    • Candle Making Ideas
    • Crochet Ideas
    • Cross Stitch
    • Edible Crafts
    • Felting Patterns
    • Glass Art
    • Home & Garden Ideas
    • Indie Crafts
    • Jewelry Making
    • Kids Crafts
    • Knitting Patterns
    • Lesson Plans
    • Needlework
    • Party Ideas
    • Polymer Clay
    • Quilting Ideas
    • Recycled Crafts
    • Scrapbooking
    • Sewing Patterns
    • Card Making
    • DIY Weddings
    • Not Craft Ideas
  • Giveaways
  • Roundups
  • Store
  • Search

10 Festive Christmas Peppermint Body Recipes

November 21, 2017 by Shellie Wilson Leave a Comment

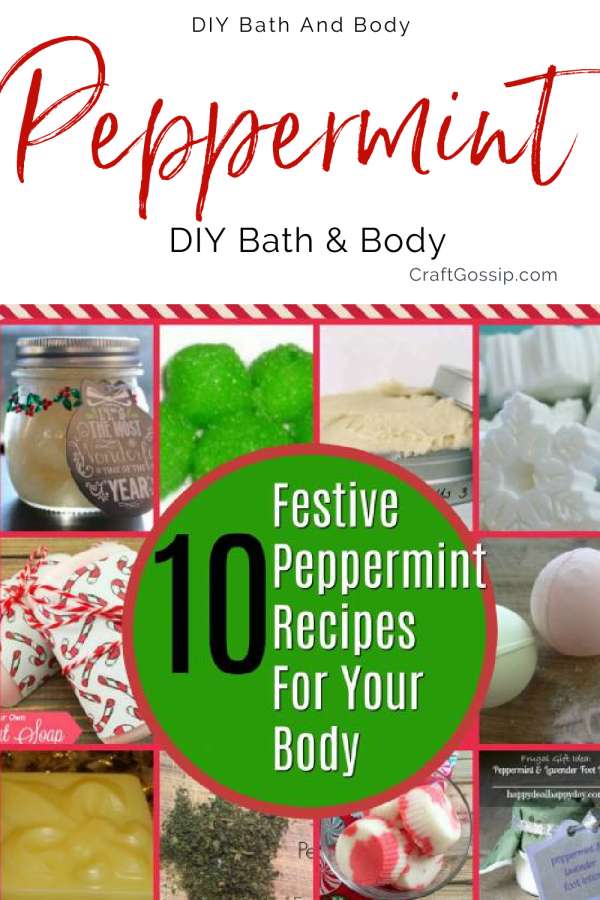
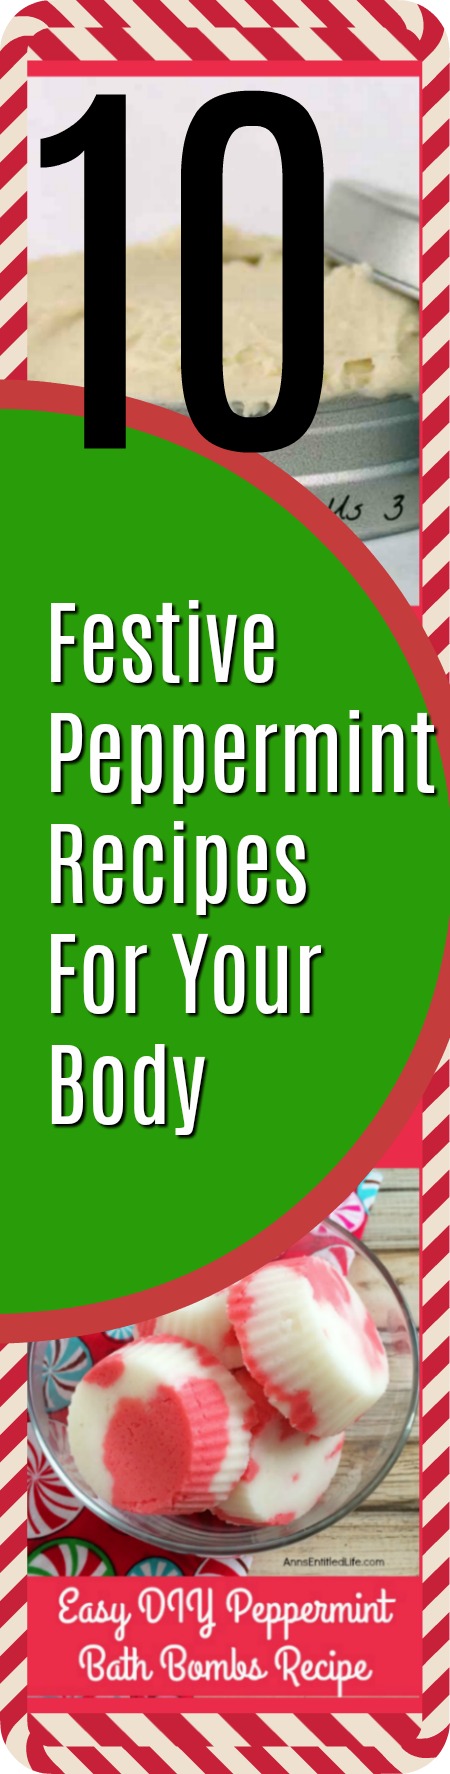
These DIY Peppermint recipes are delightfully festive. I love the smell of peppermint at Christmas time. Peppermint is refreshing and a natural anti-bacterial agent. These recipes all contain Peppermint essential oil or peppermint leaves.  Why not create a jar of Peppermint scrub and gift it to friends and family for a Handmade Christmas gift. All of these Peppermint recipes are nourishing and smell amazing too.

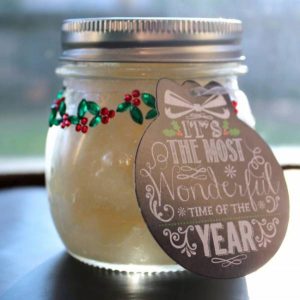
Peppermint is such a classic Christmas scent that can be used all year around. I have to say the easiest thing t make at Christmas time is scented bath salts. You can literally make KG of this bath salt up in no time at all.  I used to own a bath salt business and would make up 5 kg bags in less than 10 mins.  A few tricks I am not willing to share but one of them is using a tossing action, grabbing a strong bag for your ingredients, and toss it to mix through the fragrant or essential oils.

Peppermint Body Scrub

DIY Peppermint Soap

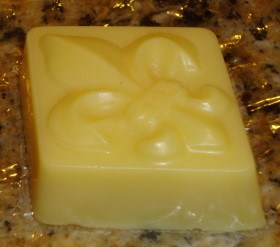
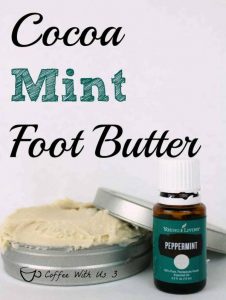
Peppermint Foot Bar – This DIY Bar melts as it touches your warm skin.

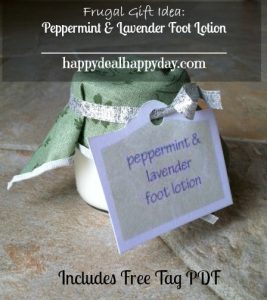
DIY Peppermint and Lavender Foot Lotion

DIY Peppermint Candy For your Body.

Peppermint Bath Bombs

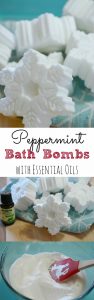
Peppermint Bath Bombs shaped like Snowflakes

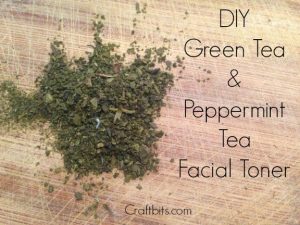
Green Tea And Peppermint Facial Toner

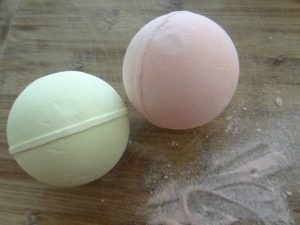
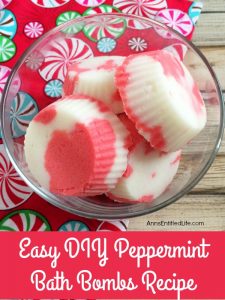
Easy to Make DIY Peppermint Bath Bombs

Cocoa Mint Foot

Peppermint oil is a versatile essential oil that blends well with many other essential oils. Some of the most popular essential oils that blend well with peppermint oil include:

Eucalyptus oil: This oil has a fresh, minty aroma that complements the cool, refreshing scent of peppermint. Together, they create a powerful blend that can help to clear the airways and ease respiratory issues.

Lavender oil: Lavender oil has a sweet, floral aroma that can help to balance out the sharp, minty scent of peppermint. This combination is great for promoting relaxation and easing stress and anxiety.

Lemon oil: Lemon oil has a bright, citrusy scent that pairs well with the refreshing aroma of peppermint. This blend can help to uplift your mood and promote mental clarity.

Rosemary oil: Rosemary oil has an herbal, woody aroma that can complement the cool, minty scent of peppermint. This blend is great for promoting focus and concentration.

Tea tree oil: Tea tree oil has a strong, medicinal scent that can help to enhance the cooling and refreshing properties of peppermint. Together, they create a powerful blend that can help to soothe skin irritation and promote healthy skin.

When blending essential oils, it’s important to use caution and follow proper dilution guidelines to avoid irritation or sensitization. It’s also a good idea to do a patch test before using any new essential oil blend on your skin.


Related Posts:

  • 10 DIY Bath And Body Recipes For When You Have A Headache
  • DIY Stylish Eucalyptus Leaf Shower Steamer Ring
«
»

Have you read?

DIY Summer Nail Designs You’ll Want to Rock All Season Long

As soon as the weather heats up and the days get longer, I swap out my moody nail colors for something a little more fun, flirty, and full of sunshine. Summer is the perfect excuse to get playful with your nail designs — and this year, I’ve been experimenting at home to find a few favorites that are both easy to paint and seriously cute.

I’ve rounded up three of my go-to summer nail looks that you can totally do yourself, even if you’re not a pro. These are the styles I keep coming back to because they’re fun, eye-catching, and honestly — they just make you feel good. Whether you’re heading to the beach, a backyard BBQ, or just want to admire your nails while holding an iced latte, these are the ones to try.

Let’s dive in!

Sunset Ombre Nails

This is hands down one of the most satisfying nail designs you can do yourself. The colors melt into each other like a beach sunset, and the end result looks way more advanced than it really is.

You’ll Need:

  • A base coat

  • Three polishes (I use pink, orange, and yellow)

  • A makeup sponge

  • Top coat

  • Nail polish remover for cleanup

How to Do It:

  1. Start with a clear base coat to protect your nails.

  2. Paint horizontal stripes of your 3 colors directly onto the makeup sponge.

  3. Dab the sponge gently onto your nail, reapplying polish to the sponge as needed. Tap until the gradient blends.

  4. Clean up any excess polish around your cuticle.

  5. Apply a top coat to smooth the colors and add shine.

This design is one of those that looks good even when it’s a little messy — the top coat really pulls it all together.


 Tropical Palm Silhouettes

If you want vacation vibes without actually going anywhere, this one’s for you. The pastel base paired with simple black palm trees gives it that dreamy island feel.

You’ll Need:

  • A light pastel base polish or soft gradient background

  • Black nail art pen or thin brush with black polish

  • Top coat

How to Do It:

  1. Paint your nails with a soft pastel or ombre base.

  2. Once dry, draw a thin curved line for the palm trunk.

  3. From the top of the trunk, add small lines that fan out to mimic palm fronds.

  4. Let everything dry completely before adding a glossy top coat.

Even if your palm trees aren’t perfect, they still look awesome. Think of it like nail doodling — just more tropical.


 Watermelon French Tips

This design is so cheerful, I smile every time I see it. It’s a fruity twist on a French manicure and it’s perfect for pool parties or picnics.

You’ll Need:

  • Pink polish for the base

  • Green and white for the rind

  • Black polish for the seeds (use a dotting tool or toothpick)

  • Base and top coat

How to Do It:

  1. Paint your entire nail a soft pink.

  2. Add a green curved tip at the top edge (like a French tip).

  3. Under the green, paint a very thin white stripe.

  4. Add small black dots on the pink section to create seeds.

  5. Seal it all in with your favorite top coat.

This one is such a crowd-pleaser and looks adorable on both long and short nails.

Whether you try one of these or rotate through all three this summer, I hope these nail designs add a little color and creativity to your routine. They’re simple enough to do at home but still look like you spent time (and money!) at the salon.

Let me know which one you’re trying first — and don’t forget to tag us if you share your summer nail look!

Leave a Reply

Your email address will not be published. Required fields are marked *

RSS More Articles

  • DMC Woodland Moth Tapestry Pattern – Earthy, Elegant, and Surprisingly Relaxing
  • Learn about Comoros for Kids
  • Classic Blocks Revisited Quilt Pattern Book
  • Discover Your Unique Style with Second Chances by Macy Eleni
  • Luxe Leopard Headband- Free Crochet Pattern
  • 20+ FREE Beach Vacation Digital Stamps
  • DIY Bandana Bib Tutorial: A Stylish and Practical Accessory for Little Ones
  • Designer Spotlight: Flossy Fox Shop
  • 6 FREE Summer Printable Journaling Cards
  • Bucket Hat Knitting Patterns

Categories

Bath And Body bath bombs Body Scrubs & Lotions Colds & Flu CraftGossip Exclusive Craft Inspirations detox DIY Recipes And Tutorials DIY Tutorials and Patterns Essential Oils And Aromatherapy facials Hair Care Makeup & Beauty Melt & Pour Soap Packaging Product Reviews Soapmaking Recipes, Products And Tutorials Style Me Quick Supply Store Specials & Discounts Wellbeing

Copyright © 2025 · CraftGossip | Start Here | Contact Us | Link to Us | Your Editors | Privacy and affiliate policy