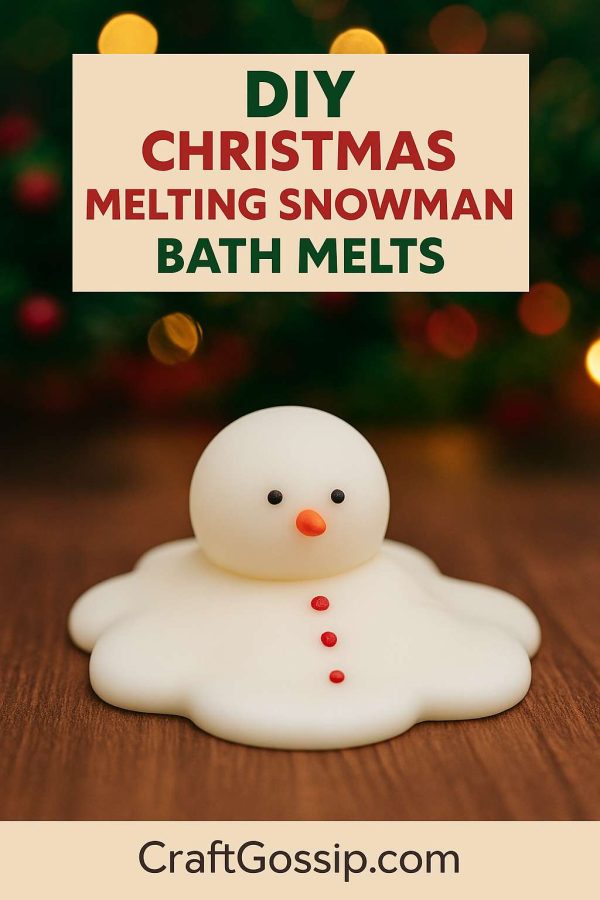
If you’re dreaming of a white Christmas but also craving a little me-time in the tub, this project is going to be your new winter favourite. These Christmas Melting Snowman Bath Melts are a festive, fun, and fantastically nourishing treat for your skin—and they’re almost too cute to use. Almost.
Shaped like little snowmen using this adorable silicone mold, these bath melts slowly dissolve in warm bathwater, releasing rich butters and oils that moisturize dry winter skin. And yes, they’re totally inspired by LUSH’s iconic seasonal bath treats—but made with natural, pantry-friendly ingredients and none of the retail price tag.
Perfect for holiday gifting, crafting with kids or grandkids, or simply spoiling yourself after a long day of shopping, wrapping, or…let’s be honest…just surviving December.
Why You’ll Love Making Your Own Bath Melts
There’s something really comforting about crafting your own body products. It’s part self-care, part creative play, and part practical magic. And during the holidays—when everything feels a bit extra—it’s nice to take a quiet afternoon to melt, pour, and mix something soothing and handmade.
These DIY snowman bath melts tick all the boxes:
- Budget-friendly (you can make 10–12 for the price of one store-bought melt)
- Customisable with your choice of oils, scents, and sparkle
- Easy to make with just a few ingredients
- Perfect for gifting to friends, teachers, neighbours, or yourself
What You’ll Need to Make Christmas Melting Snowman Bath Melts
Ingredients:
- 1/2 cup cocoa butter (or substitute with shea butter for a softer texture)
- Black mica gel , orange mica and small paintbrush for detail on snowman
- 1/4 cup solid coconut oil (unrefined smells more tropical, refined is more neutral)
- 2 tablespoons sweet almond oil, jojoba oil, or grapeseed oil
- 10–15 drops peppermint essential oil (for that candy cane tingle)
- Other options: vanilla, cinnamon leaf, frankincense, or a festive blend
- Optional: a pinch of mica powder (silver, white, or frosty blue), biodegradable glitter, or dried botanicals like crushed peppermint or chamomile –
Tools:
- Snowman silicone mold (this one is perfect)
- Heatproof bowl and saucepan (for double boiler method)
- Mini jug or pipette for easy pouring
- Airtight container or cellophane bags for storage and gifting
Step-by-Step Instructions for Homemade Bath Melts
Step 1: Gently Melt Your Base
In a heatproof bowl over a saucepan of simmering water, melt the cocoa butter and coconut oil. Stir gently until fully liquefied. Don’t let it boil—slow and steady keeps the oils from losing their goodness.
Crafty tip: This is a great time to pop on a Christmas movie in the background and make a little kitchen magic.
Step 2: Add Oils & Scent
Remove the bowl from the heat and stir in your sweet almond oil and essential oils. Add your colourants or sparkle if using—just a touch is all you need.
Step 3: Pour Into Molds
Carefully pour your warm mixture into your snowman mold. If you’re making these with kids, let them decorate the surface with a sprinkle of glitter or even tiny dried flowers.
Step 4: Chill and Set
Place the mold in the fridge (or freezer if you’re in a rush) and let the snowmen set for 1–2 hours until completely firm.
Painting the detail onto the snowman –
Use a fine bristle paint brush and mica gel to add the detail to the snowmans arms, buttons and nose.
Step 5: Pop and Package
Gently pop your snowmen out of the mold and admire your handiwork. Store them in a cool, dry place in an airtight container, or wrap in bags with ribbon and tags for sweet handmade gifts.
How to Use Your Bath Melt
Drop one snowman into a warm running bath and watch him slowly melt away, releasing silky butters that coat your skin in moisture. There’s no fizz or foam—just pure, lush hydration and a gentle festive scent.
Warning: Your tub may become slippery, so always take care when getting out.
Optional Add-Ons & Variations
If you love to tinker, here are a few fun ways to personalise your snowmen:
- Swirl in natural colour using beetroot powder, turmeric, or matcha (for an earthy green snowman!)
- Add dried herbs or petals like calendula, peppermint, or lavender
- Use silicone mini gingerbread, star or tree molds to mix up your shapes
- Create a layered effect: pour half white, let it set a bit, then top with a coloured or scented layer
Make It a Gift Set:
Pair your bath melts with a few other handmade goodies for a gorgeous spa-style gift basket:
- Peppermint foot soak
- Vanilla lip scrub
- Mini soy candle
- A handwritten “Relax & Unwind” tag
Perfect for teachers, in-laws, Secret Santa, or that friend who never takes time for herself.
FAQs
How long do homemade bath melts last?
Stored in a cool, dry place, they’ll last up to 6 months. Avoid warm or sunny spots—they melt easily!
Can I ship these?
Only if you’re confident they’ll stay cool in transit. Otherwise, they’re better suited to local gifting or Christmas Eve treat baskets.
Can I use fragrance oil instead of essential oil?
Yes! Just ensure it’s skin-safe and phthalate-free.
There’s something so nostalgic about a melting snowman—and turning that childhood image into a warm, comforting bath treat just feels… right. These homemade Christmas bath melts are an easy, affordable way to sprinkle a little magic into the holidays, and they’re sure to bring a smile to anyone lucky enough to receive one.
So brew a cuppa, pull out your holiday playlist, and let your kitchen become a festive little apothecary. Your skin (and your gift list) will thank you.

Leave a Reply