• Home
  • Suggest A DIY
  • DIY Newsletter

Bath and Body

Soap Making, Oils and Recipes

  • About CraftGossip
  • Our Network
    • Bath & Body Crafts
    • Candle Making Ideas
    • Crochet Ideas
    • Cross Stitch
    • Edible Crafts
    • Felting Patterns
    • Glass Art
    • Home & Garden Ideas
    • Indie Crafts
    • Jewelry Making
    • Kids Crafts
    • Knitting Patterns
    • Lesson Plans
    • Needlework
    • Party Ideas
    • Polymer Clay
    • Quilting Ideas
    • Recycled Crafts
    • Scrapbooking
    • Sewing Patterns
    • Card Making
    • DIY Weddings
    • Not Craft Ideas
  • Giveaways
  • Roundups
  • Store
  • Search

DIY Gift: Rose Bath Salts

January 29, 2019 by Shellie Wilson Leave a Comment

These easy DIY bath salts make great DIY gifts, especially for Valentine’s day. Rose bath salts look and smell amazing, and only take 5-10 minutes to make. Epsom salts used in this DIY are very healthy for us because they provide our bodies with magnesium, reduce stress, muscle pain and swelling.


Epsom salts and Magnesium salts are not quite the same things. Epsom Salts Is Magnesium Sulphate and Magnesium flakes are Magnesium Chloride.

Looking for more magnesium and Epsom salt recipes? Check out these DIY recipes

Epsom salt lotion

Epsom Salt Lip Balm

Epsom Salt Facial 

When it comes to relaxation, few things can compare to the experience of soaking in a hot bath with homemade bath salts. Taking a luxurious bath with homemade bath salts can be a great way to relax after a long day and give yourself some much needed self care. Here are just some of the benefits of taking a hot bath with bath salts:

1. Improved Circulation: Soaking in a hot bath with bath salts helps to promote improved circulation throughout the body. The heat helps to open up the blood vessels, allowing blood and oxygen to move more freely throughout the body. This improved circulation helps to reduce inflammation, improve energy levels, and reduce muscle soreness.

2. Stress Relief: Taking a hot bath with bath salts is a great way to reduce stress and relax. The heat and salts help to relax the muscles and reduce tension, while the soothing aroma of the salts can help to calm the mind. This can be especially helpful in reducing stress levels and improving sleep quality.

3. Improved Skin Health: Bath salts are great for improving skin health. The minerals and nutrients present in the salts help to draw out impurities and toxins from the skin, while the warm water helps to open up the pores, allowing for a deeper cleansing. This can help to improve skin tone, reduce breakouts, and give skin a healthy, glowing look.

4. Detoxification: Soaking in a hot bath with bath salts is a great way to detoxify the body. The heat helps to improve circulation and flush out toxins, while the salts help to draw out impurities and heavy metals from the body. This can help to reduce inflammation, improve energy levels, and boost overall health.

Overall, taking a hot bath with homemade bath salts can be a great way to relax after a long day and give yourself some much needed self care. From improved circulation to stress relief and improved skin health, the benefits of bathing with bath salts are numerous. So why not give it a try and see what a luxurious soak in a hot bath with homemade bath salts can do for you?
«
»

Have you read?

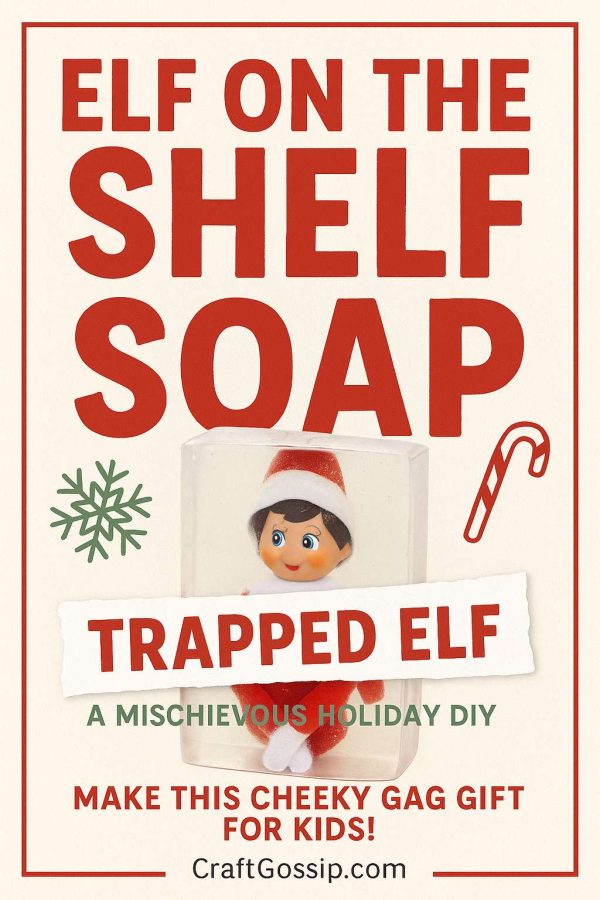
Elf on the Shelf Soap – A Trapped Elf Gag Gift Kids Will Love

Move over bath bombs—this Christmas, there’s a new mischief-maker in the tub.

If you’re looking for a clever twist on traditional Elf on the Shelf antics or a laugh-out-loud handmade gift, this Elf on the Shelf Soap is a crowd-pleaser. Featuring a mini elf trapped inside a block of clear soap, it’s festive, funny, and totally unexpected. Whether you use it as a prank, a stocking stuffer, or a bath-time surprise, this project will have kids and grownups giggling all the way to Christmas.

Plus, it’s easier than it looks! This DIY uses melt-and-pour soap, which means no lye, no curing, and no mess—just melt, pour, and giggle.

 Why You’ll Love This Holiday Soap DIY

  • Kid-safe and skin-friendly – uses gentle melt-and-pour base 
  • No special tools needed – beginner friendly 
  • Great gag gift or stocking stuffer 
  • Customizable scent and color 
  • Perfect for Elf on the Shelf setups or party favors 

Whether you’re a seasoned crafter or just dipping your toes into holiday DIYs, this soap project is as fun to make as it is to use.

 Supplies You’ll Need

To make one (or more) “Trapped Elf” soap bars, gather these easy-to-find materials:

 ½ lb clear melt-and-pour soap base


 1 mini Elf on the Shelf figurine (around 3–4” tall)


 Microwave-safe measuring jug or double boiler


 Soap fragrance oil (peppermint, sugar cookie, or vanilla – optional)


 Soap-safe colorant (green, red, or clear tint)


 Silicone soap mold (rectangle preferred)


 Rubbing alcohol in a spray bottle (to eliminate bubbles)


 Soap glitter (optional but cute!)


 Craft stick or spoon for stirring


Note: Avoid fabric elves unless they’re completely sealed in plastic wrap! The soap base can soak into fabric and cause mildew.

 Step-by-Step Tutorial: How to Make Elf in a Soap Block

Step 1: Melt the Soap Base

Chop the clear melt-and-pour soap into small chunks.
Place in a microwave-safe measuring cup and heat in 20-second intervals, stirring until fully melted and smooth.

Step 2: Add Fragrance & Color

Add a few drops of skin-safe soap fragrance oil and stir.
If using colorant, choose a light hand—too much tint will make your elf hard to see inside the soap.

Step 3: Pour the First Layer

Pour about ¼ inch of the soap mixture into the base of your silicone mold.
Spritz with rubbing alcohol to pop surface bubbles. Let it cool just enough to form a film (2–3 minutes).

Step 4: Place the Elf

Carefully press your elf upright or seated into the semi-set layer.
Now slowly pour more melted soap around the elf, being cautious not to melt any parts of it.
Leave the elf’s hat poking out—or fully encase it for a “totally trapped” effect!

Step 5: Final Spritz & Cool

Spray the top of the soap with rubbing alcohol to pop any final bubbles.
Let the soap set at room temperature for about 1 hour or chill in the fridge for 15–20 minutes.

Step 6: Unmold & Wrap

Once solid, gently unmold your soap bar.
Wrap in plastic wrap or shrink wrap to keep it fresh and prevent surface sweating.

 Fun Ways to Gift or Display

This mischievous soap makes the perfect stocking stuffer, Secret Santa gift, or Elf on the Shelf surprise. Here are some ideas to level up the presentation:

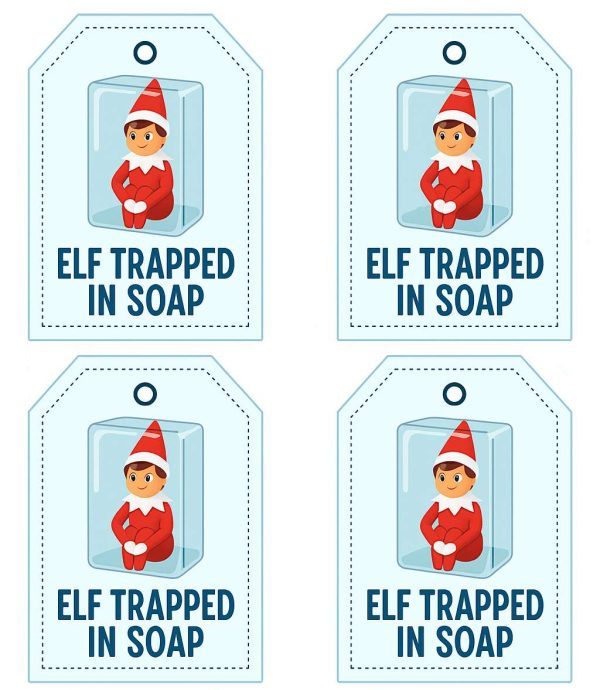
  • Pair with a mini washcloth and gift tag that says:
    “Naughty Elf Soap – He Got What He Deserved!”
    or
    “Free the Elf… One Wash at a Time!” 
  • Place it next to your Elf’s usual spot for a hilarious bathroom setup 
  • Add to Christmas Eve boxes as a silly self-care treat 
  • Create a batch for teacher gifts or classroom party favors


Leave a Reply

Your email address will not be published. Required fields are marked *

RSS feed: More Articles More Articles

  • Freebie: Printable Christmas Eve magic pillowcase poem
  • Free Crochet Snowflake Ornament Pattern
  • Pine Tree Quilt Blocks for Nordic-Style Christmas Quilts
  • 10 Dishcloth Knitting Patterns for Christmas Gifts That Will Actually Get Used
  • 10 Quiet Thanksgiving Table Activities for Kids Using Simple Supplies
  • DIY Thanksgiving Tea Bag Tree with Twinings Orange and Cinnamon Spice
  • Elf on the Shelf Soap – A Trapped Elf Gag Gift Kids Will Love
  • 10 Snowflake Christmas Winter Scrapbook Page Layout Ideas
  • Free Christmas Gonk Cross Stitch Pattern With DMC Colour Key and Tutorial
  • DIY Leaf Imprint Pottery Soap Dish – Green Glazed Botanical Design

Copyright © 2026 · CraftGossip | Start Here | Contact Us | Link to Us | Your Editors | Privacy and affiliate policy