• Home
  • Suggest A DIY
  • DIY Newsletter

Bath and Body

Soap Making, Oils and Recipes

  • About CraftGossip
  • Our Network
    • Bath & Body Crafts
    • Candle Making Ideas
    • Crochet Ideas
    • Cross Stitch
    • Edible Crafts
    • Felting Patterns
    • Glass Art
    • Home & Garden Ideas
    • Indie Crafts
    • Jewelry Making
    • Kids Crafts
    • Knitting Patterns
    • Lesson Plans
    • Needlework
    • Party Ideas
    • Polymer Clay
    • Quilting Ideas
    • Recycled Crafts
    • Scrapbooking
    • Sewing Patterns
    • Card Making
    • DIY Weddings
    • Not Craft Ideas
  • Giveaways
  • Roundups
  • Store
  • Search

DIY Natural Head Lice Treatment Recipe

September 21, 2019 by Shellie Wilson Leave a Comment

Popular lice treatments contain pesticides that can be harmful to children, especially after continued use. Some of those toxic chemicals include lindane and pyrethrins.

Instructions on head lice treatment shampoos suggest a second treatment seven days later. Head lice eggs take a week to hatch, so the treatment is a precautionary measure if any eggs are remaining.

Combing the nits out can be a huge chore because they’re so small, sticky and hard to see. If you add conditioner to dry hair and comb them out, it makes it a lot easier.

Traditional chemical head lice treatments are not only toxic but head lice have built up a resistance to them in many cases.

Alternative Head Lice Treatments:

Tea tree oil is an oil from Australia used to treat a variety of things such as athlete’s foot and dandruff. It’s also used for acne and as an antiseptic.

To treat lice, you can mix 1 teaspoon of tea tree oil to 4 tablespoons of carrier oil to rub in your scalp and leave for ten minutes before rinsing. Another method is to add 10 to 20 drops to shampoo and do the same. The first recipe was taken from a study found on NoSpray.org.

Oregano, Lavender and Cinnamon leaf are essential oils that may work as well as synthetic pesticides. Some natural remedies use a combination of several of them. Oregano is very strong, so it’s best to dilute it with a carrier oil.

Other Information about Head Lice:

Head lice are small insects that live on human heads. They can grow to be about the size of a sesame seed.

Head lice are not something only dirty people get. In fact, lice prefer clean hair.

Shaving the head bald is something people sometimes choose to do as a last resort, but it’s not necessary. It can be emotionally damaging and traumatizing, especially for someone who has always had long hair.

Even oils such as those found in mayonnaise, petroleum gel or coconut oil are used as a smothering method for lice. People can cover their hair with it and leave in a shower cap for several hours. It takes time to rinse this out, so some use grease cutting dish soap instead of shampoo.

Prevention:

Head lice do not jump but you can get it through head to head contact. Discourage sharing combs, headphones, bedding or hats since eggs could be on them and they live for a couple days outside a host.

If you do hear about head lice going around, it wouldn’t hurt to use a few drops of tea tree oil in your shampoo as a precautionary measure. Leave it in for several minutes before rinsing.

They can’t stand the taste, it’s non-toxic and it works as lice repellent. Some could still have a sensitivity, reaction or allergy to it so test a small patch of skin before using.
«
»

Have you read?

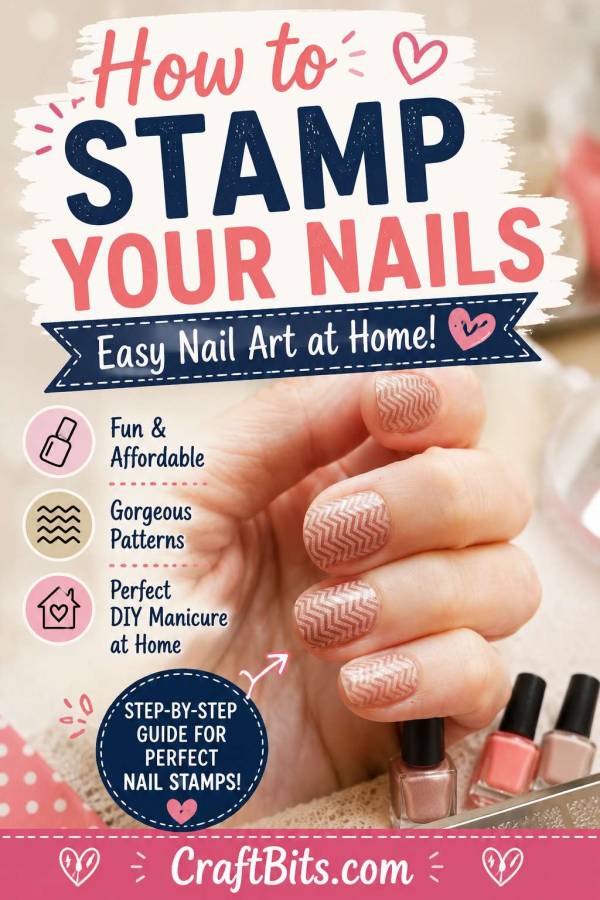
How To Stamp Your Nails – Nail Stamping Review

Nail stamping is one of those clever beauty craft ideas that looks far more complicated than it really is. At first glance, patterned nails can seem like something you would only get from a salon, but this CraftBits tutorial shows how simple the process can be once you understand the basic technique.

The project uses nail stamping plates, two shades of nail polish, clear polish, cotton pads, and nail polish remover. The tutorial starts with clean, trimmed, filed nails, then adds one or two thin coats of a lighter polish as the base color before stamping the design on top. The instructions also explain the importance of letting the base coat dry completely before moving on to the stamping stage.

What I like about this tutorial is that it is honest about the learning curve. Nail stamping is easy once you get the rhythm, but the first few tries can be a bit messy. The polish can dry too quickly, the stamper may not pick up the whole image, or the design may not line up perfectly on the nail. That is all completely normal, and the tutorial makes it clear that practice is part of the process.

The basic method is simple: choose your stamping plate, remove the protective film, add polish to the design, scrape away the excess, roll the stamper across the image, then roll the design onto the nail. The key is to work quickly so the polish does not dry before it transfers. The tutorial also gives a practical tip that you do not have to buy a special scraper — an old gift card or credit card can work, but a razor blade should not be used because it is too sharp.

This project is especially good for anyone who likes the look of nail art but does not feel confident painting detailed designs by hand. Stamping plates let you create patterns such as chevrons, lace, florals, dots, swirls, and graphic designs with much less pressure than freehand painting.

It is also a nice budget-friendly option. Once you have a few stamping plates and a stamper, you can use them again and again with different polish colors. That makes it a fun DIY manicure idea for weekends, parties, holidays, or just adding something pretty to your everyday nails.

From a CraftBits point of view, this is a strong project because it fits beautifully into the handmade beauty and DIY bath-and-body space. It is creative, approachable, and practical. It also has good Pinterest potential because nail art tutorials are very visual, and people often save them for later when they are planning a manicure.

Why This Tutorial Works

This nail stamping tutorial works because it breaks the process down into simple steps and uses supplies that are easy to understand.

It is especially useful for:

Beginner nail art

DIY manicures at home

Patterned nail designs

Budget-friendly beauty crafts

Party nails

Holiday nail art

Learning how to use nail stamping plates

The technique does take a little practice, but once you get used to the timing, it becomes a quick way to create detailed nail designs.

Helpful Tips

Start with a small nail, such as your pinkie, while you practice. The CraftBits tutorial suggests this because there is a little more room for error when you are learning to line up the stamp.

Let your base polish dry completely before stamping.

Work quickly once you apply polish to the stamping plate.

Use firm pressure when rolling the stamper over the design.

Clean the plate between attempts if polish starts building up.

Keep cotton pads and remover nearby because nail stamping can get messy.

Seal the finished design with clear polish once the stamped image has dried.

Leave a Reply

Your email address will not be published. Required fields are marked *

RSS feed: More Articles More Articles

  • How to Price Handmade Christmas Items (Without Underselling During the Holidays)
  • 10 DIY Elegant Halloween Jewellery Ideas For Adults
  • Book Review: Knit an Heirloom Blanket
  • Fall Sensory Ideas for Kids
  • DIY Halloween Sock Candy Favours: A Sweet Gift With Cosy Socks
  • How To Stamp Your Nails – Nail Stamping Review
  • DIY Hanging Witch Hat Lights With a Magical Waterfall Glow
  • 15 Easy DIY Halloween Treat Bag Ideas for Candy and Non-Candy Gifts
  • 10 Handmade Cards with Autumn Leaves
  • Easy Fonts to Add to Your Cross Stitch

Copyright © 2026 · CraftGossip | Start Here | Contact Us | Link to Us | Your Editors | Privacy and affiliate policy