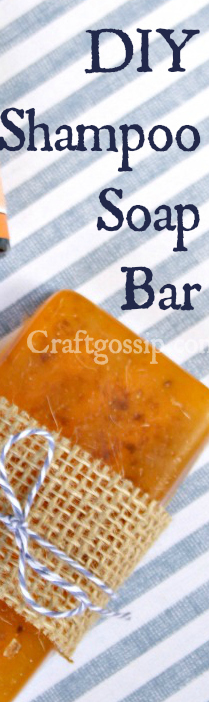
This tutorial shows you how to make solid shampoo bars. Solid shampoo is easy to make. Before you make your own shampoo bars make sure you understand and appreciate the difference it will make to your hair.
Normal store bought chemical commercial shampoos strip the natural oils from your hair which give you that squeaky clean feeling. Your hair shouldn’t actually feel this squeaky, it means you have actually stripped all the oil from your hair and scalp.
This then will cause your scalp to overproduce oil in an attempt to compensate being stripped of its natural oils and then your hair becomes oily. It’s a bad cycle you get stuck in.
Solid Shampoo bars are great for kids who are learning to wash their own hair as it reduces spillage and a soap bar is easy to hold and store for travelling too.
This recipe uses a beneficial combination of essential oils, and nourishing coconut oil.
The mixture is solidified with glycerine soap base, which is what makes the Shampoo bar a solid. You will get beautiful hair whilst reducing plastic waste and money. And by making your own shampoo bars you will be able to control what chemicals come in to contact with your body. Use organic products if you want to create an Organic Shampoo bar. Use food-grade ingredients for your hair and body.
Note that these shampoo bars also take longer to cure versus a basic melt and pour soap because of the high content of liquid oils. This soap can also be made in a large mold. Cut it into bars after the first 24-30 hours once it is removed from the mold.
Please note this tutorial contains affiliate links, which means when you buy from the links below we get a kickback in small change, this is at no extra cost to you and helps us fund our own crafting habits.
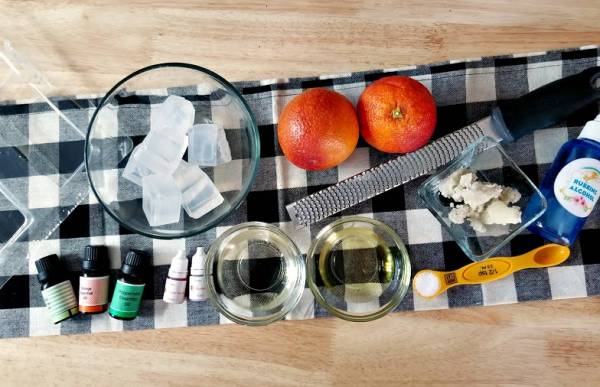
½ pound glycerin soap base
1 teaspoon shea butter
1 teaspoon olive oil
1 teaspoon coconut oil
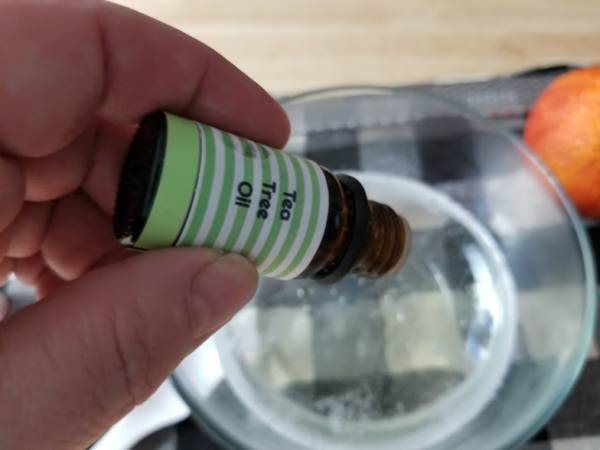
10 drops tea tree essential oil
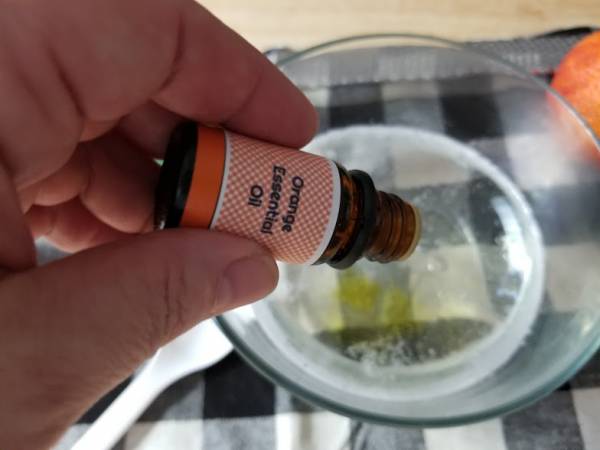
10 drops orange essential oil
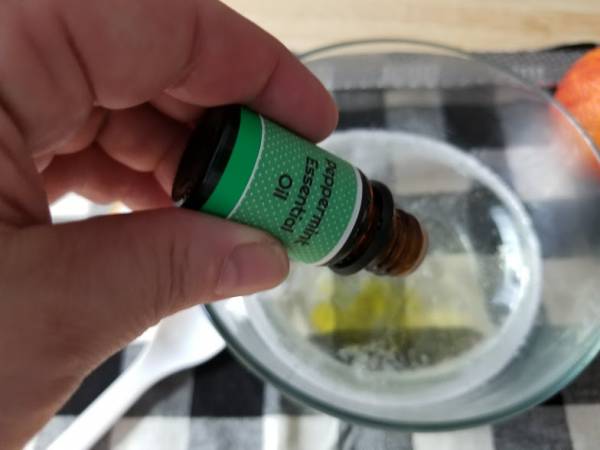
10 drops peppermint essential oil
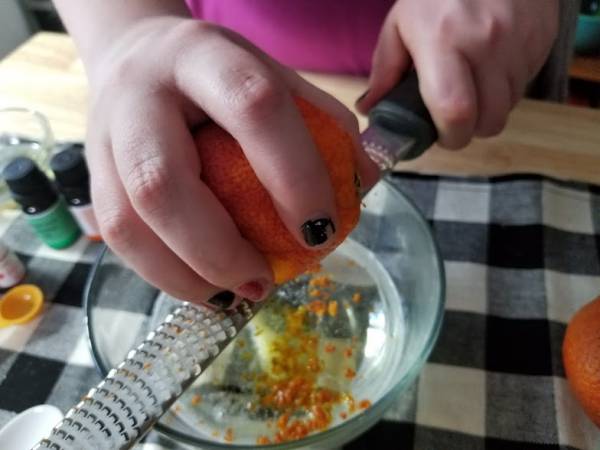
2 oranges, zested
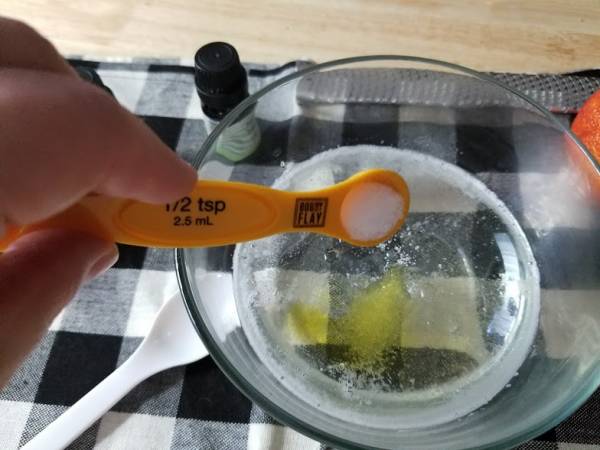
1 tablespoon sea salt
Orange food coloring (optional)
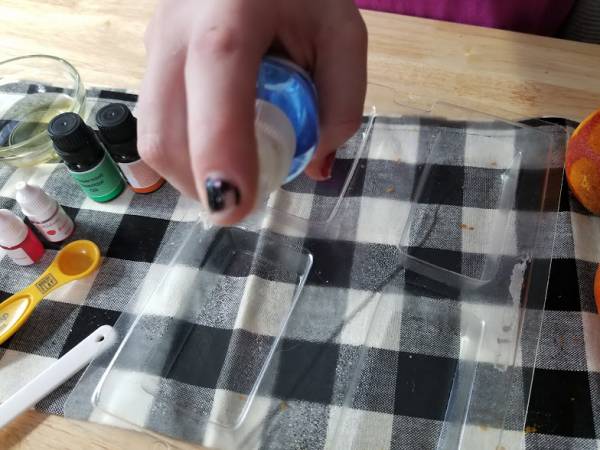
Spray bottle of rubbing alcohol

Instructions:
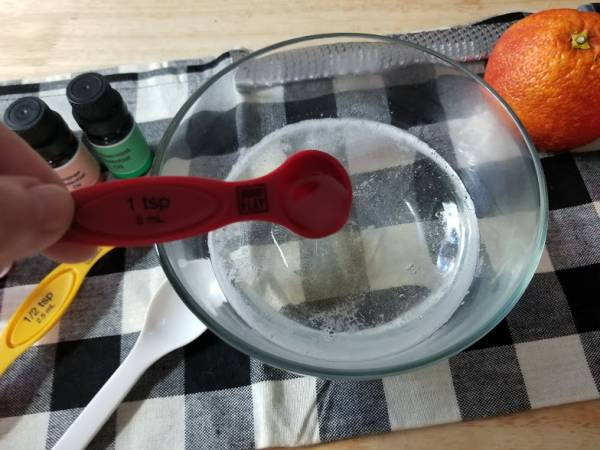
Step 1: Cut the soap base into squares and place into a microwave safe bowl. Heat for 30 seconds.

Step 2: Add shea butter to bowl. Return to microwave and heat for an additional 30 seconds.
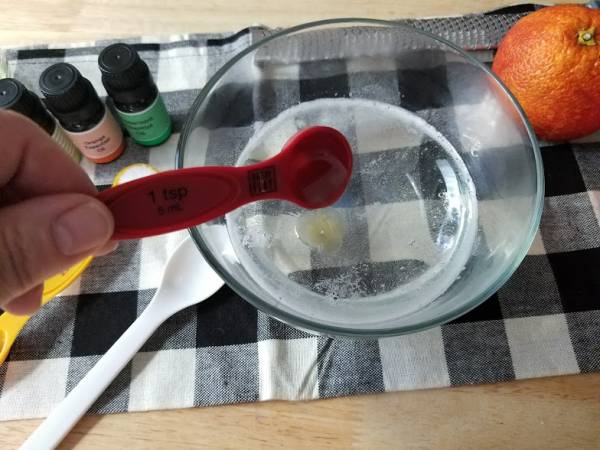
Step 3: Add coconut oil to the bowl
Step 4: Add olive oil to the bowl
Step 5: Add the tea tree essential oil
Step 6: Add the orange essential oil to the bowl
Step 7: Add the peppermint essential oil to the bowl
Step 8: Add the sea salt to the mixture.
Step 9: Add orange zest to mixture and stir in gently.
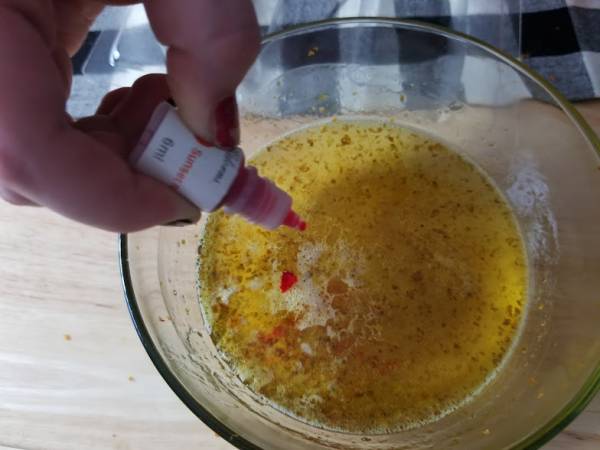
Step 10: Add food coloring if desired.
Step 11: Spray bottom of the mold with rubbing alcohol.
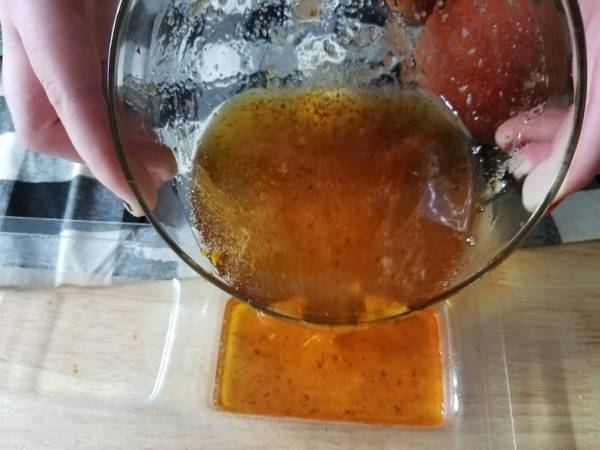
Step 12: Gently pour shampoo bar mixture into mold.
Step 13 Spray the top of the soap with the rubbing alcohol.
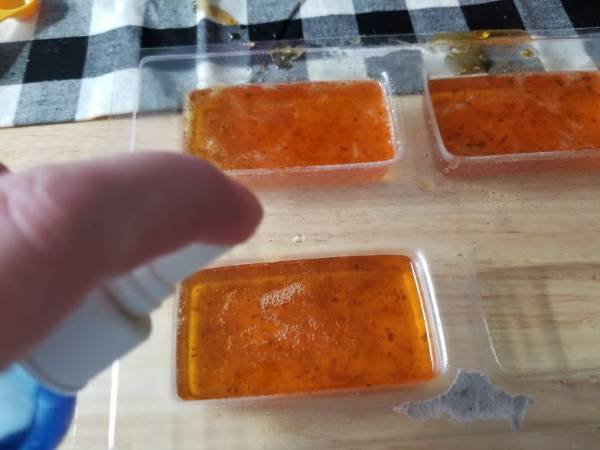
Step 14: Allow to harden for at least an hour. Gently pop out and store in an airtight container or ziplock bag until ready to use


Leave a Reply