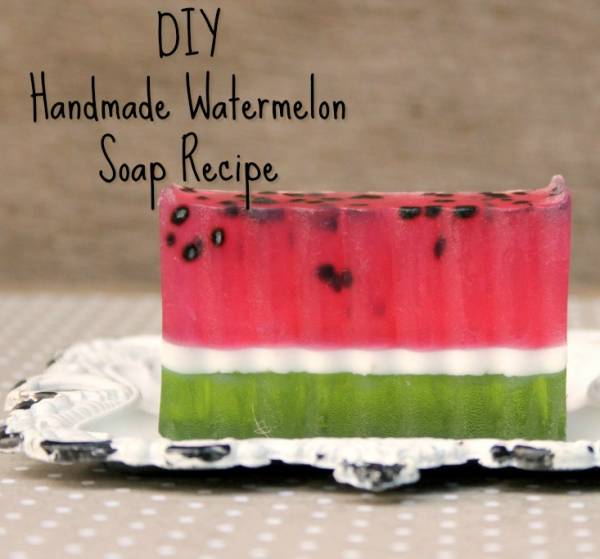
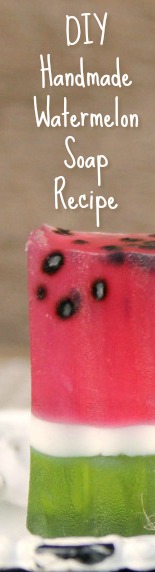
This DIY tutorial shows you how to make your own DIY handmade watermelon soaps. The tutorial is easy to follow as it uses a melt and pour soap base which comes ready to melt and create soaps. Melt and pour soap base is a great way to get started with making your own soaps.
DIY Watermelon Soap Bars
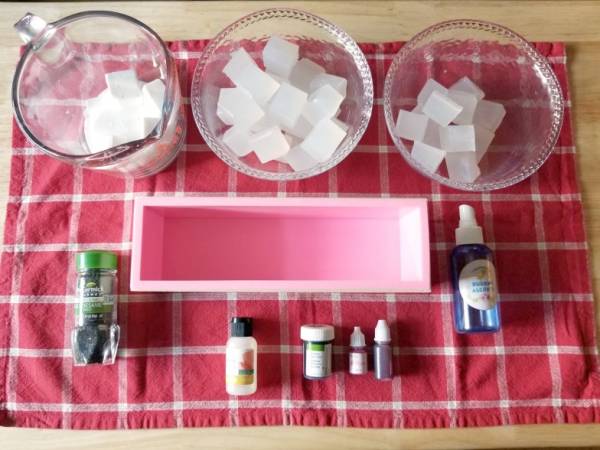
Supplies:
1-pound melt and pour clear glycerin soap
1/4-pound melt and pour goats milk soap base
Watermelon soap scent
Green soap dye or food coloring
Pink soap dye or food coloring
Red soap dye or food coloring (
*Rectangle soap mold
Black sesame seeds (You can find these on Amazon or check your local grocery store)
Spray bottle of rubbing alcohol
3 medium sized microwave safe bowl
Instructions:
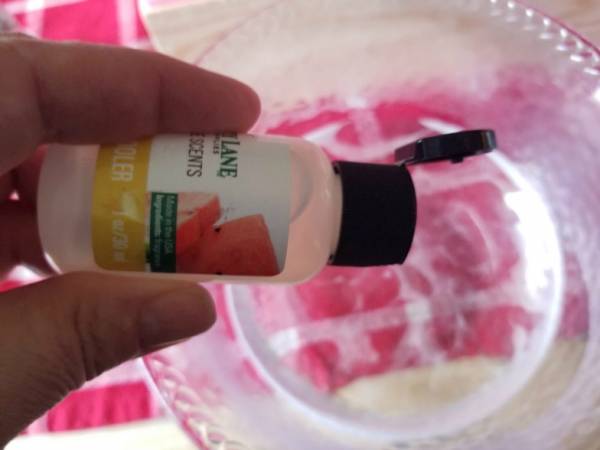
(Layer one) Steps 1-3: Add 10 cubes of the clear soap base to one microwave safe bowl. Melt in 30 second intervals,
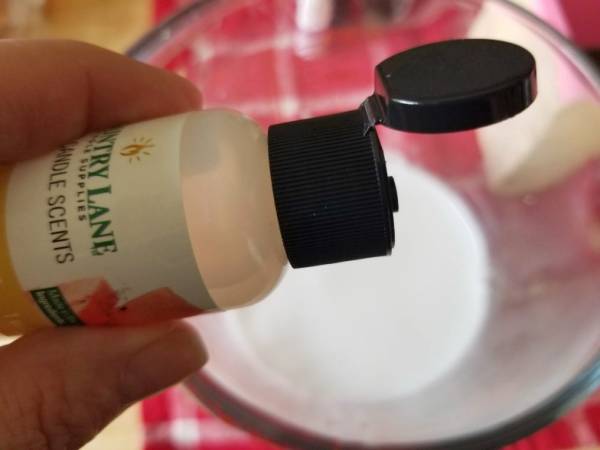
stirring after each until it is completely melted. Add your watermelon scent.
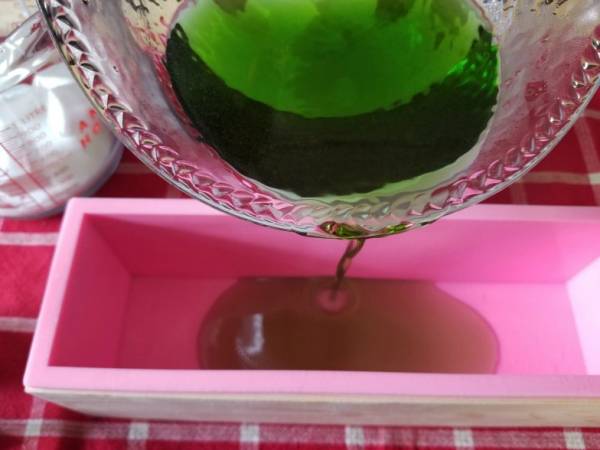
Step 4: Add your green coloring and whisk in. Add 1-2 drops until you achieve the desired color.
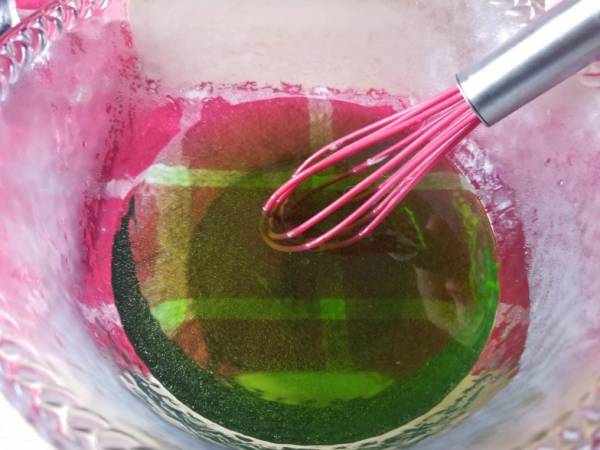
Step 5: Spray your soap mold with the rubbing alcohol.
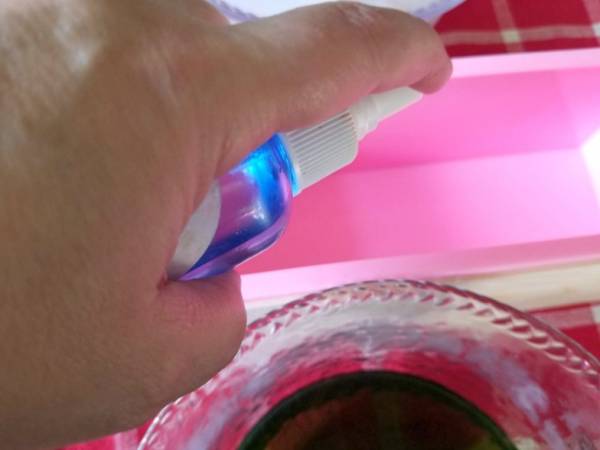
Step 6: Pour the soap mixture into your mold.
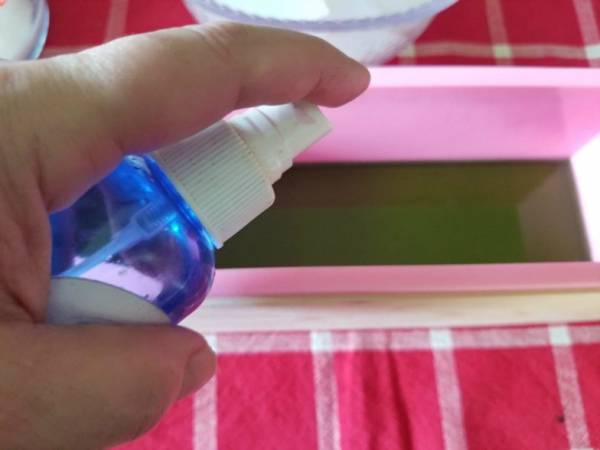
Step 7: Spray top of mixture with rubbing alcohol. Allow to harden at least 15-20 minutes. You know you can pour the
next layer if you blow on the soap and it doesn’t ripple.
(Layer two) Steps 8-10: Add 6 cubes of the goats milk soap base to one microwave safe bowl. Melt in 30 second
intervals, stirring after each until it is completely melted. Add your watermelon scent. Add watermelon scent.
Steps 11-13: Spray the green soap layer with rubbing alcohol. Don’t skimp on the amount as this is what helps the layers
stick together. But don’t drown it either lol! Pour the white soap into the mold. Spray with rubbing alcohol to prevent
bubbles.
(Layer three) Steps 14-16: Add 20 cubes of the clear soap base to one microwave safe bowl. Melt in 30 second intervals,
stirring after each until it is completely melted. Add your watermelon scent.
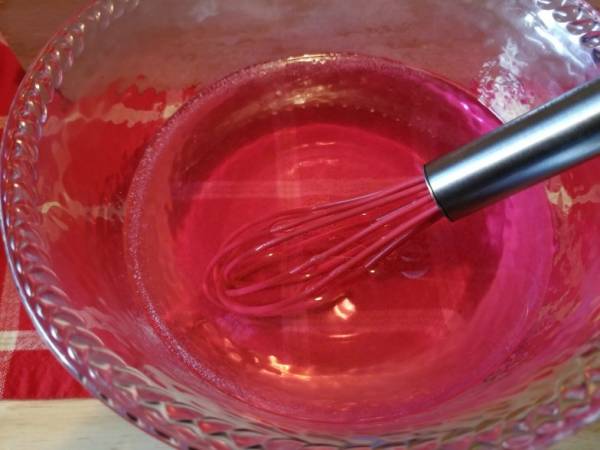
Step 17: To get the pinkish red color of the third layer, we added 1 drop of red for every 3 drops of pink we added. We
started with 3 drops of pink and 1 drop of red and whisked them together. We did this until we got the color we liked.
This will be different for you based on your preference and the coloring products you use.
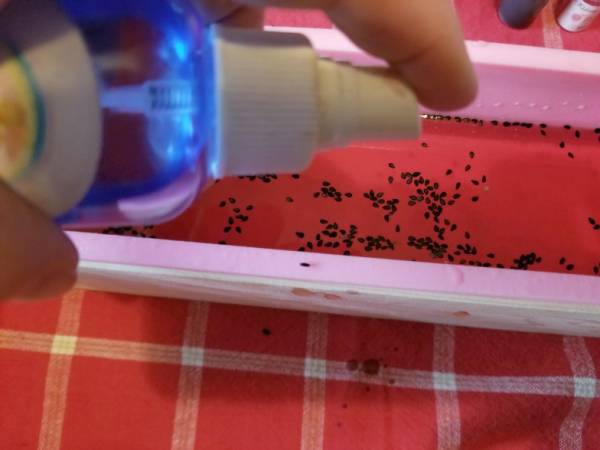
Steps 18-20: Spray the white layer with the rubbing alcohol in the amount you did in steps 11-13. Pour in the pink soap.
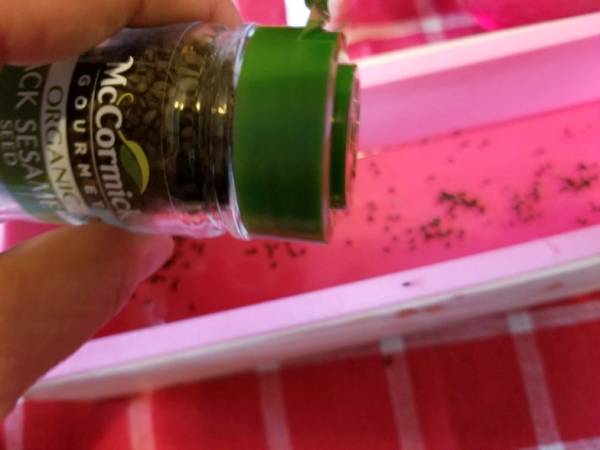
Allow to set slightly (between 3-5 minutes) before adding your black sesame seeds. Using a small spoon or whisk, gently
blend in the seeds. They tend to pool at the top if you don’t wait. I honestly could have waited another 2 minutes on my
batch. Once you add your seeds, spray top layer with the alcohol.
Step 21: Allow to set overnight. When you are ready to cut your soap, you can use the tools that comes with the
rectangle loaf mold I used or you can use a large knife.
*If you do not have the rectangle mold I used, that is fine! You can use any mold you like and get the same layered
effect. If so, you may need to adjust the amount of soap you use in steps 1-3, 8-10 and 14-16. The important thing is that
you have fun!
Looking for more Goat’s Milk recipes? Check out our DIY recipe for making your own goat’s milk lip chapstick. The Goat’s milk in this DIY Goat’s Milk Chapstick recipe will leave your lips soft and smooth. The PH Level in goat’s milk is super skin-friendly and the lactic acid helps remove dead skin cells from your lips for a soft and brighter smile. The ingredients are so basic for making this lip balm you will be surprised, you may even have the chapstick ingredients in your fridge or pantry.
Leave a Reply