• Home
  • Suggest A DIY
  • DIY Newsletter

Bath and Body

Soap Making, Oils and Recipes

  • About CraftGossip
  • Our Network
    • Bath & Body Crafts
    • Candle Making Ideas
    • Crochet Ideas
    • Cross Stitch
    • Edible Crafts
    • Felting Patterns
    • Glass Art
    • Home & Garden Ideas
    • Indie Crafts
    • Jewelry Making
    • Kids Crafts
    • Knitting Patterns
    • Lesson Plans
    • Needlework
    • Party Ideas
    • Polymer Clay
    • Quilting Ideas
    • Recycled Crafts
    • Scrapbooking
    • Sewing Patterns
    • Card Making
    • DIY Weddings
    • Not Craft Ideas
  • Giveaways
  • Roundups
  • Store
  • Search

Do You Know What Skin Cancer Looks Like?

March 13, 2015 by Shellie Wilson Leave a Comment

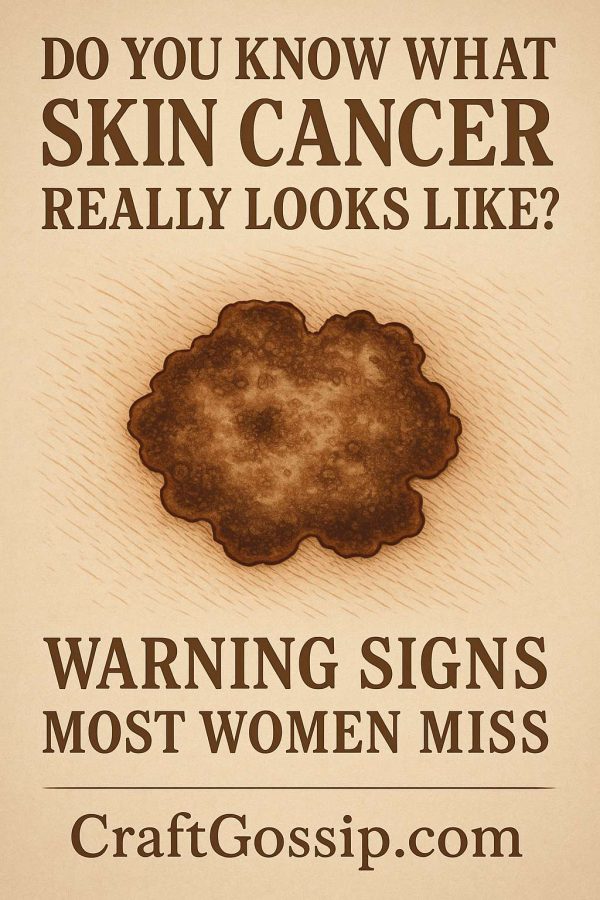
Skin Cancer Doesn’t Always Look Scary — And That’s the Problem

Let’s be real—most of us grew up thinking skin cancer looks like a scary black mole or something that “obviously” needs to come off. But the truth is, it’s often subtle, sneaky, and easy to miss. Especially for women over 40 who’ve spent decades in the sun before SPF became a daily essential.

Whether you’re a gardener, a knitter near a window, or just love your afternoon walk (hat optional), your skin has seen its fair share of rays. And even the smallest changes can mean something.

What to Watch For:

– A flat patch that looks like dry skin and just won’t heal
– A pearly or waxy bump that looks “harmless”
– A sore that heals… and then reopens
– A spot that itches or bleeds, even if it’s tiny
– A mole that changes shape, color, or border over time

Take Photos. Track Changes. Ask Questions.

Your skin tells your story—and that includes the pages it wants you to rewrite. Don’t be afraid to snap a photo and compare it month to month. It’s one of the simplest ways to catch something early.

This Isn’t About Fear—It’s About Empowerment

We know our bodies better than anyone. That includes spotting changes before a doctor ever sees them. Early detection saves lives. Share this post with a friend. Check your arms, legs, back, scalp—yes, even the tops of your ears. You’re worth protecting.

Pin this reminder and schedule your next skin check today. Your future self will thank you.


Related Posts:

  • DIY Makeup Remover Recipes For Every Skin Type
  • What Can I Use Jamaican Black Castor Oil For?
«
»

Have you read?

DIY Sore Muscle Relief Balm with Essential Oils – Natural Comfort in a Jar

When your back’s tight, your shoulders are screaming, and even stretching feels like too much effort—sometimes, you just need a little help in a jar.

Enter this soothing DIY Sore Muscle Relief Balm. It’s warming, nourishing, and infused with essential oils known for easing tension and boosting circulation. Whether you’re dealing with post-gardening aches, a long day on your feet, or that stubborn neck kink from sleeping funny (again), this balm is a natural way to say goodbye to muscle misery.

I keep a tin of this on my bedside table and another in the kitchen drawer. It’s a go-to remedy in our house for everything from growing pains to post-walk stiffness—and trust me, with a big dog like Aloo dragging me around, I know sore calves!

Why Make Your Own Muscle Balm?

Commercial rubs often contain synthetic fragrances, petroleum byproducts, or ingredients that can be too harsh on sensitive skin. When you make your own, you’re in full control—and it doesn’t have to be complicated or time-consuming.

This DIY balm is:

  • Petroleum-free and non-toxic 
  • Packed with anti-inflammatory oils 
  • Warming without the burn 
  • Gentle on sensitive or mature skin 
  • Perfect for gifting 

Ingredients You’ll Need

Base Oils & Butters:

  • ¼ cup shea butter – rich in vitamins and helps deeply hydrate skin 
  • 2 tbsp beeswax pellets – thickens the balm and adds a protective barrier 
  • ¼ cup coconut oil – light carrier oil with natural anti-inflammatory properties 
  • 2 tbsp magnesium oil (optional but recommended for extra relief) 

Essential Oils Blend:

  • 10 drops peppermint essential oil – cooling and refreshing 
  • 8 drops eucalyptus essential oil – helps reduce inflammation 
  • 6 drops rosemary essential oil – boosts circulation 
  • 5 drops lavender essential oil – calming and soothing 
  • 4 drops ginger essential oil – gentle warming effect (skip if sensitive to heat) 

Note: Always do a patch test before slathering it on.

How to Make It – Step-by-Step

  1. Melt Your Base
    In a double boiler (or a heat-safe bowl over simmering water), melt together the shea butter, beeswax, and coconut oil until fully liquified. 
  2. Add Magnesium Oil (Optional)
    Remove from heat and stir in magnesium oil if using. This may cause some bubbling—that’s normal! 
  3. Cool Slightly
    Let the mixture cool for a couple of minutes. You want it warm but not hot to avoid damaging the essential oils. 
  4. Stir in Essential Oils
    Add your essential oils and mix thoroughly with a wooden stick or glass stirrer. 
  5. Pour into Tins or Jars
    Carefully pour the balm intometal balm tins or glass jars. Let cool uncovered until set. 
  6. Label & Store
    Store in a cool place away from direct sunlight. It should last 6–12 months. 

How to Use Your Homemade Muscle Rub

  • Massage a small amount into sore muscles after a shower or bath. 
  • Use it before bed to help loosen tight areas and promote deeper sleep. 
  • Rub into feet and calves after long days of standing or walking. 
  • Warm it between your hands for easier spreading on cold days. 

Bonus tip: Rub a bit onto temples and neck during tension headaches—peppermint works wonders.

Customize Your Balm

Want to make it your own? Here are a few add-ins:

  • Arnica oil – great for bruises and swelling 
  • Cayenne pepper oil – for extra heat (only a drop or two!) 
  • Menthol crystals – adds a deep cooling sensation, use sparingly 
  • Comfrey-infused oil – old-school remedy for joint pain and strains 

Gift It!

This balm makes a thoughtful gift for:

  • Gym-goers 
  • Gardeners 
  • Grandparents 
  • Stressed-out teachers 
  • Care packages for new mums or anyone in recovery 

Pair it with a cozy pair of socks or a DIY rice heat pack for a full self-care bundle.

Making your own sore muscle balm isn’t just about saving money or going natural—it’s about putting a little love and intention into your self-care. This balm smells divine, feels luxurious, and actually works. No mystery ingredients. No overpriced tubes. Just natural, handmade relief whenever you need it.


Leave a Reply

Your email address will not be published. Required fields are marked *

RSS More Articles

  • Everything You Need to Know About Embroidery Hoops
  • Needle Felting Fairy Tutorial by Santa Meada
  • Printable Stickers for Journals and Planners – Self Care
  • Stitch Your Favorite Fruit on a Sweater
  • 12 Color Wheel Inspired Scrapbook Layouts
  • Crafts With Old Bricks: Creative Ways To Upcycle Leftover Bricks
  • How To Make A Milk Mache Molding Compound
  • The 5 Outlet Placement Mistakes You Don’t Want to Make
  • Celebrate the Spirit of the Southwest with These Stunning Indian Navajo Tribal Quilt Patterns
  • Pricing Handmade Sewing Items Without Undervaluing Yourself

Categories

Bath And Body bath bombs Body Scrubs & Lotions Colds & Flu CraftGossip Exclusive Craft Inspirations DIY Recipes And Tutorials DIY Tutorials and Patterns Essential Oils And Aromatherapy facials Hair Care Makeup & Beauty Melt & Pour Soap Packaging Product Reviews Seasonal Products & Tutorials Soapmaking Recipes, Products And Tutorials Style Me Quick Supply Store Specials & Discounts Wellbeing

Copyright © 2026 · CraftGossip | Start Here | Contact Us | Link to Us | Your Editors | Privacy and affiliate policy