• Home
  • Suggest A DIY
  • DIY Newsletter

Bath and Body

Soap Making, Oils and Recipes

  • About CraftGossip
  • Our Network
    • Bath & Body Crafts
    • Candle Making Ideas
    • Crochet Ideas
    • Cross Stitch
    • Edible Crafts
    • Felting Patterns
    • Glass Art
    • Home & Garden Ideas
    • Indie Crafts
    • Jewelry Making
    • Kids Crafts
    • Knitting Patterns
    • Lesson Plans
    • Needlework
    • Party Ideas
    • Polymer Clay
    • Quilting Ideas
    • Recycled Crafts
    • Scrapbooking
    • Sewing Patterns
    • Card Making
    • DIY Weddings
    • Not Craft Ideas
  • Giveaways
  • Roundups
  • Store
  • Search

Melt and Pour Soap – Lemon Poppyseed

June 22, 2019 by Shellie Wilson 1 Comment

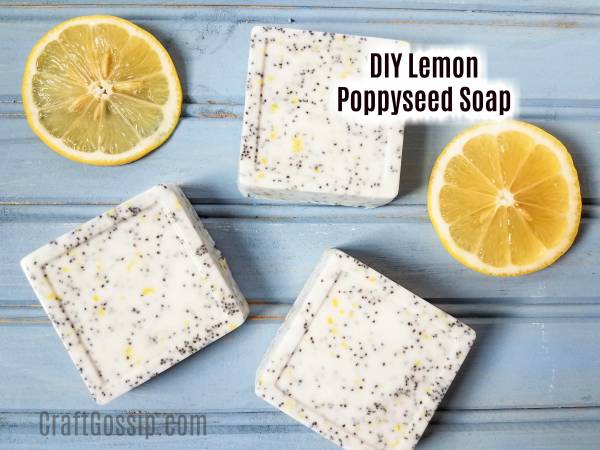
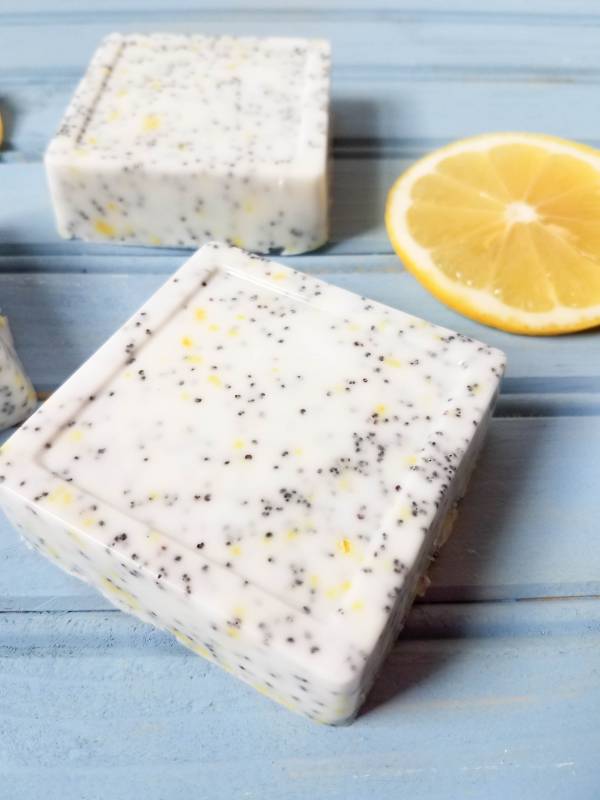
Lemon Poppy Seed Soap is one of the easiest methods for making soap. Melt and pour soap base takes all the technical work out of making soap. Melt and pour soap is great for getting started on your diy soap making journey. 

*You can get the soap making supplies like the soap base and soap molds at Michaels or Amazon

Supplies:

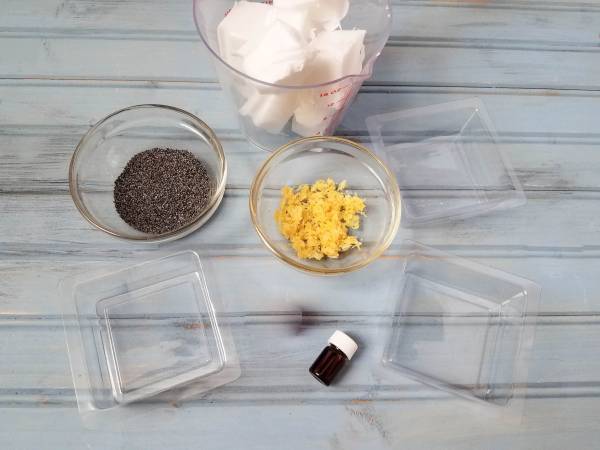
  • ¾ lb goats milk glycerin soap, melt and pour base
  • 1 tbsp poppy seed
  • ½ tbsp lemon zest

Large measuring cup

  • Spoon or wooden popsicle stick
  • Square soap molds (3)

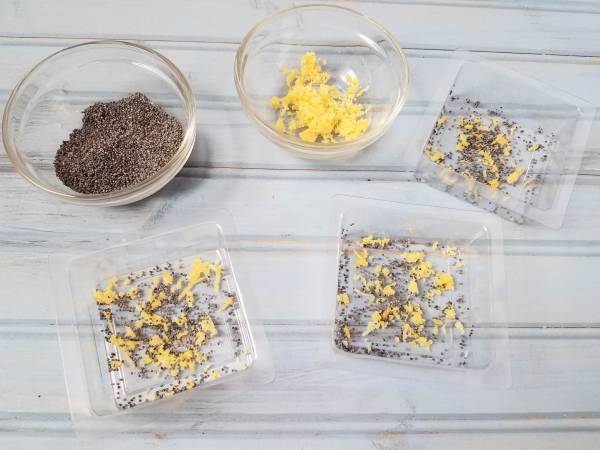
Step 1. Sprinkle a little of the lemon zest and poppy seed into the soap molds.
Step 2. Put soap base in measuring cup and microwave for 30 seconds. Stir very well. If not completely melted, repeat at 10 second intervals until fully melted.

Step 3. Stir in poppy seed and lemon zest.
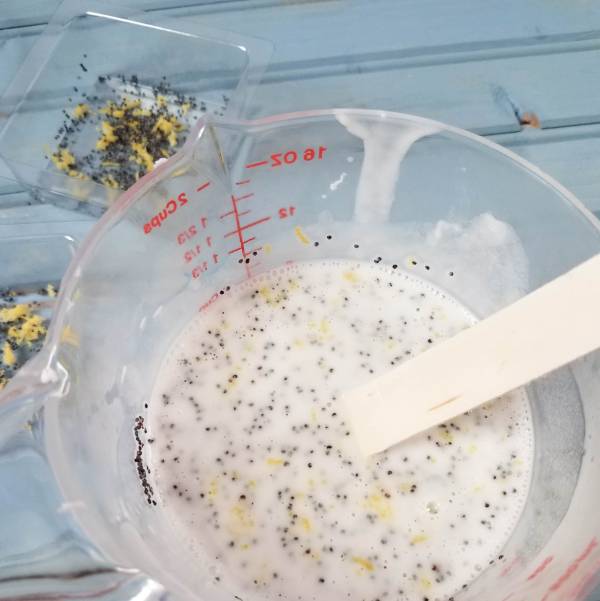
 

Step 4. Pour mixture into the soap molds.
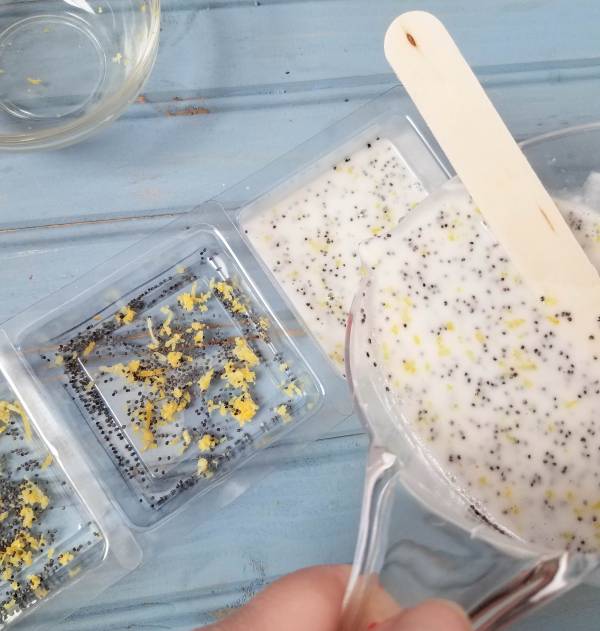
Step 5. Lightly spray with rubbing alcohol. This prevents bubbles.

Step 6. Let set for about 30-60 minutes and remove from mold.
Looking for more Goat’s Milk recipes? Check out our DIY recipe for making your own goat’s milk lip chapstick. The Goat’s milk in this DIY Goat’s Milk Chapstick recipe will leave your lips soft and smooth.  The PH Level in goat’s milk is super skin-friendly and the lactic acid helps remove dead skin cells from your lips for a soft and brighter smile. The ingredients are so basic for making this lip balm you will be surprised, you may even have the chapstick ingredients in your fridge or pantry.
«
»

Comments

  1. Margaret says

    October 31, 2022 at 5:20 pm

    Does the fresh lemon zest not cause the soap to go rancid?

Have you read?

Make Your Own Sea Moss Gel

Make Your Own Sea Moss Gel is one of those projects that sits somewhere between kitchen DIY, wellness trend, and “I saw this everywhere online so now I need to know what the fuss is about.” The tutorial keeps it very simple, which I actually think is part of the appeal. You only need sea moss, water, and a blender, then you soak it, blend it smooth, and store the finished gel in the fridge.

What I like about this one is that it doesn’t make the process sound intimidating. Some health-focused DIYs can feel like you need a pantry full of powders, tinctures, and equipment you’ll use once before it joins the graveyard of abandoned wellness hobbies. This project is refreshingly straightforward. The sea moss is soaked in filtered water for about 48 hours until it softens and expands, then it gets blended with about 1 cup of filtered water until smooth. The post also notes that a high-power blender helps avoid a grainy texture.

The finished gel can be kept in a sealed container in the fridge for up to 4 weeks, and the article suggests using it in smoothies, oatmeal, face masks, soaps, pudding, and jam. That versatility is probably why sea moss has become such a talked-about ingredient lately. It is one of those DIYs that makes you feel very organized and wholesome, even if your kitchen bench still has three coffee cups on it and a mystery Tupperware lid with no matching container.

The post also leans into the popular health angle, describing sea moss as Irish moss or Chondrus crispus and highlighting nutrients plus possible benefits related to immune support, thyroid support, digestion, skin, hair, and heart health. I think that’s where a little real-life balance helps. I enjoy projects like this most when I treat them as a useful homemade staple rather than a miracle cure in a jar. That mindset feels especially relatable in perimenopause, when you can suddenly find yourself trying all sorts of things for energy, skin, bloating, or just a general sense of “could my body please calm down for five minutes.”

I also like that the article goes beyond the basic gel and includes extra ideas like a creamy sea moss smoothie, a sea moss facial mask, and an acne spot treatment gel. That makes the project feel more practical because you are not left wondering what to do with a jar of beige gel once the novelty wears off.


Leave a Reply

Your email address will not be published. Required fields are marked *

RSS More Articles

  • How to Separate Embroidery Floss Without Making a Tangled Mess
  • Creating and Using a Prefelt – Tutorial by Spry Whimsy Fiber Arts
  • Craft Fair vs Etsy: Where Beginners Actually Make Their First Sales
  • Get Ready for Back to School with Routine Printables
  • Knit a Trusty Troll for a Kid, Or Yourself
  • How To Make A DIY Bench From Two Old Chairs
  • 12 Free Treble Crochet Patterns That Practise One Main Stitch
  • Make Your Own Sea Moss Gel
  • 35 Handmade Happy Mail Ideas for Grandkids Who Love Getting Real Mail
  • 12 Summer at the Beach Scrapbook Layout Ideas

Copyright © 2026 · CraftGossip | Start Here | Contact Us | Link to Us | Your Editors | Privacy and affiliate policy