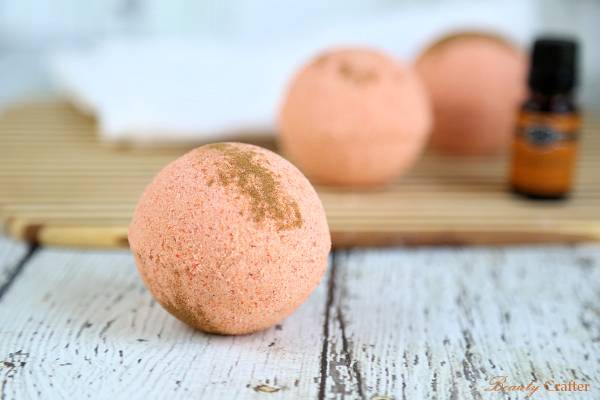
This Pumpkin Spice DIY Bath bomb recipe shows you how to make a Fall inspired or Halloween treat. This Bath Bomb recipes uses Pumpkin Spice oils to scent the bath bomb. You can grab the full tutorial and Bath Bomb recipe Here.
Soap Making, Oils and Recipes
This Pumpkin Spice DIY Bath bomb recipe shows you how to make a Fall inspired or Halloween treat. This Bath Bomb recipes uses Pumpkin Spice oils to scent the bath bomb. You can grab the full tutorial and Bath Bomb recipe Here.
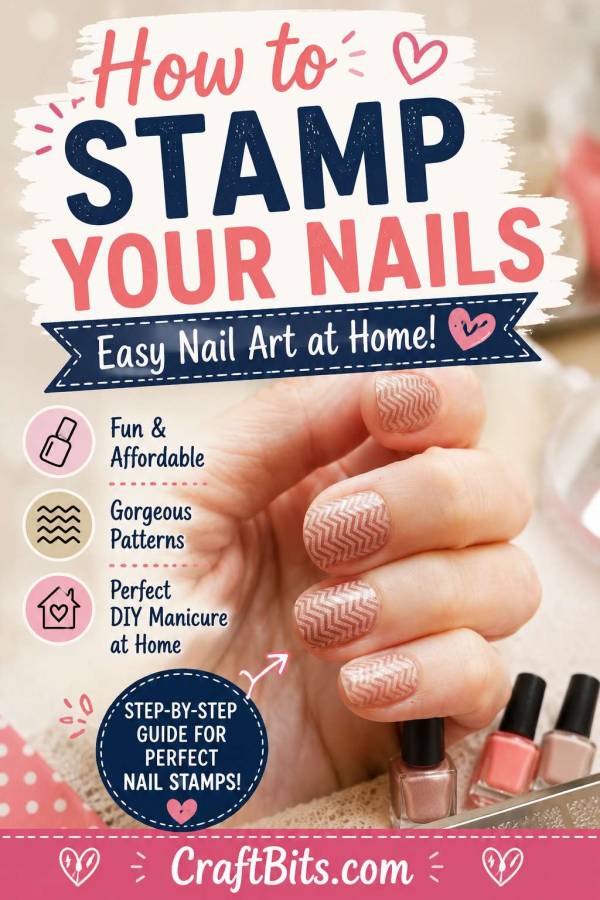
Nail stamping is one of those clever beauty craft ideas that looks far more complicated than it really is. At first glance, patterned nails can seem like something you would only get from a salon, but this CraftBits tutorial shows how simple the process can be once you understand the basic technique.
The project uses nail stamping plates, two shades of nail polish, clear polish, cotton pads, and nail polish remover. The tutorial starts with clean, trimmed, filed nails, then adds one or two thin coats of a lighter polish as the base color before stamping the design on top. The instructions also explain the importance of letting the base coat dry completely before moving on to the stamping stage.
What I like about this tutorial is that it is honest about the learning curve. Nail stamping is easy once you get the rhythm, but the first few tries can be a bit messy. The polish can dry too quickly, the stamper may not pick up the whole image, or the design may not line up perfectly on the nail. That is all completely normal, and the tutorial makes it clear that practice is part of the process.
The basic method is simple: choose your stamping plate, remove the protective film, add polish to the design, scrape away the excess, roll the stamper across the image, then roll the design onto the nail. The key is to work quickly so the polish does not dry before it transfers. The tutorial also gives a practical tip that you do not have to buy a special scraper — an old gift card or credit card can work, but a razor blade should not be used because it is too sharp.
This project is especially good for anyone who likes the look of nail art but does not feel confident painting detailed designs by hand. Stamping plates let you create patterns such as chevrons, lace, florals, dots, swirls, and graphic designs with much less pressure than freehand painting.
It is also a nice budget-friendly option. Once you have a few stamping plates and a stamper, you can use them again and again with different polish colors. That makes it a fun DIY manicure idea for weekends, parties, holidays, or just adding something pretty to your everyday nails.
From a CraftBits point of view, this is a strong project because it fits beautifully into the handmade beauty and DIY bath-and-body space. It is creative, approachable, and practical. It also has good Pinterest potential because nail art tutorials are very visual, and people often save them for later when they are planning a manicure.
This nail stamping tutorial works because it breaks the process down into simple steps and uses supplies that are easy to understand.
It is especially useful for:
Beginner nail art
DIY manicures at home
Patterned nail designs
Budget-friendly beauty crafts
Party nails
Holiday nail art
Learning how to use nail stamping plates
The technique does take a little practice, but once you get used to the timing, it becomes a quick way to create detailed nail designs.
Start with a small nail, such as your pinkie, while you practice. The CraftBits tutorial suggests this because there is a little more room for error when you are learning to line up the stamp.
Let your base polish dry completely before stamping.
Work quickly once you apply polish to the stamping plate.
Use firm pressure when rolling the stamper over the design.
Clean the plate between attempts if polish starts building up.
Keep cotton pads and remover nearby because nail stamping can get messy.
Seal the finished design with clear polish once the stamped image has dried.
Leave a Reply