• Home
  • Suggest A Craft
  • DIY Newsletter

Bath and Body

Soap Making, Oils and Recipes

  • About CraftGossip
  • Our Network
    • Bath & Body Crafts
    • Candle Making Ideas
    • Crochet Ideas
    • Cross Stitch
    • Edible Crafts
    • Felting Patterns
    • Glass Art
    • Home & Garden Ideas
    • Indie Crafts
    • Jewelry Making
    • Kids Crafts
    • Knitting Patterns
    • Lesson Plans
    • Needlework
    • Party Ideas
    • Polymer Clay
    • Quilting Ideas
    • Recycled Crafts
    • Scrapbooking
    • Sewing Patterns
    • Card Making
    • DIY Weddings
    • Not Craft Ideas
  • Giveaways
  • Roundups
  • Store
  • Search

8 Homemade Salt Scrub Recipes for Silky, Glowing Skin—Natural Exfoliation You Can Make in Minutes

February 6, 2015 by Larissa Coleman Leave a Comment

If your skin’s been feeling a bit dull, rough, or just in need of some serious TLC, a homemade salt body scrub might be just what the (kitchen) doctor ordered. Salt scrubs are one of my go-to DIY beauty staples—especially when the seasons change or my skin starts to feel like it’s been through the wringer.

Using a good salt scrub not only helps exfoliate dead skin cells, but also encourages circulation, promotes cell renewal, and gives your body that smooth, rejuvenated glow we’re all after. And the best part? These scrubs are incredibly easy and fast to make—no fancy equipment, no mystery ingredients. Just pure, skin-loving goodness whipped up in your own kitchen.

Once you make your first homemade salt scrub, I promise you’ll be hooked. They’re so quick to throw together and customizable to your specific skin type—whether you’re dealing with dry patches, oily zones, or sensitive skin that needs a gentle touch. Plus, they make fabulous last-minute gifts (especially when you pop them in a cute jar with a label and ribbon). Trust me, your friends will be begging for more.

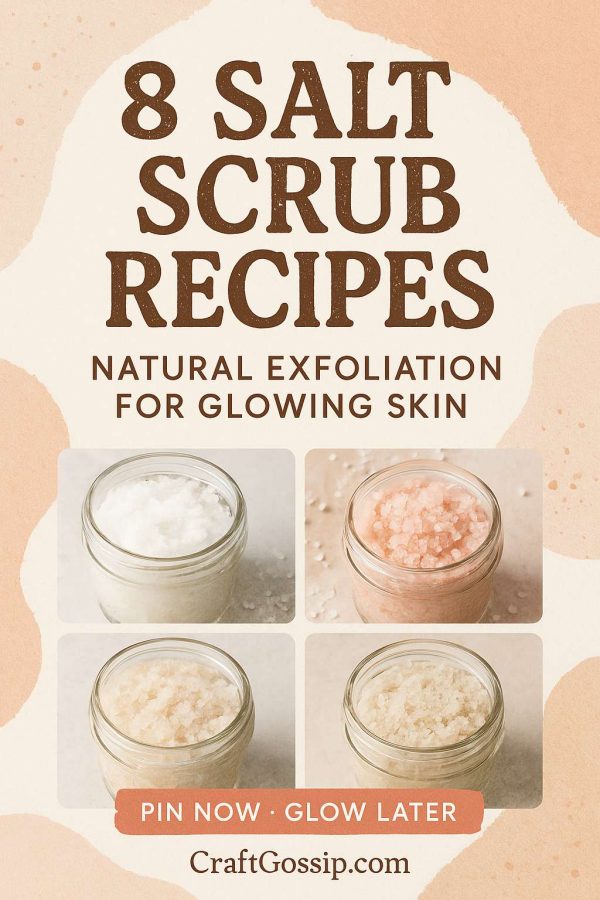
In this roundup, I’ve pulled together 8 of my favorite salt scrub recipes—each with its own skin-boosting benefits and scent profile. From energizing citrus blends to calming lavender soaks, there’s a recipe here for every mood and moment.

So grab your mixing bowl, open the pantry, and let’s get scrubbing!

Looking for more recipes? Check out these scrub recipes over on our DIY Craft tutorial site, Craftbits.com

Check out these 8 salt scrub recipes for making your own salt scrubs that we found and try them out to see what is your favorite.

citrus

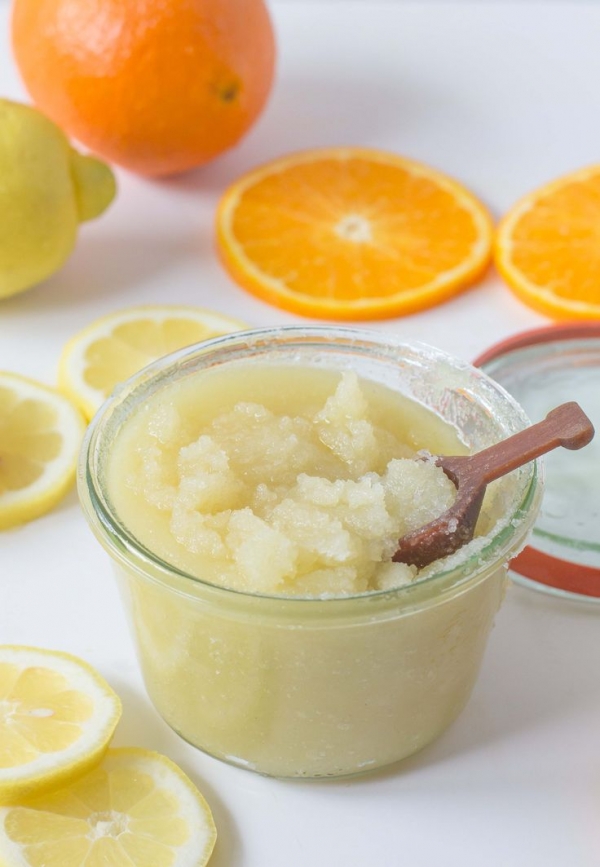
1- DIY Citrus Salt Scrub from Off Beat and Inspired

lime

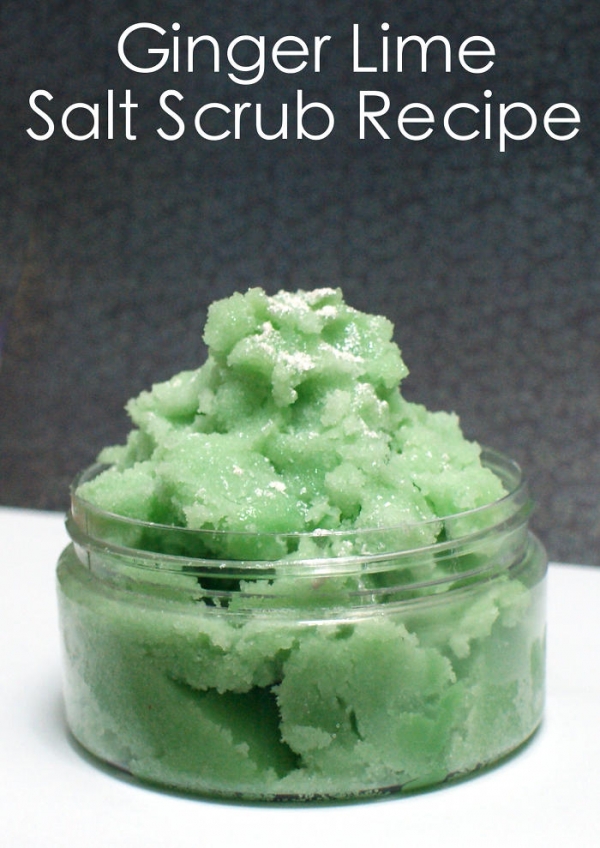
2- Ginger Lime Salt Scrub from Soap Deli News

seasalt

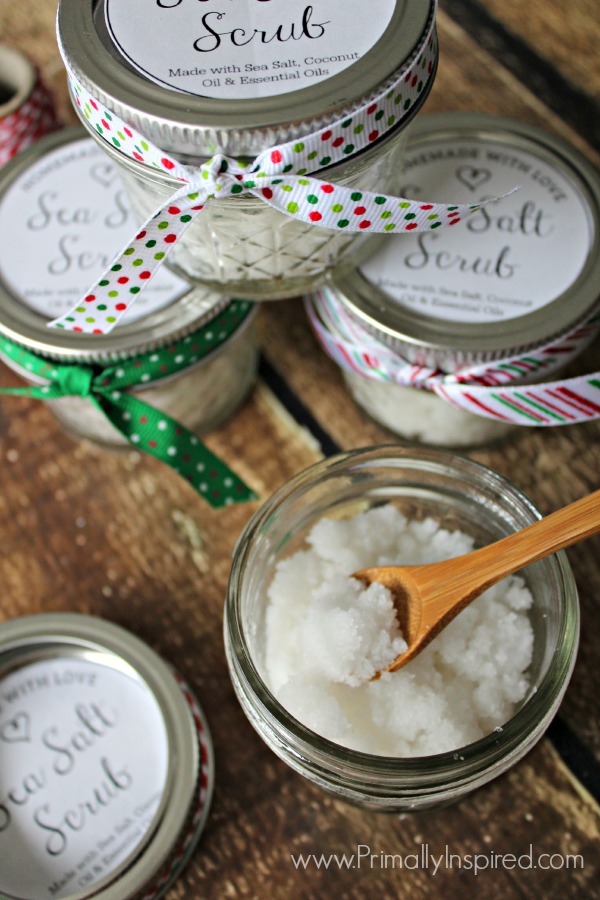
3- Sea Salt Scrub from Primally Inspired

coconut

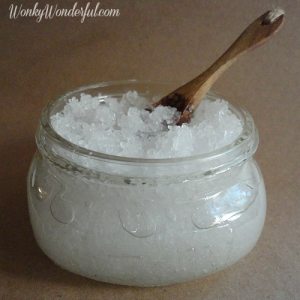
4- Homemade Coconut Salt Scrub from Wonky Wonderful

honey

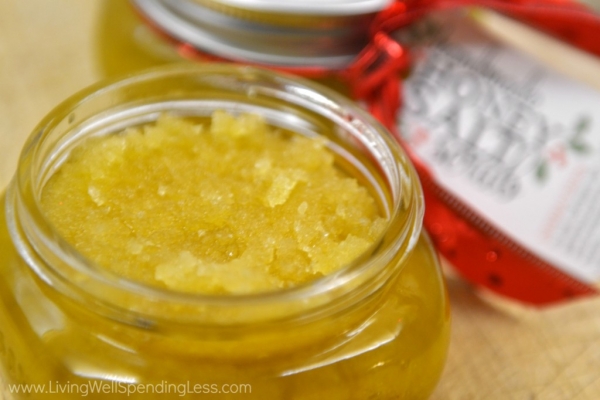
5- Honey Salt Scrub from Living Well Spending Less

lavendervanilla

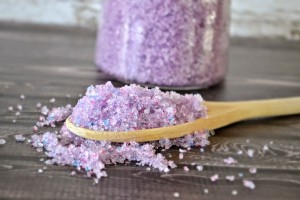
6- Lavender Vanilla Salt Scrub from Building Our Story

lemongrapefruit

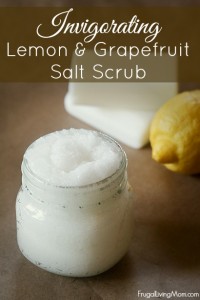
7- Lemon and Grapefruit Salt Scrub from Frugal Living Mom

coffee

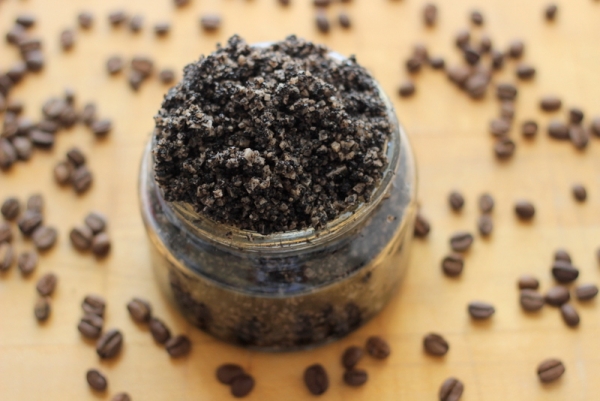
8- Coffee Salt Scrub from Savy Naturalista


This free bath and body recipe project shows you how to make your very own basic sugar scrub.

What you need

5 Tbs White sugar
2 Tbs Brown sugar
3 Tbs Epsom salt
1 Tbs Sea Salt
1/2 tsp Olive oil
2 Tbs Vegetable glycerin
2 Vitamin E capsules
1 Tbs Essential or fragrance oil

Instructions

1. Add dry ingredients and mix well.

2. Add oil, vitamin E and glycerin.

NOTE – slice Vitamin E capsules and squeeze out the liquid.

3. Mix until wet, and the ingredients stick together.

4. If it’s too crumbly, add a little more glycerin and fragrance.

5. Put in jar or plastic container.


Related Posts:

  • DIY Money Saving Bathroom And Kitchen Cleaners
  • 10 DIY Goat's Milk Soaps
«
»

Have you read?

How to Make Your Own Lush-Inspired Massage Bar at Home

Looking to recreate the magic of a Lush massage bar at home? You’re not alone. These creamy, solid lotion bars have gained cult status for their ability to melt on skin, deliver deep moisture, and add a touch of indulgence to your daily routine. But did you know you can easily make your own version at home with natural ingredients?

Whether you’re whipping up a batch for a self-care stash, gifts for friends, or a cheeky couples’ night in, this DIY massage bar recipe is simple, budget-friendly, and completely customizable.

Let’s dive into making your very own Lush massage bar dupe—complete with skin-loving butters, essential oils, and that melt-on-contact magic.

Why You’ll Love This DIY Massage Bar

Forget flimsy lotion—this bar means business. Once you glide it across your skin, it begins to melt just slightly, releasing nourishing oils and soothing scents. No mess, no pump, no preservatives. Just pure, skin-friendly ingredients that feel like a mini spa experience.

It’s:

  • Perfect for dry, mature skin (hello elbows and heels!)

  • Travel-friendly and non-leaky

  • Great for couples’ massage or bedtime rituals

  • Free from synthetic additives or preservatives

Key Ingredients for That “Lush” Feel

Here’s what gives this DIY bar its silky, spa-like texture:

  • Cocoa Butter: The backbone of your massage bar—firm at room temp, but melts at body temperature.

  • Shea Butter: Adds creaminess and deep nourishment, especially for dry or sensitive skin.

  • Beeswax (or vegan wax alternative): Helps the bar hold its shape and adds a protective layer on the skin.

  • Sweet Almond Oil or Jojoba Oil: Lightweight carrier oils that soak in beautifully.

  • Essential Oils: Choose relaxing lavender, sensual ylang-ylang, calming chamomile, or zingy peppermint—whatever suits your mood.

  • Optional: Rose petals, gold mica, or dried herbs for a visual wow-factor.

DIY Lush Massage Bar Recipe

Makes 3–4 small bars or 1–2 large ones depending on mold size.

Ingredients:

  • ¼ cup cocoa butter

  • ¼ cup shea butter

  • 2 tbsp beeswax

  • 2 tbsp sweet almond oil (or jojoba oil)

  • 15–20 drops of essential oil (I love lavender + orange for a relaxing mix)

  • Optional: a pinch of shimmer mica powder or dried petals

Tools:

  • Silicone mold or ice cube tray

  • Heat-safe measuring cup or bowl

  • Double boiler or saucepan method

  • Stirring spoon or skewer

Instructions:

  1. Melt the base ingredients
    In a double boiler or heat-safe bowl over simmering water, combine cocoa butter, shea butter, beeswax, and sweet almond oil. Stir occasionally until completely melted and smooth.
  2. Remove from heat and add fragrance
    Take the mixture off the heat and let it cool for about 1–2 minutes (you don’t want to burn off the essential oils). Add your essential oils and mica or petals now. Stir well.
  3. Pour into molds
    Carefully pour the mixture into your silicone molds. If you’re using petals or herbs, sprinkle them in the mold first for a pretty top layer.
  4. Let set completely
    Allow the bars to cool and harden at room temperature for a few hours, or pop them into the fridge for faster setting.
  5. Pop out and store
    Once fully set, pop the bars out and store in a cool, dry place in a tin or glass jar.

How to Use Your Massage Bar

Hold the bar in your hands until it starts to melt just a little. Then glide it directly over skin—or warm it up first in your palms. Use after a shower, during a massage, or even on dry winter hands and feet before bed. A little goes a long way!

Pro tip: Keep one in your bedside drawer and another in the bathroom for everyday use.


Make It Your Own

Once you’ve made one batch, it’s hard to stop. Try these variations:

  • Calming: Chamomile + vanilla essential oil with calendula petals

  • Energizing: Citrus blend with grapefruit, bergamot + peppermint

  • Romantic: Rose absolute + ylang-ylang with dried rosebuds

You can even experiment with adding CBD oil (up to ½ tsp per batch) for a luxe therapeutic effect—just make sure it’s body-safe and legal in your area.

Once you try this Lush massage bar dupe, you’ll wonder why you ever paid retail prices. Not only are these homemade bars more affordable, but they’re also kinder to your skin—and the planet. With zero packaging waste and total ingredient control, it’s a DIY win all around.

Whether you’re soothing sore muscles, winding down for the night, or sneaking in a little self-care between loads of laundry, this bar delivers spa-day energy in the palm of your hand.


Leave a Reply

Your email address will not be published. Required fields are marked *

RSS More Articles

  • How to Make Handmade Pottery Ceramic Wind Chimes
  • My Honest Take on Sewing the Nina Jumpsuit from Creativebug
  • 12 Road Trip Travel Scrapbook Layout Ideas
  • Use LEGOs to Build Landmarks from Around the World
  • Get Your Fruits by Knitting the Fruit Salad Vest
  • Why Do Your Kids Play with the Box? An Interview with Child Psychologist Dr. Lucy Harper
  • Ottomania- Free Crochet Pattern
  • How to Make Your Own Lush-Inspired Massage Bar at Home
  • Snowflakes Falling on My Head Quilt Pattern
  • Spooky and Stylish: How to Make Halloween Splatter Pumpkins for a Bold Décor Statement

Categories

Bath And Body bath bombs Body Scrubs & Lotions Colds & Flu CraftGossip Exclusive Craft Inspirations detox DIY Recipes And Tutorials DIY Tutorials and Patterns Essential Oils And Aromatherapy facials Hair Care Makeup & Beauty Melt & Pour Soap Packaging Product Reviews Soapmaking Recipes, Products And Tutorials Style Me Quick Supply Store Specials & Discounts Wellbeing

Copyright © 2025 · CraftGossip | Start Here | Contact Us | Link to Us | Your Editors | Privacy and affiliate policy