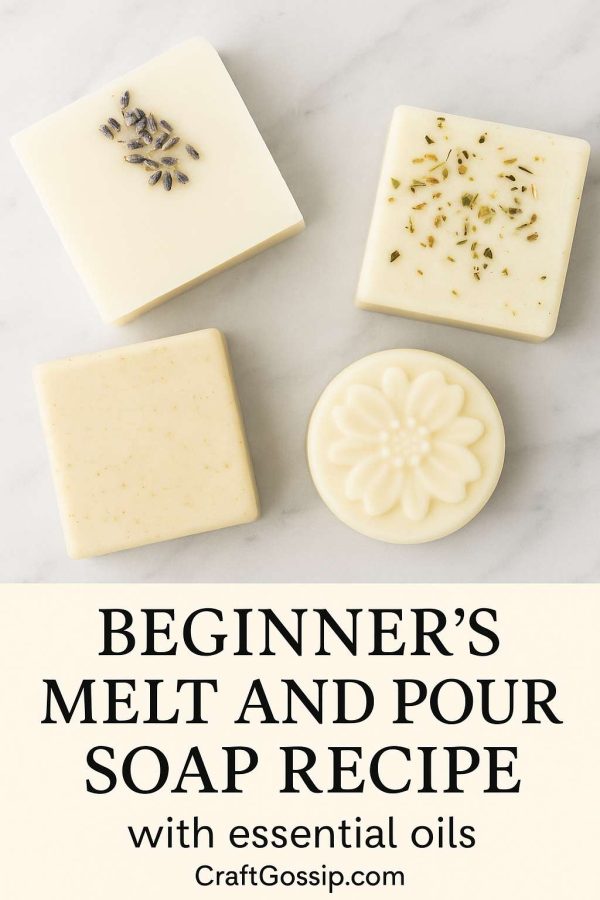
If you’ve been dreaming of making your own soap but feel intimidated by lye and lab goggles—breathe easy. This melt and pour soap recipe is beginner-approved, mum-tested, and totally lye-free. It’s one of the easiest ways to dip your toes into natural skincare crafting without needing a chemistry degree (or a hazmat suit!).
This tutorial walks you through a gorgeous base soap recipe and shows you how to customise it with essential oils, dried herbs, skin-loving add-ins, and creative molds. Whether you’re making handmade gifts, stocking your own bathroom, or just craving a cozy afternoon project, this one is a winner.
Why Choose Melt and Pour Soap?
Melt and pour soap bases are pre-made, which means the saponification process (that whole lye-and-fat chemistry bit) has already been done for you. All you have to do is melt it down, add your goodies, and pour it into a mold. The result? A professional-looking, totally customizable bar of soap without the fuss.
Benefits of Using Melt and Pour:
- No lye handling
- Ready in under 30 minutes
- Great for kids, beginners, or busy mums
- Takes beautifully to scents, colors, herbs, clays, and oils
Basic Melt and Pour Soap Recipe
Ingredients:
- 500g melt and pour soap base (goat’s milk, shea butter, or clear glycerin)
- 1 tbsp carrier oil (sweet almond, jojoba, or castor oil for added nourishment)
- 10–20 drops essential oils (see scent ideas below)
- 1–2 tsp dried botanicals (optional: rose petals, lavender buds, calendula)
- Silicone mold of choice
- Spray bottle of rubbing alcohol (to remove bubbles)
Tools:
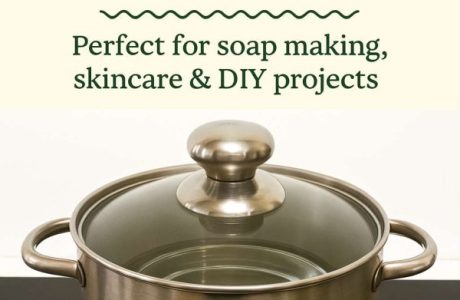
- Heat-safe jug or double boiler
- Silicone spatula or wooden spoon
- Small spray bottle
- Soap cutter or knife (if using a block base)
Instructions:
Step 1: Cut the Base
Chop your melt and pour soap into small cubes. This helps it melt evenly and quickly.
Step 2: Melt Gently
Place cubes in a microwave-safe jug or double boiler. Heat in 20-30 second bursts, stirring between each until completely liquid. Avoid boiling.
Step 3: Customize Your Soap
Once melted, stir in your carrier oil, essential oils, and botanicals. Work quickly but gently—over-stirring creates bubbles.
Step 4: Pour Into Molds
Pour the liquid soap into your silicone molds. Spritz the tops with rubbing alcohol to pop bubbles and create a smooth finish.
Step 5: Let Set
Allow to cool and harden for at least 2 hours at room temperature (or pop in the fridge for a quicker set). Gently pop them out of the molds once solid.
Scent Blend Ideas for Essential Oil Soap
| Mood | Blend Recipe |
| Relaxing Spa | 10 drops lavender, 5 drops cedarwood, 3 drops ylang ylang |
| Zesty Wakeup | 8 drops lemon, 6 drops peppermint, 4 drops rosemary |
| Skin Soothing | 10 drops chamomile, 6 drops frankincense |
| Autumn Comfort | 8 drops sweet orange, 4 drops cinnamon leaf, 2 drops clove |
Add-In Options for Skin Nourishment
- Oats: Add 1 tsp of finely ground oats for gentle exfoliation and calming properties.
- Pink Clay or Bentonite: Add ½ tsp for a skin-purifying twist.
- Dried flowers: Sprinkle a few petals in the mold for a pretty finish.
- Activated charcoal: For a detox bar—use sparingly (¼ tsp per 500g base).
Storage Tips
Store your finished bars in a cool, dry place or wrap them in cling wrap to prevent sweating (glycerin bases tend to draw moisture from the air). Use within 3–6 months for best results.
FAQs – Melt and Pour Soap Troubleshooting
Why is my soap sweating?
That’s just glycerin doing its job—pulling moisture from the air. Wrap in plastic wrap and store in a sealed container.
Can I use fresh fruit or juice?
Not recommended. Fresh ingredients can cause mold or spoilage. Stick to dried or powdered botanicals.
How do I color my soap naturally?
Try turmeric (yellow), spirulina (green), beetroot powder (pink), or cocoa powder (brown). Go light to avoid staining.
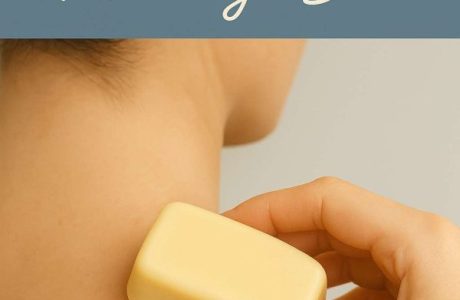
Once you try making melt and pour soap, there’s a good chance you’ll never go back to store-bought again. It’s fast, fun, and endlessly customizable. Best of all, you get to create something beautiful and useful with your own hands—whether it’s for self-care, gifting, or even starting a little soap side hustle.
So grab your jug, heat up that soap base, and let your creativity pour.
Want more melt and pour soap recipes? Try these:
- Herbal Tea Soap Bars
- Exfoliating Coffee Scrub Soap
- Calming Chamomile Honey Bars
- Turmeric and Clay Complexion Soap

Leave a Reply