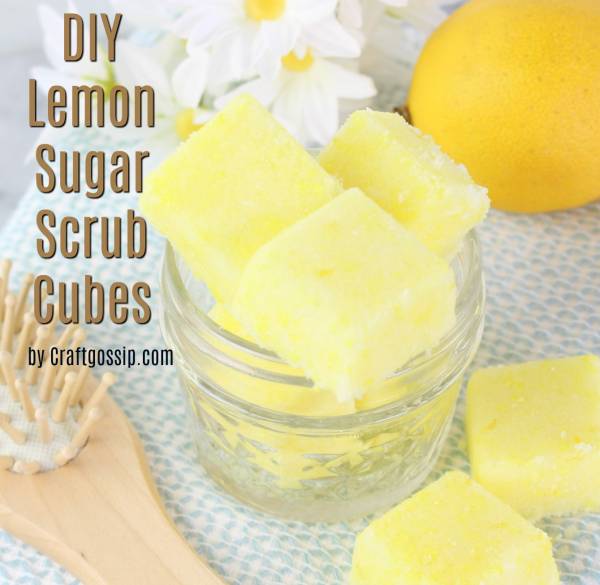
This recipe is for Sugar Scrub cubes. Sugar scrubs are a great way of exfoliating and treating your skin. Lemon essential oil as so many great properties for your skin, it has antibacterial and antifungal properties.
Yields: 1 dozen
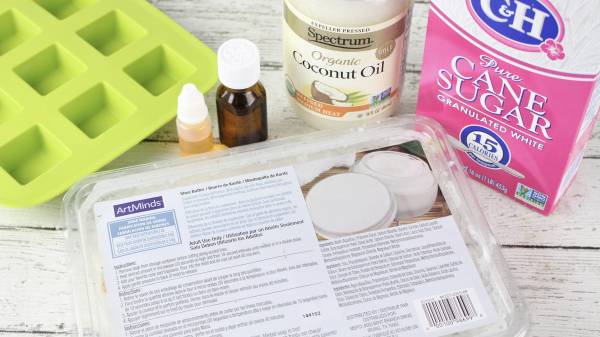
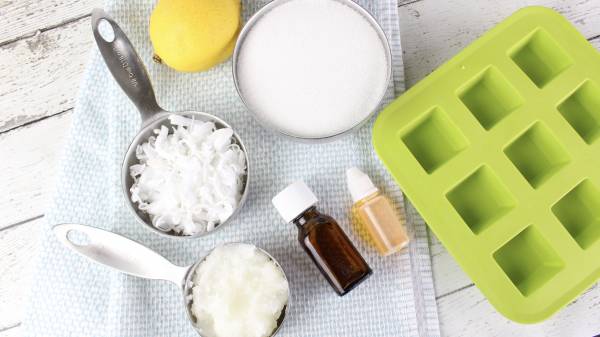
INGREDIENTS
Your favorite silicone mold (I used a 12 count, one inch cube mold)
1/2 cup shea butter soap base
 – shredded
1/4 cup coconut oil
10-12 drops lemon essential oil
1/2 cup shea butter soap base
– shredded1/4 cup coconut oil
10-12 drops lemon essential oil
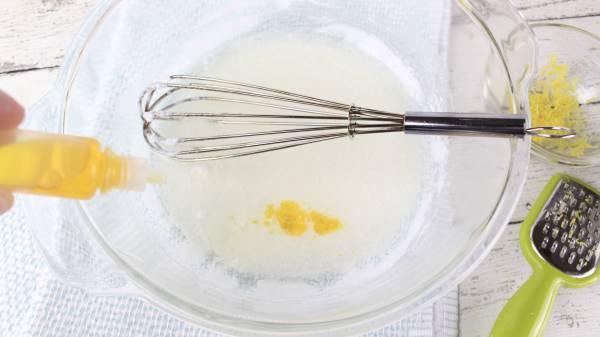
1 Tablespoon lemon zest
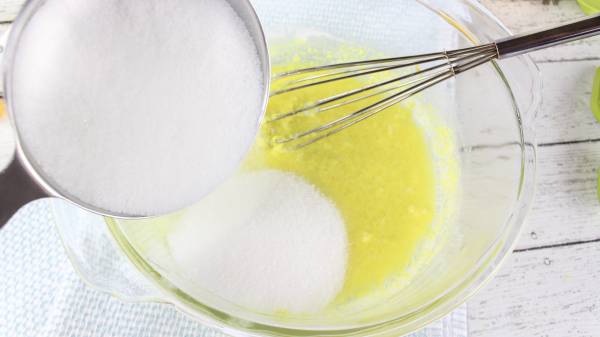
1 cup granulated sugar
Yellow soap colorant safe for skin

1 cup granulated sugar
Yellow soap colorant safe for skin
DIRECTIONS
1. Shred or cut the shea butter into small pieces and place in a medium microwave-safe bowl.
2. Add the coconut oil to the shredded shea butter and microwave for 30 seconds or until melted.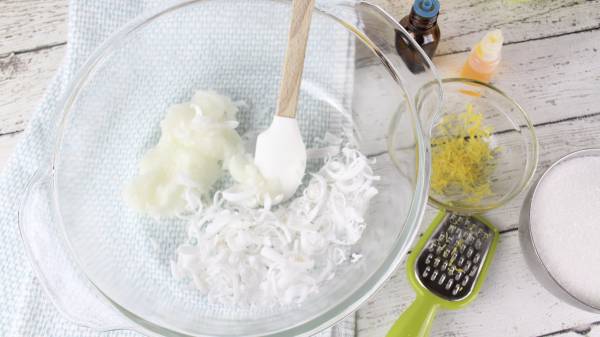
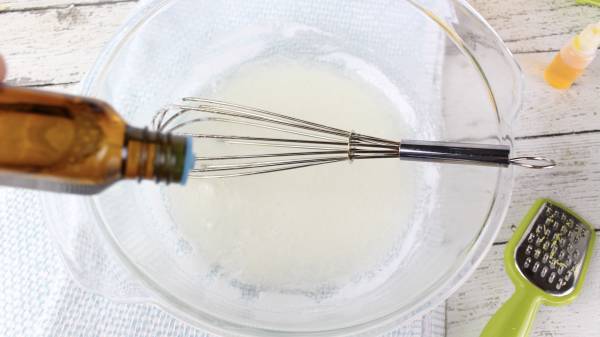
3. Add the lemon essential oil and mix well.
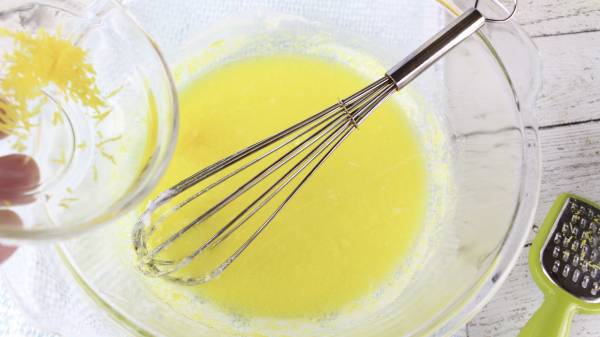
4. Whisk in the yellow soap colorant until you achieve your desired color of yellow. Keep in mind that adding the sugar will make the color lighter.
5. Add the sugar and mix quickly as the liquid will begin to harden once the sugar is added.
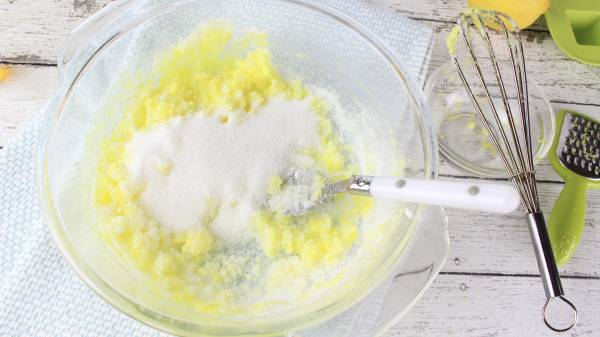
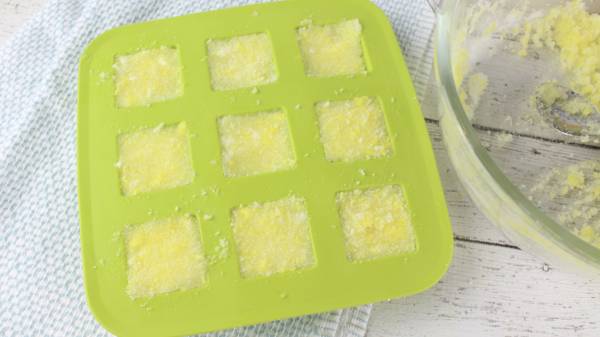
6. Spoon the mixture into each mold, pressing down firmly and filling up to the top.
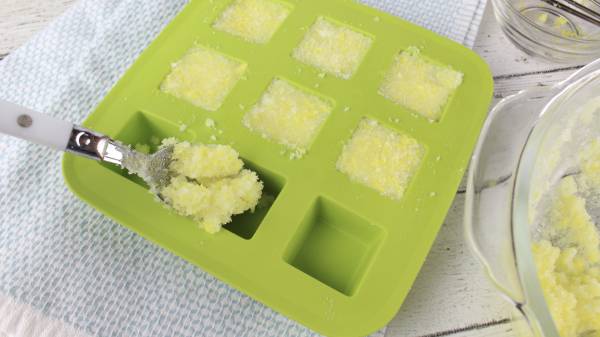
7. Freeze for 1 hour to allow the cubes to completely harden.
8. Release the exfoliating lemon sugar cubes from their molds and store in an airtight glass container.
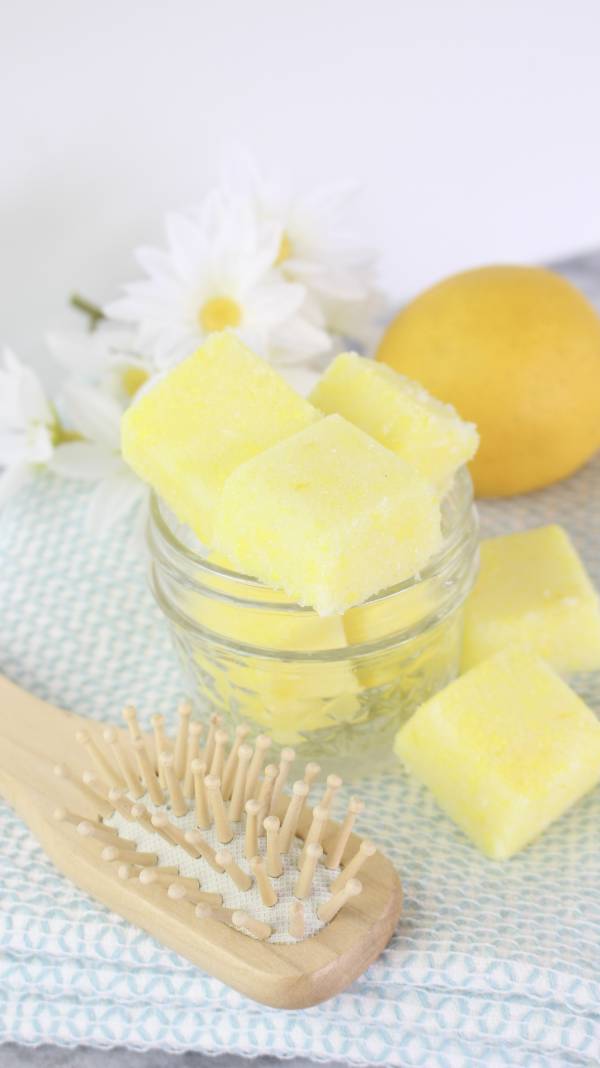
9. ENJOY!!
This article contains affiliate links, an affiliate link means when you purchase from that link we get a financial kick back.

How long do these last in the container? And how many uses do you get out of each cube?