• Home
  • Suggest A DIY
  • DIY Newsletter

Bath and Body

Soap Making, Oils and Recipes

  • About CraftGossip
  • Our Network
    • Bath & Body Crafts
    • Candle Making Ideas
    • Crochet Ideas
    • Cross Stitch
    • Edible Crafts
    • Felting Patterns
    • Glass Art
    • Home & Garden Ideas
    • Indie Crafts
    • Jewelry Making
    • Kids Crafts
    • Knitting Patterns
    • Lesson Plans
    • Needlework
    • Party Ideas
    • Polymer Clay
    • Quilting Ideas
    • Recycled Crafts
    • Scrapbooking
    • Sewing Patterns
    • Card Making
    • DIY Weddings
    • Not Craft Ideas
  • Giveaways
  • Roundups
  • Store
  • Search

DIY Rose Water and Glycerin Facial Mist for Dry Skin Relief

August 15, 2026 by Shellie Wilson Leave a Comment

A Hydrating Floral Spray to Calm, Soothe & Rejuvenate Aging Skin

If your face feels like it’s in a constant tug-of-war between dry patches and hot flashes, this one’s for you. My homemade rose water and glycerin facial mist is a sweet little solution that fits perfectly in your handbag, your fridge, or your nightstand. It’s light, hydrating, and oh-so-soothing—especially for dry, sensitive, or mature skin.

No synthetic fragrance, no preservatives you can’t pronounce—just simple ingredients that love your skin back.

Why Rose Water + Glycerin Is a Dream Duo

As we age, our skin’s natural oil and moisture levels start to dip. Add in hormonal shifts, stress, or weather swings, and suddenly your face feels more Sahara than serene. That’s where this mist shines.

  • Rose water calms redness, tones without drying, and brings gentle hydration 
  • Glycerin is a humectant—it draws water to your skin like a magnet, leaving it soft and dewy 
  • Together, they make a balancing mist that hydrates on the go and layers beautifully under makeup or over your evening serum 

DIY Rose Water & Glycerin Mist Recipe

You’ll Need:

  • ½ cup pure rose water (hydrosol preferred) 
  • 1 tablespoon vegetable glycerin 
  • 1 teaspoon aloe vera gel (optional, for extra cooling) 
  • 3–5 drops rose essential oil (optional, for scent and skin benefits) 
  • 1 small spray bottle (preferably glass or BPA-free plastic) 

How to Make It:

  1. Sanitize your bottle and any tools using boiling water or alcohol. 
  2. In a clean bowl, combine the rose water and glycerin. 
  3. Add in aloe vera gel and essential oil if using. 
  4. Stir well and pour into your spray bottle using a small funnel. 
  5. Shake before each use to distribute the ingredients evenly. 

How to Use Your Mist

  • Morning boost: Spritz after cleansing and before moisturizing. 
  • Midday refresh: Keep in the fridge for a cooling spray during hot flashes or makeup meltdown. 
  • Evening ritual: Use after washing your face and before serums to help everything absorb better. 

Storage & Shelf Life

If you’re using store-bought hydrosol and clean hands, your spray should last up to 4–6 weeks. If you’re using homemade rose water, keep it in the fridge and use within 2–3 weeks.

I started making this mist when my skin felt like it had its own weather forecast—dry one day, flushed the next. One spray in the middle of a perimenopausal meltdown and I felt like a new woman. I even keep a bottle next to my bed for night sweats!

Optional Add-ins:

  • Cucumber juice for extra soothing 
  • Green tea for antioxidants 
  • A few drops of lavender for stress relief 
  • Tiny pinch of pink Himalayan salt (acts as a natural preservative) 
 

«
»

Have you read?

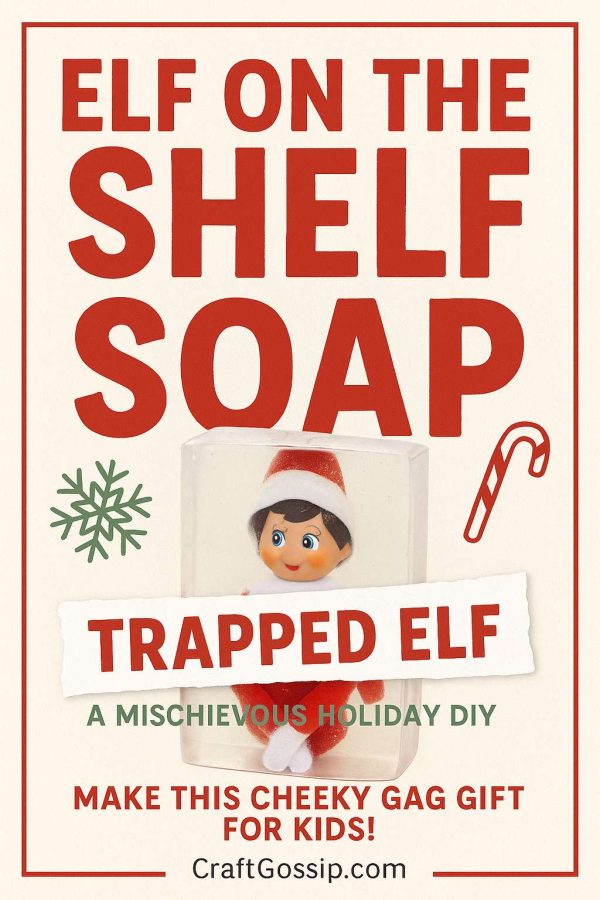
Elf on the Shelf Soap – A Trapped Elf Gag Gift Kids Will Love

Move over bath bombs—this Christmas, there’s a new mischief-maker in the tub.

If you’re looking for a clever twist on traditional Elf on the Shelf antics or a laugh-out-loud handmade gift, this Elf on the Shelf Soap is a crowd-pleaser. Featuring a mini elf trapped inside a block of clear soap, it’s festive, funny, and totally unexpected. Whether you use it as a prank, a stocking stuffer, or a bath-time surprise, this project will have kids and grownups giggling all the way to Christmas.

Plus, it’s easier than it looks! This DIY uses melt-and-pour soap, which means no lye, no curing, and no mess—just melt, pour, and giggle.

 Why You’ll Love This Holiday Soap DIY

  • Kid-safe and skin-friendly – uses gentle melt-and-pour base 
  • No special tools needed – beginner friendly 
  • Great gag gift or stocking stuffer 
  • Customizable scent and color 
  • Perfect for Elf on the Shelf setups or party favors 

Whether you’re a seasoned crafter or just dipping your toes into holiday DIYs, this soap project is as fun to make as it is to use.

 Supplies You’ll Need

To make one (or more) “Trapped Elf” soap bars, gather these easy-to-find materials:

 ½ lb clear melt-and-pour soap base


 1 mini Elf on the Shelf figurine (around 3–4” tall)


 Microwave-safe measuring jug or double boiler


 Soap fragrance oil (peppermint, sugar cookie, or vanilla – optional)


 Soap-safe colorant (green, red, or clear tint)


 Silicone soap mold (rectangle preferred)


 Rubbing alcohol in a spray bottle (to eliminate bubbles)


 Soap glitter (optional but cute!)


 Craft stick or spoon for stirring


Note: Avoid fabric elves unless they’re completely sealed in plastic wrap! The soap base can soak into fabric and cause mildew.

 Step-by-Step Tutorial: How to Make Elf in a Soap Block

Step 1: Melt the Soap Base

Chop the clear melt-and-pour soap into small chunks.
Place in a microwave-safe measuring cup and heat in 20-second intervals, stirring until fully melted and smooth.

Step 2: Add Fragrance & Color

Add a few drops of skin-safe soap fragrance oil and stir.
If using colorant, choose a light hand—too much tint will make your elf hard to see inside the soap.

Step 3: Pour the First Layer

Pour about ¼ inch of the soap mixture into the base of your silicone mold.
Spritz with rubbing alcohol to pop surface bubbles. Let it cool just enough to form a film (2–3 minutes).

Step 4: Place the Elf

Carefully press your elf upright or seated into the semi-set layer.
Now slowly pour more melted soap around the elf, being cautious not to melt any parts of it.
Leave the elf’s hat poking out—or fully encase it for a “totally trapped” effect!

Step 5: Final Spritz & Cool

Spray the top of the soap with rubbing alcohol to pop any final bubbles.
Let the soap set at room temperature for about 1 hour or chill in the fridge for 15–20 minutes.

Step 6: Unmold & Wrap

Once solid, gently unmold your soap bar.
Wrap in plastic wrap or shrink wrap to keep it fresh and prevent surface sweating.

 Fun Ways to Gift or Display

This mischievous soap makes the perfect stocking stuffer, Secret Santa gift, or Elf on the Shelf surprise. Here are some ideas to level up the presentation:

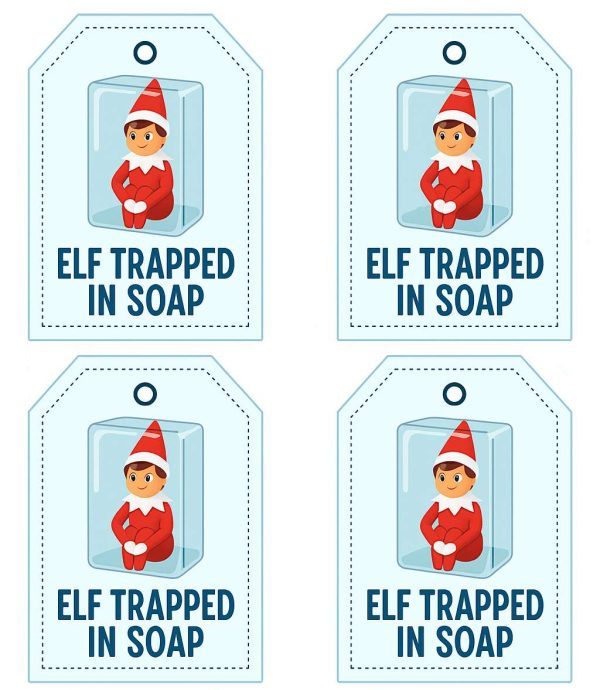
  • Pair with a mini washcloth and gift tag that says:
    “Naughty Elf Soap – He Got What He Deserved!”
    or
    “Free the Elf… One Wash at a Time!” 
  • Place it next to your Elf’s usual spot for a hilarious bathroom setup 
  • Add to Christmas Eve boxes as a silly self-care treat 
  • Create a batch for teacher gifts or classroom party favors


Leave a Reply

Your email address will not be published. Required fields are marked *

RSS feed: More Articles More Articles

  • How to Make a Thanksgiving Family Recipe Scrapbook
  • 10 Triangle Scarf Knitting Patterns for Cosy Layers and Handmade Gifts
  • Free Christmas Pudding Cross Stitch Gift Tag Pattern With DMC Colour Key
  • Crochet Eyelet Jacket Crochet Pattern That Feels Polished but Totally Wearable
  • 10 Thanksgiving Math Printables for Kids: Counting, Addition and Fun Number Puzzles
  • Inexpensive Homemade Food Gifts That Mean More Than Another Christmas Present
  • Selected Yarns Advertised at $2, $4 and $6
  • Thanksgiving Scrapbook Layout Ideas for Family Photos and Grateful Memories
  • 12 Christmas Cross Stitch Patterns That Fit in Small Hoops
  • How to Make a Wet Felted Nuno Scarf – by Muffs Merino

Copyright © 2026 · CraftGossip | Start Here | Contact Us | Link to Us | Your Editors | Privacy and affiliate policy