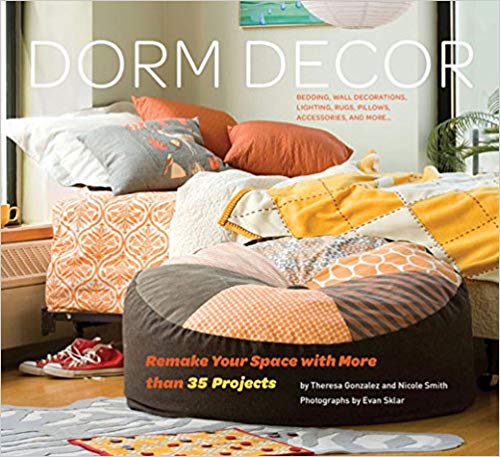
Dorm Decor: Remake Your Space with More than 35 Projects
by Theresa Gonzalez and Nicole Smith
Published by Chronicle Books
$19.95
I received a copy of the fabulous Dorm Decor from Chronicle Books recently and was instantly excited by the fantastic projects inside. Chronicle Books is well known for excellent designs and clear layouts of its books and Dorm Decor does not disappoint! The fun, colorful projects are a great antidote to boring dorm rooms!
Dorm Decor is divided into five sections: Where you sleep; Where you dress; Where you study; Where you hang out; and Where you wash. Each section has anywhere from five to eleven projects. Some sample projects include a reversible duvet cover, monogram shams, hanging closet organizer, embroidery hoop photo mobile, fleece robe, and embellished towels. Several of the projects have little to no sewing required for those not handy with a sewing machine. The projects are cleverly divided into skill levels that are reminiscent of college courses, like 101 for Freshman and the easiest in skill level.
The book also gives suggestions on room arrangements, sewing basics, choosing fabrics and a fabric care guide, which is perfect for those new to being on their own and perhaps doing the laundry on their own for the first time. There are also tips on ironing and a glossary on sewing terms for beginners.
Although the book is clearly geared toward college students living in a dorm room setting, some of the projects would also be great for those with a youthful, modern decor and skilled crafters who can adapt the projects to their own tastes and personal style. The silhouette message board and tufted seat cushion are just two examples of projects that anyone can adapt for suit their own style.
Pick up this book on Chronicle Books’ own website, your favorite local bookstore, or Amazon.

With dorm rooms being very small, you might want to consider using a loft bed to gain more space. You can find a good number of them by doing a google search for college loft bed.
In Australia we dont call the dorms, but Im thinking they are pretty small rooms. With these decor ideas, a small space would immediately look inviting and provide more space.