These free Lotion bars labels are free and even come with their own DIY lotion recipe. These lotion bar labels come in a couple of different color schemes too. Make sure you check out the free DIY lotion recipe when you are there.
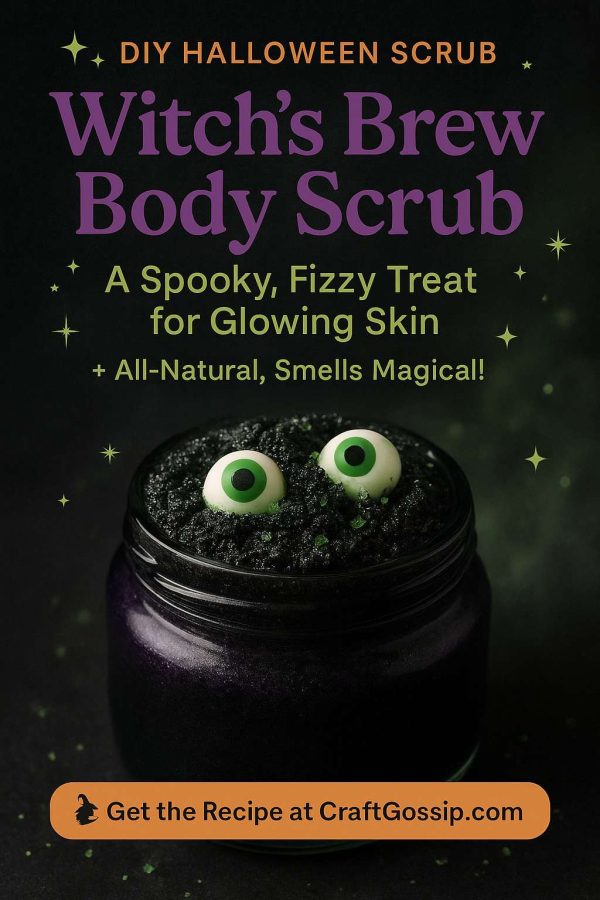
Have you read?
How to Make Distilled Water at Home – A Simple DIY Method
When it comes to soap-making and other skin-loving crafts, using distilled water isn’t just a fussy extra—it can actually make or break your batch. Tap water might be fine for drinking, but it contains minerals, chlorine, and trace contaminants that can mess with lye reactions in cold process soap or leave cloudy spots in melt-and-pour bars.
Distilled water is simply pure H?O. Nothing else. No minerals, no impurities, no sneaky sediment from old pipes. And the good news? You can make it yourself with tools you already have in your kitchen.
Whether you’re making natural soap, diluting essential oils, or filling a steam iron, learning how to distill your own water is a handy life skill that costs next to nothing.
Why Distilled Water Matters in Crafting
If you’re working with ingredients that require precision—like sodium hydroxide (lye) in cold process soap—distilled water is non-negotiable. The minerals in tap water can alter your soap’s texture, accelerate spoilage, and even react with lye to form unwanted residue (that dreaded white film on your bars).
Plus, if you’re creating facial sprays, toners, or bath products, distilled water gives you peace of mind that you’re not introducing hidden bacteria or heavy metals into your skincare.
What You’ll Need
- A large stainless steel pot with a domed or regular lid
- A heat-safe glass or metal bowl (that fits inside the pot without touching the bottom)
- Ice cubes
- Tap water
- Stove or heat source
- Oven mitts or tongs
- A clean glass jar or container with a lid for collecting the distilled water
Optional but helpful: a small wire rack or trivet to rest the bowl on, if it doesn’t float.
Step-by-Step Instructions to Make Distilled Water
Step 1: Add Tap Water to the Pot
Fill the large pot about halfway with regular tap water. This water will be boiled and turned into steam, which becomes your distilled water.
Step 2: Place the Collection Bowl Inside
Gently set your smaller bowl inside the pot. It should float, or if not, rest it on a small rack so it doesn’t touch the bottom. This bowl is where your clean distilled water will collect.
Step 3: Invert the Lid and Add Ice
Flip the lid upside down so the knob points down toward the center of the bowl. The lid will catch the rising steam, and the cold from the ice will help it condense into liquid. As the steam rises, it will drip down into the bowl—leaving the impurities behind.
Step 4: Turn on the Heat
Bring the water to a gentle boil. Keep the heat medium-low—you want a steady simmer, not a rapid boil, to allow for proper condensation.
Step 5: Watch and Wait
As the water steams and condenses on the lid, it will drip into your collection bowl. Keep adding ice to the top of the lid as needed. One liter of distilled water may take 30–45 minutes.
Step 6: Cool and Store
Once you’ve collected enough water, turn off the heat and allow everything to cool. Carefully remove the bowl using oven mitts or tongs. Transfer your freshly distilled water into a clean glass container with a lid. Store in a cool, dry place.
How Much Can You Make?
Depending on the size of your pot and bowl, you can expect to make 300–500ml per hour. It’s not lightning fast, but it’s perfect for small-batch crafting.
Tips and Variations
- If your lid isn’t domed, tilt it slightly toward the bowl to encourage dripping.
- For even purer results, use filtered water as your base.
- Sterilise your collecting bowl and container if you’re using the distilled water for skincare or medical use.
Is It the Same as Boiled Water?
No. Boiled water kills bacteria but still contains minerals and chemicals. Distillation removes those impurities by turning water into steam and then collecting the clean vapor.
What Can You Use Homemade Distilled Water For?
- Cold process and melt & pour soap making
- Essential oil blends and room sprays
- Facial toners and skin care products
- Herbal tinctures or infusions
- Cleaning irons, humidifiers, or CPAP machines
Once you’ve made your own distilled water, you’ll wonder why you ever bought it in a jug. It’s a simple, satisfying process that supports all your homemade projects—without the price tag or plastic waste. And it’s surprisingly relaxing to watch those little droplets fall into the bowl, knowing you’re crafting something pure from scratch.
Would you like to bundle this into your soap-making PDF guide? Or should I move ahead with the next tutorial in the soap series?
Leave a Reply