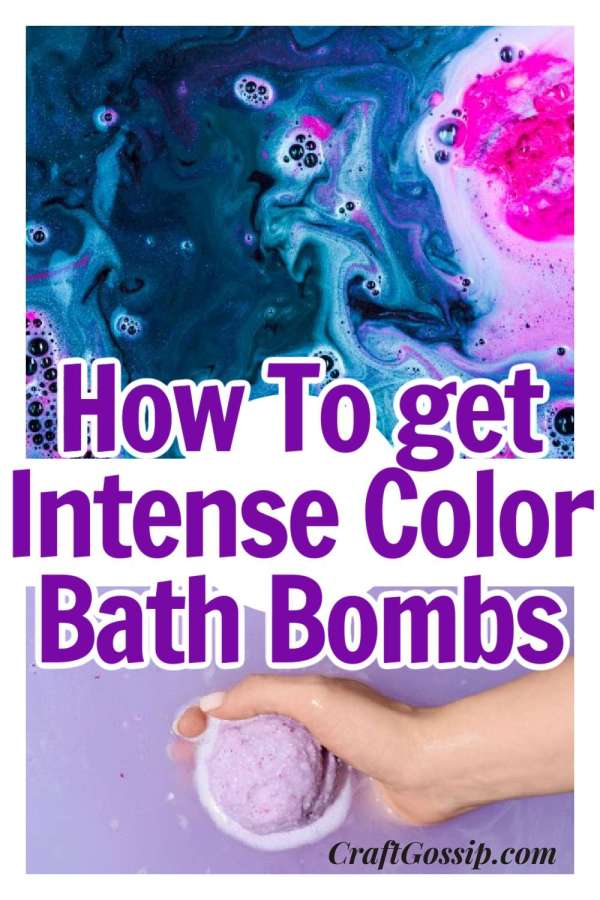
Bath bombs are a fun way to enhance your bathing experience. They add fizz, fragrance, and color to the water, making bath time more enjoyable. However, if the color used in the bath bombs is too strong or not appropriate, it can lead to staining the bathtub.
Stained bathtubs can be a hassle to clean and may ruin the relaxing experience of taking a bath. Therefore, it is essential to use good, strong colors for DIY bath bombs that won’t stain the bathtub.
In this article, we will discuss some tips on how to get a good, strong color for bath bombs that won’t stain the bathtub.
in this article, we’ll explore some tips and tricks to help you get a good, strong color for your DIY bath bombs without staining your bathtub.
Use Skin-Safe Dyes
The first step to getting a good, strong color for your bath bombs is to use skin-safe dyes. There are a variety of dyes available on the market, but not all of them are safe to use on your skin. Some dyes can cause skin irritation or other adverse reactions. When selecting dyes, look for ones that are specifically labeled as “skin-safe”. These dyes are typically made from natural ingredients and are free from harsh chemicals.
Start With a Small Amount of Dye
When it comes to adding color to your bath bombs, a little goes a long way. It’s easy to go overboard with the dye, especially if you’re looking for a bright and bold color. However, adding too much dye can lead to staining and discoloration. To avoid this, start with a small amount of dye and gradually add more until you achieve your desired color.
Blooming the color for bath bombs is a process that involves mixing the mica powder with a small amount of carrier oil to enhance the color and prevent clumping when added to the wet ingredients. Blooming the mica powder is an optional step, but it is a great way to get a more vibrant and even color in your bath bombs. Here’s how to bloom the color for bath bombs using mica powder:
How to bloom your bath bomb color
Step 1: Gather Your Materials
You will need the following materials:
Mica powder
Carrier oil (such as sweet almond oil or fractionated coconut oil)
Small bowl or cup
Mixing spoon
Step 2: Add the Mica Powder to the Bowl
Place a small amount of mica powder (usually 1/4 to 1/2 teaspoon) into a small bowl or cup.
Step 3: Add the Carrier Oil
Add a few drops of carrier oil to the mica powder. The amount of carrier oil will depend on the amount of mica powder used, but a general rule of thumb is to use enough oil to create a thick paste with the mica powder.
Step 4: Mix the Mica and Carrier Oil
Using a mixing spoon, stir the mica powder and carrier oil together until a thick paste is formed. Make sure the mica powder is fully coated with the carrier oil.
Step 5: Let the Mica Powder Bloom
Let the mica powder and carrier oil mixture sit for a few minutes to allow the mica powder to “bloom.” Blooming is a process that allows the mica powder to fully absorb the carrier oil and create a more vibrant color.
Step 6: Add the Bloomed Mica Powder to the Wet Ingredients
After the mica powder has bloomed, add the mixture to the wet ingredients when making the bath bombs. The bloomed mica powder should be added slowly while stirring the wet ingredients continuously to ensure even distribution of the color.
Polysorbate 80
Polysorbate 80 is a commonly used ingredient in bath bombs to help disperse the oils and colorants in the water and prevent them from staining the tub. It is a water-soluble surfactant, which means it can help oils and water mix together.
When using Polysorbate 80 in your bath bomb recipe, it’s important to follow the recommended usage rate. The usual amount of Polysorbate 80 used in a bath bomb recipe is 1 part Polysorbate 80 to 2 parts oil or butter. This means that if you are using 1 tablespoon of oil in your recipe, you should add 1/2 tablespoon of Polysorbate 80.
To use Polysorbate 80 in your bath bomb recipe, first measure out the appropriate amount of oil or butter and add it to a mixing bowl. Then, add the correct amount of Polysorbate 80 to the oil or butter and mix well. Once the Polysorbate 80 and oil are combined, you can add it to the rest of your bath bomb ingredients and mix until everything is well combined.
It’s important to note that if you are using fragrance or essential oils in your bath bomb recipe, you should add the Polysorbate 80 to the oils rather than the other way around. This will help the Polysorbate 80 disperse the oils more evenly in the water.
Use Natural Colorants
If you’re looking for a more natural option for coloring your bath bombs, consider using natural colorants. There are a variety of natural ingredients that can be used to add color to your bath bombs, such as beetroot powder, turmeric, and spirulina. These natural colorants are safe for your skin and won’t cause staining. However, keep in mind that natural colorants may not produce the same vibrant colors as synthetic dyes.

Leave a Reply