• Home
  • Suggest A Craft
  • DIY Newsletter

Bath and Body

Soap Making, Oils and Recipes

  • About CraftGossip
  • Our Network
    • Bath & Body Crafts
    • Candle Making Ideas
    • Crochet Ideas
    • Cross Stitch
    • Edible Crafts
    • Felting Patterns
    • Glass Art
    • Home & Garden Ideas
    • Indie Crafts
    • Jewelry Making
    • Kids Crafts
    • Knitting Patterns
    • Lesson Plans
    • Needlework
    • Party Ideas
    • Polymer Clay
    • Quilting Ideas
    • Recycled Crafts
    • Scrapbooking
    • Sewing Patterns
    • Card Making
    • DIY Weddings
    • Not Craft Ideas
  • Giveaways
  • Roundups
  • Store
  • Search

Peppermint And Orange Bath Bombs

August 17, 2019 by Shellie Wilson Leave a Comment

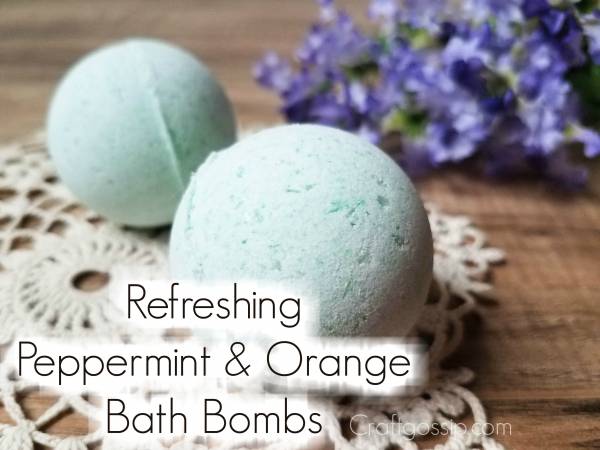
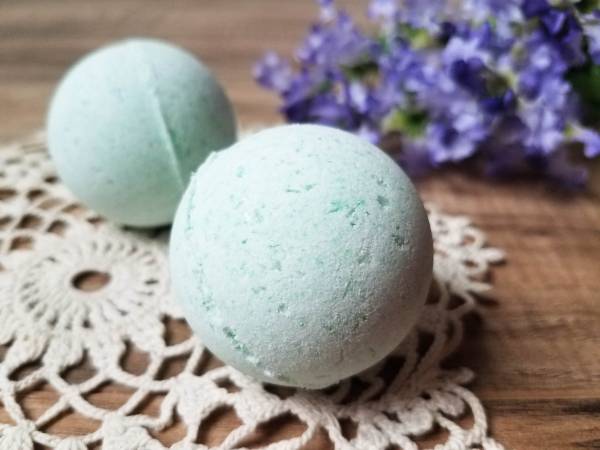
Peppermint & Orange Bath Bombs – Menthol is also known to help ease tension headaches and muscular aches and pains. It has a strong intense smell, so you may wish to reduce the amount of peppermint you use. I love peppermint oil and use it undiluted on my doorsteps to stop vermin. Orange is uplifting and refreshing. This bath bomb is perfect before a night out to uplift your mood and set the tone for your evening.

Ingredients:

  • 2 oz Epsom salt
  • 4 oz baking soda
  • 2 oz corn starch
  • 2 oz citric acid
  • 1 tbsp grapeseed oil
  • ½ tbsp water
  • 1 drop red food coloring
  • 5 drops Peppermint essential oil
  • 5 drops of orange Essential oil


Supplies:

  • Large bowl
  • Whisk
  • Small jar with lid
  • 5-10 round bath bomb molds
  • Measuring cups
  • Measuring spoons

Directions:

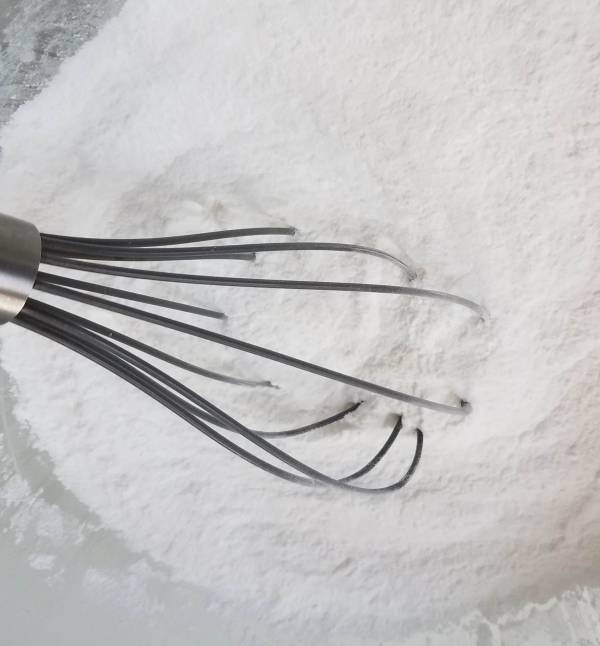
  1. Mix the dry ingredients first (Epsom salt, baking soda, cornstarch and citric acid), using the whisk. Mix well to ensure there are no clumps.
  2. Pour the wet ingredients (grapeseed oil, water, food coloring and essential oils) into a jar, secure the lid and shake well.
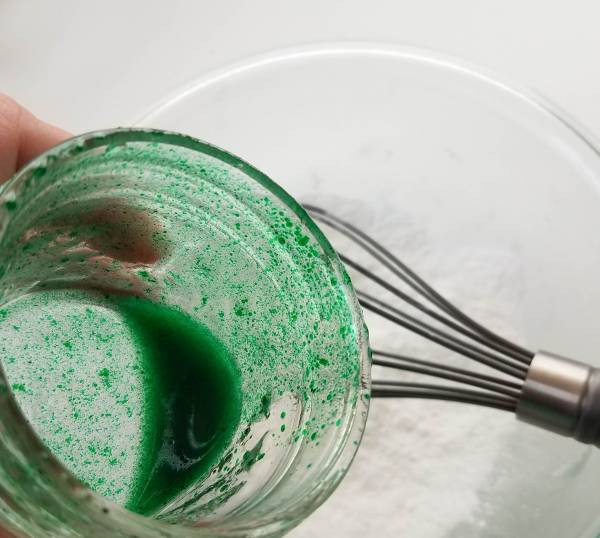
  3. Very slowly add the liquid mixture to the dry mixture, about a few drops at time, while whisking. If you’re not pouring slowly enough, the mixture will start to fizz and you don’t want that to happen.
  4. Once all of the liquid has been poured into the dry mixture, mix very well until the color is consistent.
  5. Immediately fill the molds with the mixture, firmly stuffing each side full.
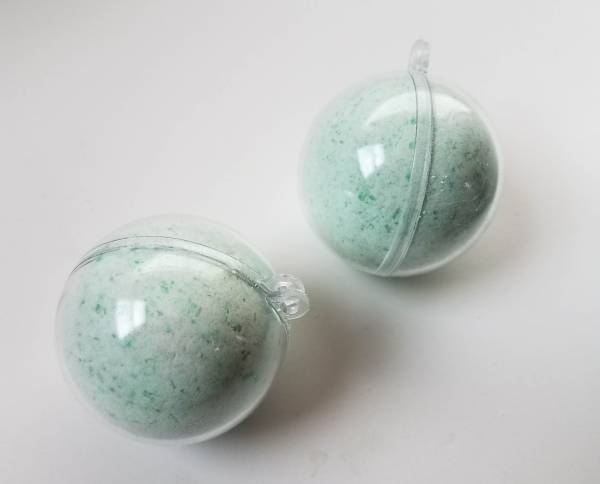
  6. Secure both parts of the mold together and let set. I always give it about a day, just to be on the safe side.
  7. Carefully release bath bombs from molds and put into an airtight container, or individual cello bags.

Related Posts:

  • 10 DIY Bath And Body Recipes For When You Have A Headache
  • How To Make Slow Release Vibrant Bath Bombs
«
»

Have you read?

DIY Summer Nail Designs You’ll Want to Rock All Season Long

As soon as the weather heats up and the days get longer, I swap out my moody nail colors for something a little more fun, flirty, and full of sunshine. Summer is the perfect excuse to get playful with your nail designs — and this year, I’ve been experimenting at home to find a few favorites that are both easy to paint and seriously cute.

I’ve rounded up three of my go-to summer nail looks that you can totally do yourself, even if you’re not a pro. These are the styles I keep coming back to because they’re fun, eye-catching, and honestly — they just make you feel good. Whether you’re heading to the beach, a backyard BBQ, or just want to admire your nails while holding an iced latte, these are the ones to try.

Let’s dive in!

Sunset Ombre Nails

This is hands down one of the most satisfying nail designs you can do yourself. The colors melt into each other like a beach sunset, and the end result looks way more advanced than it really is.

You’ll Need:

  • A base coat

  • Three polishes (I use pink, orange, and yellow)

  • A makeup sponge

  • Top coat

  • Nail polish remover for cleanup

How to Do It:

  1. Start with a clear base coat to protect your nails.

  2. Paint horizontal stripes of your 3 colors directly onto the makeup sponge.

  3. Dab the sponge gently onto your nail, reapplying polish to the sponge as needed. Tap until the gradient blends.

  4. Clean up any excess polish around your cuticle.

  5. Apply a top coat to smooth the colors and add shine.

This design is one of those that looks good even when it’s a little messy — the top coat really pulls it all together.


 Tropical Palm Silhouettes

If you want vacation vibes without actually going anywhere, this one’s for you. The pastel base paired with simple black palm trees gives it that dreamy island feel.

You’ll Need:

  • A light pastel base polish or soft gradient background

  • Black nail art pen or thin brush with black polish

  • Top coat

How to Do It:

  1. Paint your nails with a soft pastel or ombre base.

  2. Once dry, draw a thin curved line for the palm trunk.

  3. From the top of the trunk, add small lines that fan out to mimic palm fronds.

  4. Let everything dry completely before adding a glossy top coat.

Even if your palm trees aren’t perfect, they still look awesome. Think of it like nail doodling — just more tropical.


 Watermelon French Tips

This design is so cheerful, I smile every time I see it. It’s a fruity twist on a French manicure and it’s perfect for pool parties or picnics.

You’ll Need:

  • Pink polish for the base

  • Green and white for the rind

  • Black polish for the seeds (use a dotting tool or toothpick)

  • Base and top coat

How to Do It:

  1. Paint your entire nail a soft pink.

  2. Add a green curved tip at the top edge (like a French tip).

  3. Under the green, paint a very thin white stripe.

  4. Add small black dots on the pink section to create seeds.

  5. Seal it all in with your favorite top coat.

This one is such a crowd-pleaser and looks adorable on both long and short nails.

Whether you try one of these or rotate through all three this summer, I hope these nail designs add a little color and creativity to your routine. They’re simple enough to do at home but still look like you spent time (and money!) at the salon.

Let me know which one you’re trying first — and don’t forget to tag us if you share your summer nail look!

Leave a Reply

Your email address will not be published. Required fields are marked *

RSS More Articles

  • Learning about the Moon for Kids
  • Free Crochet Pattern – Battenberg Blanket
  • Book Review – Big Thrift Energy
  • How to Make a Summer Drinks Shaker Card
  • Cookie Monster Toddler Apron
  • Free Printable Wedding Coloring Pages for Kids – Inclusive and Fun
  • Bring the Tropics to Your Home with DIY Tropical Paper Flowers!
  • Bookmark Cross Stitch Patterns
  • FREE Summer Vacation Die Cut Files to Download
  • Knit a Linen Stitch Hot Pad

Categories

Bath And Body bath bombs Body Scrubs & Lotions Colds & Flu CraftGossip Exclusive Craft Inspirations detox DIY Recipes And Tutorials DIY Tutorials and Patterns Essential Oils And Aromatherapy facials Hair Care Makeup & Beauty Melt & Pour Soap Packaging Product Reviews Soapmaking Recipes, Products And Tutorials Style Me Quick Supply Store Specials & Discounts Wellbeing

Copyright © 2025 · CraftGossip | Start Here | Contact Us | Link to Us | Your Editors | Privacy and affiliate policy