• Home
  • Suggest A DIY
  • DIY Newsletter

Bath and Body

Soap Making, Oils and Recipes

  • About CraftGossip
  • Our Network
    • Bath & Body Crafts
    • Candle Making Ideas
    • Crochet Ideas
    • Cross Stitch
    • Edible Crafts
    • Felting Patterns
    • Glass Art
    • Home & Garden Ideas
    • Indie Crafts
    • Jewelry Making
    • Kids Crafts
    • Knitting Patterns
    • Lesson Plans
    • Needlework
    • Party Ideas
    • Polymer Clay
    • Quilting Ideas
    • Recycled Crafts
    • Scrapbooking
    • Sewing Patterns
    • Card Making
    • DIY Weddings
    • Not Craft Ideas
  • Giveaways
  • Roundups
  • Store
  • Search

Sweet Orange Castor Oil Lip Balm

October 16, 2025 by Shellie Wilson Leave a Comment

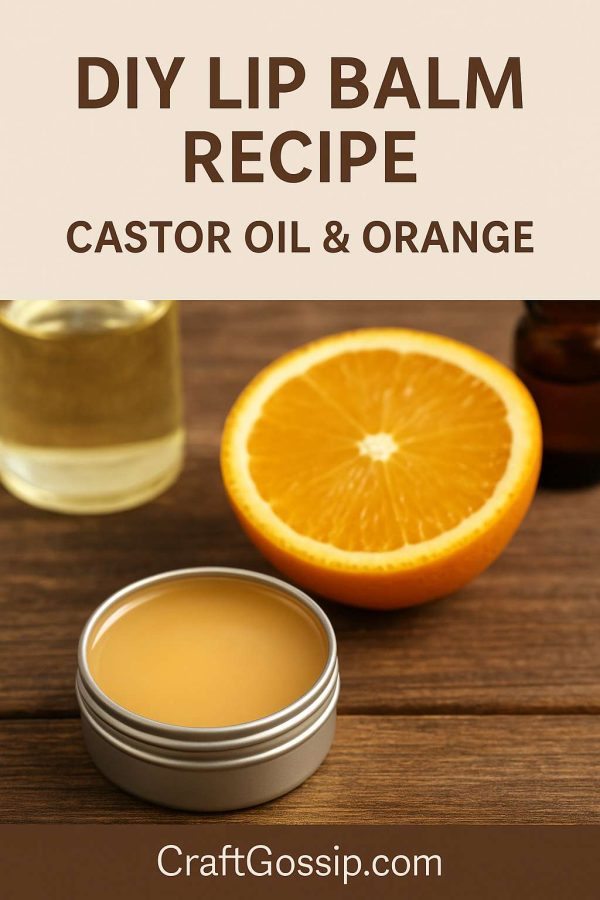
Let me tell you, between school runs, afternoon winds, and my habit of forgetting to drink water (anyone else?), my lips don’t always get the care they deserve. But that’s where this silky-smooth, all-natural lip balm comes in. With castor oil at the heart of it, this DIY recipe gives you a glossy finish and serious hydration—without any of those artificial nasties hiding in store-bought balms.

I first made this one lazy Sunday while clearing out the bathroom cabinet. I had leftover cocoa butter from a soap project, some sweet orange oil, and a half-used jar of castor oil begging for a purpose. I whipped it all together and—bam!—my lips felt like I’d just walked out of a spa.

Plus, it makes for darling little handmade gifts. Pop a few in tins, tie them with twine and tuck into gift baskets for Christmas, teachers, or your crafty girlfriends.

Ingredients:

  • 10 g beeswax (pellets or chopped)

  • 10.5 g cocoa butter

  • 14 g castor oil (this adds shine!)

  • 15 g macadamia oil (or sweet almond)

  • ¼ g vitamin E oil (preservative + skin booster)

  • 4 drops sweet orange essential oil

Instructions:

  1. Gently melt beeswax and cocoa butter in a double boiler or microwave-safe jug. Stir every 30 seconds if microwaving.

  2. Once melted, remove from heat and add castor oil, macadamia oil, vitamin E, and essential oil. Stir until well blended.

  3. Carefully pour into small tins or lip balm tubes using a pipette or jug.

  4. Let set at room temp or pop into fridge for 15–20 minutes until firm.

  5. Label and enjoy!

Tips:

  • Castor oil is thick and naturally glossy—don’t skip it!

  • You can swap the orange for peppermint, vanilla, or lavender essential oil.

  • For vegan version, replace beeswax with candelilla wax.


Related Posts:

  • DIY Makeup Remover Recipes For Every Skin Type
  • How to Make Foaming Hand Soap From Regular Hand Soap
«
»

Have you read?

DIY Herbal Vapor Rub Balm – A Natural Vicks-Style Decongestant for Cold and Flu Relief

When someone in the house starts sniffling, you just know it’s going to make the rounds. That’s when I reach for this homemade herbal vapor rub—our family’s go-to chest balm for easing congestion, coughs, and that heavy-headed sick feeling.

Made with gentle yet powerful essential oils, this balm works just like the classic Vicks rub (but without the synthetic stuff). It’s safe, effective, and smells like a eucalyptus grove with a hint of grandma’s medicine chest—in the best possible way!

Whether you’re treating a toddler’s sniffles or trying to head off a man cold, this DIY vapor rub will be your winter wellness MVP.

Why You’ll Love This Natural Decongestant Balm

  • No petroleum or nasties – A clean, green homemade Vicks alternative 
  • Gentle enough for kids – With optional adjustments for littlies 
  • Nourishing balm texture – Melts into skin without being greasy 
  • Essential oils – Provide cooling, clearing, and comforting support 
  • Customizable – Make it stronger for adults or extra-gentle for babies 

Ingredients

Base:

  • 1/4 cup coconut oil (or olive oil for a softer balm) 
  • 2 tbsp shea butter or mango butter 
  • 2 tbsp beeswax pellets 

Essential Oil Blend (for adults):

  • 10 drops eucalyptus essential oil 
  • 8 drops peppermint essential oil 
  • 6 drops rosemary essential oil 
  • 4 drops tea tree essential oil 
  • 4 drops lavender essential oil 

Optional for kids under 5:
Replace eucalyptus and peppermint with fir needle and cedarwood atlas, and halve the total essential oil amount.

How to Make Your Own Vapor Rub

  1. Melt the base:
    In a double boiler (or a bowl over simmering water), gently melt the coconut oil, shea butter, and beeswax together. Stir until smooth and liquid. 
  2. Cool slightly:
    Remove from heat and let cool just a few minutes—enough that it’s no longer scalding hot but still liquid. 
  3. Add essential oils:
    Stir in your essential oil blend. Don’t add them too early or the heat will evaporate their goodness. 
  4. Pour into tins or jars:
    Carefully pour into a small glass jar or metal balm tin. Let cool completely before putting the lid on. 
  5. Label & store:
    Store in a cool place away from sunlight. Balm will keep for up to 6 months. 

How to Use Your Herbal Chest Rub

  • For chest and back: Rub a small amount onto chest, upper back, and soles of the feet during cold or flu season. 
  • For steam relief: Add a pea-sized amount to a bowl of steaming water, cover your head with a towel, and inhale. 
  • For headaches: Dab a touch on temples and neck (use caution and avoid eyes). 

Mum Tips

  • Patch test first if you’re unsure about sensitivities. 
  • Keep a tiny jar in your handbag during winter for on-the-go sniffles. 
  • For a nighttime version, add a few drops of Roman chamomile or lavender for extra sleep support. 


Leave a Reply

Your email address will not be published. Required fields are marked *

RSS More Articles

  • Shark Week Learning for Kids
  • Book Review – Needle Felting Art: Mixed Media Woodland Creatures
  • Knit Summer Tops with Fun Necklines
  • DIY Pottery Clay Doily Platter with Pink Speckled Glaze
  • How to Make Thick Yoghurt Smoothie Bowls in the Ninja Slushie Maker
  • FREE 4×6 Printable Backgrounds – 4th of July Collection (Red, White and Blue Craft Papers)
  • Turtle Crochet Patterns That Are Slow, Sweet, And Totally Worth Making
  • Heirloom Keepsake Crafts: Pretty Ways To Upcycle Grandma’s Vintage Teaspoons
  • Book Review: The Book Book of Beginner Amigurumi
  • Bird Embroidery Blank Laser Cut Pattern

Copyright © 2026 · CraftGossip | Start Here | Contact Us | Link to Us | Your Editors | Privacy and affiliate policy