• Home
  • Suggest A Craft
  • DIY Newsletter

Bath and Body

Soap Making, Oils and Recipes

  • About CraftGossip
  • Our Network
    • Bath & Body Crafts
    • Candle Making Ideas
    • Crochet Ideas
    • Cross Stitch
    • Edible Crafts
    • Felting Patterns
    • Glass Art
    • Home & Garden Ideas
    • Indie Crafts
    • Jewelry Making
    • Kids Crafts
    • Knitting Patterns
    • Lesson Plans
    • Needlework
    • Party Ideas
    • Polymer Clay
    • Quilting Ideas
    • Recycled Crafts
    • Scrapbooking
    • Sewing Patterns
    • Card Making
    • DIY Weddings
    • Not Craft Ideas
  • Giveaways
  • Roundups
  • Store
  • Search

The Secret of Making Bath Salts

August 13, 2007 by Kimberly Ayers 7 Comments

There is nothing in the world like a nice warm bath with bath salts containing pure essential oils to help relax and soothe your mind and body! Giving scented bath salts for the holidays, birthdays or just to give to a good friend also makes a welcome gift!

Once you have made these gifts with your own two hands what isn’t so nice is if the bath salts are hard as a rock when the recipient goes to use them! (Yes, it has happened to me, much to my embarrassment!) When the essential oils or fragrance oils are added to a salt blend – many times what can happen is that the bath salts absorb the moisture from the oils and then the salts turn hard as a rock. To have your salts nice and free-flowing you must add an ingredient called “malto dextrin.”

Malto dextrin is a natural carbohydrate that aborbs moisture and also helps the bath salts to retain their scent. It is used in the food, beer-making, and cosmetic industries, is readily available and best of all…..CHEAP! I purchase mine from BrewSource.com at the current price of $1.50 per pound.

To make your own bath salts first mix together mix the following together:

  • ½ cup of Malto Dextrin
  • 2 drams (160 drops, or 1 ½ teaspoon) of essential oils or fragrance oils

Mix the oils into the malto dextrin until it becomes a crumbly mixture, then add that mixture to 4lbs of epsom salts. (4 pounds of epsom salts is one carton of salts that you can buy at the drug, grocery or Wal-mart stores.) Mix well and check out how your blend smells. If it’s too weak, add more oils until you get the desired aroma. If it’s too strong, add more salts. Then what I do after I adjust the scent is shake, shake, shake the salts in a large zip lock baggie. Once that is accomplished you’re ready to package your bath salts in an airtight container and give as gifts or just keep for yourself.

If you try this recipe, please let me know how it turns out for you!

*note: do not put scented bath salts in tins as the oils in the salts will rust the tins. Line the tin with a plastic baggie first then add the salts.

[tags]bath, bath salts, body, aromatherapy[/tags]
Related Posts:

  • DIY Aphrodisiac Rose Petal Shower Steamers
  • 10 DIY Bath And Body Recipes For When You Have A Headache
«
»

Comments

  1. Barbe Saint John says

    August 13, 2007 at 10:21 pm

    Thanks for that Kim!!!! I always wondered my homemade salts got weird!

  2. Kimberly Ayers says

    August 14, 2007 at 1:18 pm

    So glad I could help out! I made about 12 tins of salts one year for gifts and every single one of them was hard and the inside of the tins rusted….lol

  3. Corris says

    October 8, 2007 at 7:14 am

    Thanks for sharing the ingredient tip! I am teaching my craft club how to make bath salts for the holidays and I will be sure to share your story.

  4. sheane32 says

    February 11, 2008 at 2:40 pm

    maybe you can add some color to your bath salts as well. But add it the same way with adding the fragrance, by drops. This gives you finer control on the color of the salts since you don’t want your bath water’s color to be overpowering.

  5. Vitali says

    December 18, 2008 at 3:35 pm

    Xm, frankly speaking, I have no idea about the ingredietn “malto dextrin”. And how much should use this ingredient to achieve necessary results? )
    Thanks

  6. Sam says

    October 31, 2015 at 1:47 am

    Can you add more salts a few days later after making them to lessen the strong scent?

Trackbacks

  1. stikilines » Blog Archive » The Secret of Making Bath Salts says:
    November 5, 2007 at 8:09 am

    […] all the details here […]

Have you read?

How to Make Your Own Lush-Inspired Massage Bar at Home

Looking to recreate the magic of a Lush massage bar at home? You’re not alone. These creamy, solid lotion bars have gained cult status for their ability to melt on skin, deliver deep moisture, and add a touch of indulgence to your daily routine. But did you know you can easily make your own version at home with natural ingredients?

Whether you’re whipping up a batch for a self-care stash, gifts for friends, or a cheeky couples’ night in, this DIY massage bar recipe is simple, budget-friendly, and completely customizable.

Let’s dive into making your very own Lush massage bar dupe—complete with skin-loving butters, essential oils, and that melt-on-contact magic.

Why You’ll Love This DIY Massage Bar

Forget flimsy lotion—this bar means business. Once you glide it across your skin, it begins to melt just slightly, releasing nourishing oils and soothing scents. No mess, no pump, no preservatives. Just pure, skin-friendly ingredients that feel like a mini spa experience.

It’s:

  • Perfect for dry, mature skin (hello elbows and heels!)

  • Travel-friendly and non-leaky

  • Great for couples’ massage or bedtime rituals

  • Free from synthetic additives or preservatives

Key Ingredients for That “Lush” Feel

Here’s what gives this DIY bar its silky, spa-like texture:

  • Cocoa Butter: The backbone of your massage bar—firm at room temp, but melts at body temperature.

  • Shea Butter: Adds creaminess and deep nourishment, especially for dry or sensitive skin.

  • Beeswax (or vegan wax alternative): Helps the bar hold its shape and adds a protective layer on the skin.

  • Sweet Almond Oil or Jojoba Oil: Lightweight carrier oils that soak in beautifully.

  • Essential Oils: Choose relaxing lavender, sensual ylang-ylang, calming chamomile, or zingy peppermint—whatever suits your mood.

  • Optional: Rose petals, gold mica, or dried herbs for a visual wow-factor.

DIY Lush Massage Bar Recipe

Makes 3–4 small bars or 1–2 large ones depending on mold size.

Ingredients:

  • ¼ cup cocoa butter

  • ¼ cup shea butter

  • 2 tbsp beeswax

  • 2 tbsp sweet almond oil (or jojoba oil)

  • 15–20 drops of essential oil (I love lavender + orange for a relaxing mix)

  • Optional: a pinch of shimmer mica powder or dried petals

Tools:

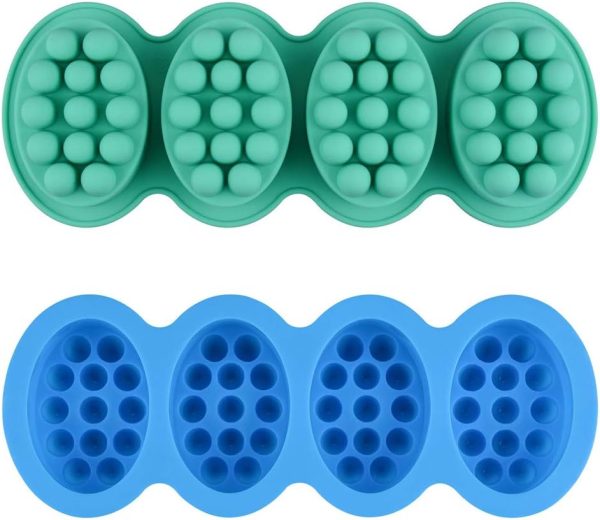
  • Silicone mold or ice cube tray

  • Heat-safe measuring cup or bowl

  • Double boiler or saucepan method

  • Stirring spoon or skewer

Instructions:

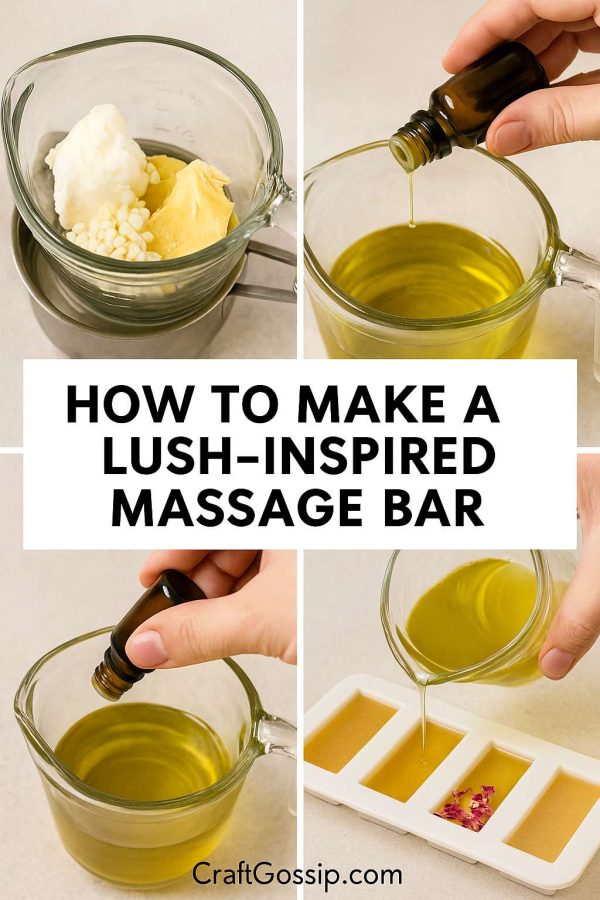
  1. Melt the base ingredients
    In a double boiler or heat-safe bowl over simmering water, combine cocoa butter, shea butter, beeswax, and sweet almond oil. Stir occasionally until completely melted and smooth.
  2. Remove from heat and add fragrance
    Take the mixture off the heat and let it cool for about 1–2 minutes (you don’t want to burn off the essential oils). Add your essential oils and mica or petals now. Stir well.
  3. Pour into molds
    Carefully pour the mixture into your silicone molds. If you’re using petals or herbs, sprinkle them in the mold first for a pretty top layer.
  4. Let set completely
    Allow the bars to cool and harden at room temperature for a few hours, or pop them into the fridge for faster setting.
  5. Pop out and store
    Once fully set, pop the bars out and store in a cool, dry place in a tin or glass jar.

How to Use Your Massage Bar

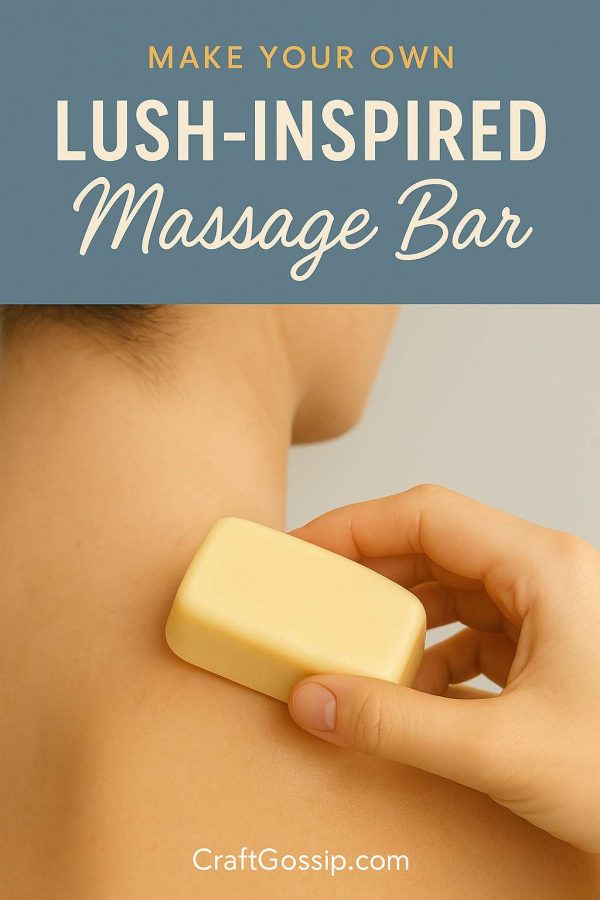
Hold the bar in your hands until it starts to melt just a little. Then glide it directly over skin—or warm it up first in your palms. Use after a shower, during a massage, or even on dry winter hands and feet before bed. A little goes a long way!

Pro tip: Keep one in your bedside drawer and another in the bathroom for everyday use.


Make It Your Own

Once you’ve made one batch, it’s hard to stop. Try these variations:

  • Calming: Chamomile + vanilla essential oil with calendula petals

  • Energizing: Citrus blend with grapefruit, bergamot + peppermint

  • Romantic: Rose absolute + ylang-ylang with dried rosebuds

You can even experiment with adding CBD oil (up to ½ tsp per batch) for a luxe therapeutic effect—just make sure it’s body-safe and legal in your area.

Once you try this Lush massage bar dupe, you’ll wonder why you ever paid retail prices. Not only are these homemade bars more affordable, but they’re also kinder to your skin—and the planet. With zero packaging waste and total ingredient control, it’s a DIY win all around.

Whether you’re soothing sore muscles, winding down for the night, or sneaking in a little self-care between loads of laundry, this bar delivers spa-day energy in the palm of your hand.


Leave a Reply

Your email address will not be published. Required fields are marked *

RSS More Articles

  • Crow Cross Stitch Patterns
  • Free Crochet Pattern – Ingrid
  • How to Watercolor on Black Cardstock for a Floral Card
  • DIY Teddy Bear Pattern: A Cuddly and Customizable Project for All Ages
  • Knit a Blanket with the Texture of a Ceiling
  • 20 FREE Camping Quotes Die Cut and Printable Files
  • Book Review: Super Fun Math Games for Kids
  • IWAS Upcycled Drinking Glasses
  • Free Crochet Strawberry Ribbon Scrunchie Pattern
  • DIY Metal Clay: How to Make Your Own Silver and Copper Clay at Home

Categories

Bath And Body bath bombs Body Scrubs & Lotions Colds & Flu CraftGossip Exclusive Craft Inspirations detox DIY Recipes And Tutorials DIY Tutorials and Patterns Essential Oils And Aromatherapy facials Hair Care Makeup & Beauty Melt & Pour Soap Packaging Product Reviews Soapmaking Recipes, Products And Tutorials Style Me Quick Supply Store Specials & Discounts Wellbeing

Copyright © 2025 · CraftGossip | Start Here | Contact Us | Link to Us | Your Editors | Privacy and affiliate policy