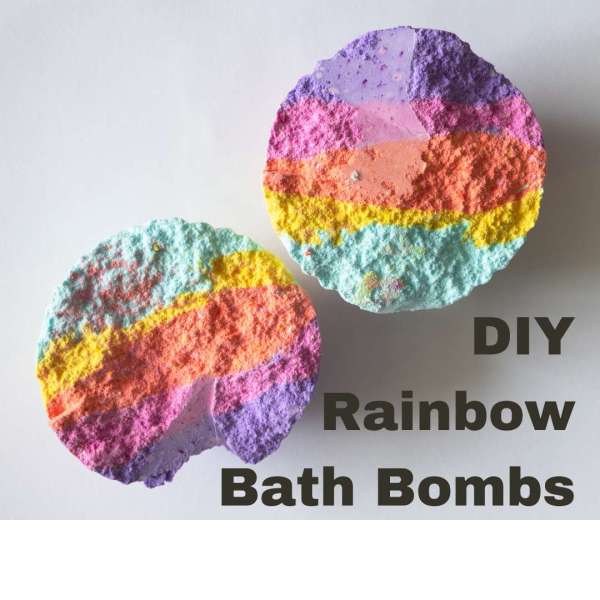
Bathing has always been a luxurious way to unwind and relax, and what better way to elevate your self-care routine than with a splash of color and a touch of creativity? Rainbow bath bombs are not only visually captivating but also turn your bath into a mesmerizing, multi-hued oasis. In this comprehensive tutorial, we will guide you through the step-by-step process of crafting your very own rainbow bath bombs that will transform your ordinary bath into an extraordinary and vibrant experience.
Ingredients:
- 1 cup baking soda
- 1/2 cup citric acid

- 1/2 cup Epsom salt
- 1/2 cup cornstarch
- 2 1/2 tablespoons coconut oil (or other carrier oil)
- 1 teaspoon water
- Essential oils of your choice (for scent)
- Natural colorants (various colors for the rainbow)
- Bath bomb molds (half-sphere molds)
- Spray bottle with water


Instructions:
1. Prepare Your Workstation:
- Clear a clean and dry workspace for making your bath bombs.
- Gather all ingredients and tools to have them within easy reach.
2. Combine Dry Ingredients:
- In a mixing bowl, add baking soda, citric acid, Epsom salt, and cornstarch.
- Thoroughly mix the dry ingredients using a whisk or spoon to break up any clumps.
3. Mix Wet Ingredients:
- In a separate small bowl, combine coconut oil, water, a few drops of essential oil for scent, and your chosen natural colorant. Mix well.
4. Gradually Add Wet Ingredients:
- Slowly add the wet mixture to the dry ingredients. Mix continuously as you add to prevent fizzing.
- The mixture should hold together when you press it between your fingers. It should be slightly damp but not overly wet.
5. Assemble the Rainbow:
- Divide the mixture into as many portions as you have colors for your rainbow. The number of colors depends on your preference.
- Add a different natural colorant to each portion and knead it into the mixture until the color is evenly distributed.
6. Fill the Molds:
- Begin by pressing a small amount of one color into one half of a bath bomb mold.
- Press another color on top of the first layer, and continue layering with the remaining colors.
7. Assemble the Bath Bomb:
- Overfill one half of the bath bomb mold with the layered mixture.
- Lightly pack the other half of the mold with the mixture as well.
8. Press and Release:
- Press the two halves of the mold together firmly, then gently twist to release the bath bomb.
- If the halves don’t stick together, you can lightly spray the mixture with water to help them adhere.
9. Dry the Bath Bombs:
- Place the formed bath bombs on a clean, dry surface to air dry and harden. This usually takes 24-48 hours.
10. Enjoy Your Rainbow Bath Bombs:
- Once the bath bombs are dry and firm, they’re ready to use!
- To use, simply drop one into a warm bath and watch it fizz and release its vibrant colors and soothing scents.
Tips:
- Experiment with different essential oil blends to create unique scents for your rainbow bath bombs.
- When using natural colorants, remember that some may fade over time or react differently in the bath. It’s recommended to test your colorants beforehand.
- Handle the bath bombs gently to prevent them from cracking before they’ve fully dried.
- If your mixture becomes too dry and crumbly, you can spritz it with water to bring it back to a moldable consistency.
Creating rainbow bath bombs can be a fun and creative activity. Customize the colors, scents, and even shapes to make your bath bombs truly unique. Enjoy the colorful and aromatic experience they bring to your bath time!
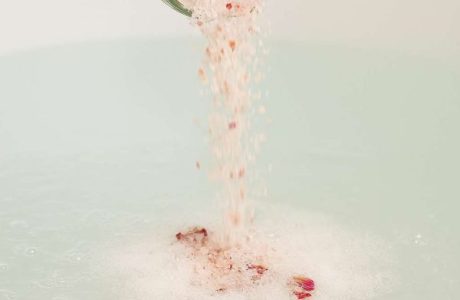
Recipe for Pink Himalayan Salt Bath Bombs


Leave a Reply