• Home
  • Suggest A DIY
  • DIY Newsletter

Bath and Body

Soap Making, Oils and Recipes

  • About CraftGossip
  • Our Network
    • Bath & Body Crafts
    • Candle Making Ideas
    • Crochet Ideas
    • Cross Stitch
    • Edible Crafts
    • Felting Patterns
    • Glass Art
    • Home & Garden Ideas
    • Indie Crafts
    • Jewelry Making
    • Kids Crafts
    • Knitting Patterns
    • Lesson Plans
    • Needlework
    • Party Ideas
    • Polymer Clay
    • Quilting Ideas
    • Recycled Crafts
    • Scrapbooking
    • Sewing Patterns
    • Card Making
    • DIY Weddings
    • Not Craft Ideas
  • Giveaways
  • Roundups
  • Store
  • Search

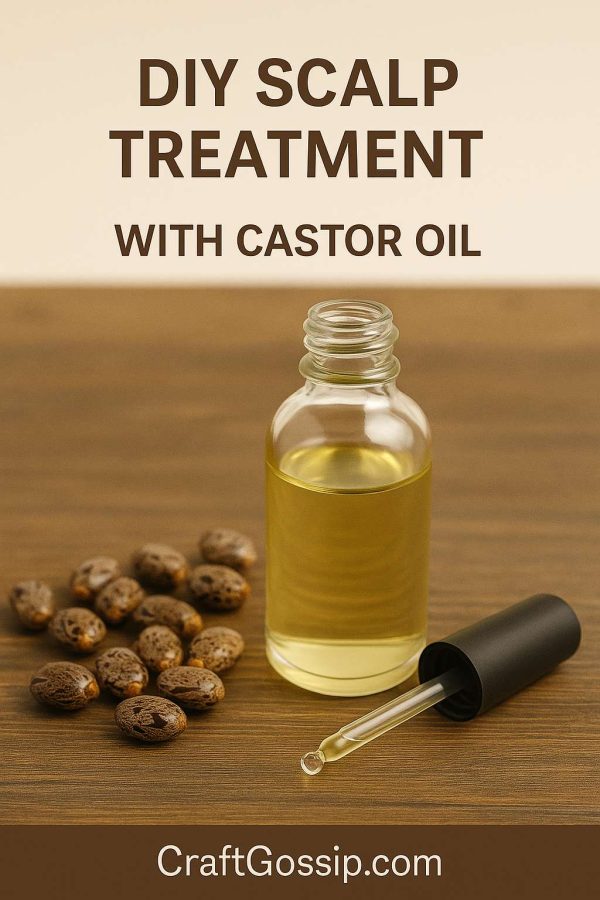
Castor Oil Scalp Treatment for Dryness and Hair Growth

January 7, 2026 by Shellie Wilson Leave a Comment

Dry, itchy, flaky scalp. Sound familiar? Mine flared up every change of season—or after stress (aka teenage exam weeks)—and I’d tried all sorts of store-bought “miracles” that left me smelling like menthol and still scratching my head.

Then I gave castor oil a chance. It’s thick, yes—but it’s also deeply hydrating, soothing, and packed with nutrients your scalp actually needs. When you combine it with lighter oils to help it sink in, you’ve got a salon-style scalp rescue for the price of a takeaway coffee.

This is the treatment I use on quiet Sundays while pottering around the house with a messy bun and a podcast playing. My scalp always thanks me.

What You’ll Need:

  • 2 tbsp castor oil

  • 1 tbsp jojoba oil or sweet almond oil (to help spread the castor oil)

  • 3 drops tea tree or rosemary essential oil (optional, for scalp support)

  • Dropper bottle or small dish for mixing

Instructions:

  1. Mix all ingredients in a small bowl or bottle.

  2. Warm the oil blend slightly (10 seconds in microwave or rub bottle between your hands).

  3. Part your hair in sections and use a dropper or fingertips to apply directly to the scalp.

  4. Massage in small circular motions for 5 minutes—this increases circulation and relaxes tension.

  5. Leave on for at least 30 minutes (or overnight under a towel or shower cap).

  6. Rinse out with warm water and double shampoo. Condition if needed.

How Often:

  • Once a week for dry scalp or growth goals

  • Twice a month for maintenance

Benefits:

  • Moisturizes: The rich fatty acids in castor oil soothe dry, itchy patches.

  • Stimulates: Massaging with rosemary oil boosts circulation to the scalp.

  • Balances: Jojoba mimics your scalp’s natural sebum, helping restore balance.

Bonus Mum Tip:

Got teens with dry scalps from too much dry shampoo? This is gentle enough for them too—just test first and use minimal essential oils.

 

«
»

Have you read?

Make Your Own Sea Moss Gel

Make Your Own Sea Moss Gel is one of those projects that sits somewhere between kitchen DIY, wellness trend, and “I saw this everywhere online so now I need to know what the fuss is about.” The tutorial keeps it very simple, which I actually think is part of the appeal. You only need sea moss, water, and a blender, then you soak it, blend it smooth, and store the finished gel in the fridge.

What I like about this one is that it doesn’t make the process sound intimidating. Some health-focused DIYs can feel like you need a pantry full of powders, tinctures, and equipment you’ll use once before it joins the graveyard of abandoned wellness hobbies. This project is refreshingly straightforward. The sea moss is soaked in filtered water for about 48 hours until it softens and expands, then it gets blended with about 1 cup of filtered water until smooth. The post also notes that a high-power blender helps avoid a grainy texture.

The finished gel can be kept in a sealed container in the fridge for up to 4 weeks, and the article suggests using it in smoothies, oatmeal, face masks, soaps, pudding, and jam. That versatility is probably why sea moss has become such a talked-about ingredient lately. It is one of those DIYs that makes you feel very organized and wholesome, even if your kitchen bench still has three coffee cups on it and a mystery Tupperware lid with no matching container.

The post also leans into the popular health angle, describing sea moss as Irish moss or Chondrus crispus and highlighting nutrients plus possible benefits related to immune support, thyroid support, digestion, skin, hair, and heart health. I think that’s where a little real-life balance helps. I enjoy projects like this most when I treat them as a useful homemade staple rather than a miracle cure in a jar. That mindset feels especially relatable in perimenopause, when you can suddenly find yourself trying all sorts of things for energy, skin, bloating, or just a general sense of “could my body please calm down for five minutes.”

I also like that the article goes beyond the basic gel and includes extra ideas like a creamy sea moss smoothie, a sea moss facial mask, and an acne spot treatment gel. That makes the project feel more practical because you are not left wondering what to do with a jar of beige gel once the novelty wears off.


Leave a Reply

Your email address will not be published. Required fields are marked *

RSS More Articles

  • Stitch a Banjo Playing Opossum Because Why Not?
  • Knit an Easy Lacy Top for Summer
  • How to Make an Interactive Santa Tiered Wiper Card – Christmas in July
  • How to Separate Embroidery Floss Without Making a Tangled Mess
  • Creating and Using a Prefelt – Tutorial by Spry Whimsy Fiber Arts
  • Craft Fair vs Etsy: Where Beginners Actually Make Their First Sales
  • Get Ready for Back to School with Routine Printables
  • Knit a Trusty Troll for a Kid, Or Yourself
  • How To Make A DIY Bench From Two Old Chairs
  • 12 Free Treble Crochet Patterns That Practise One Main Stitch

Copyright © 2026 · CraftGossip | Start Here | Contact Us | Link to Us | Your Editors | Privacy and affiliate policy