There’s something deeply satisfying about creating something with your own hands, especially when it comes to skincare products. Making your own soap not only allows you to customize the fragrance and texture to your liking but also gives you full control over the ingredients you use. This is particularly important if you have sensitive skin or are concerned about the harsh chemicals and synthetic fragrances often found in commercial soap.
One of the most popular scents in soap-making is lavender, which is prized for its calming and soothing properties. Lavender essential oil is known to promote relaxation, reduce stress, and improve sleep quality, making it a great addition to your self-care routine.
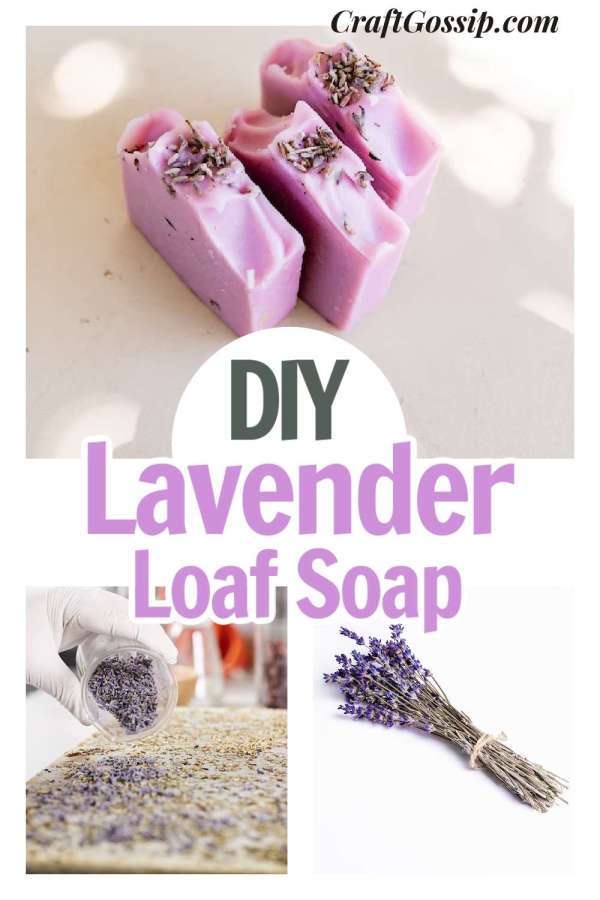
In this recipe, I will guide you through the process of making your own DIY Lavender Loaf Soap. This soap is gentle, moisturizing, and has a lovely lavender scent that will help you unwind after a long day. With just a few simple ingredients and some basic equipment, you can create a luxurious bar of soap that will leave your skin feeling soft, smooth, and nourished. So let’s get started and bring some lavender-infused relaxation to your daily shower routine!
Ingredients:
2 lbs of melt-and-pour soap base (shea butter or goat’s milk work well)
2 tablespoons of dried lavender buds
1 tablespoon of lavender essential oil
Loaf Soap mold
Rubbing alcohol in a spray bottle
Directions:
Prepare your ingredients and equipment
Gather all of your ingredients and equipment before you start. You will need a large microwavable bowl, a spatula or spoon for mixing, a soap mold, and a spray bottle filled with rubbing alcohol.
Melt the soap base
Cut the soap base into small chunks and place them in a large microwavable bowl. Melt the soap base in the microwave in 30-second increments, stirring in between until it is completely melted.
Add lavender buds and essential oil
Once the soap base is melted, add 2 tablespoons of dried lavender buds and 1 tablespoon of lavender essential oil. Mix well to ensure that the lavender is evenly distributed throughout the soap base.
Pour the soap into the mold
Carefully pour the soap mixture into the soap mold. You can tap the mold gently to release any air bubbles. Let the soap cool and harden for at least 1 hour.
Remove the soap from the mold
Once the soap has hardened, gently remove it from the mold. You may need to wiggle the mold back and forth to loosen the soap. If the soap is stuck, you can place the mold in the freezer for a few minutes to help release the soap.
Cut the soap into bars
Using a sharp knife, cut the soap into bars of your desired size. You can trim any rough edges with a vegetable peeler or knife.
Let the soap cure
Place the bars of soap on a drying rack or parchment paper and let them cure for at least 2 weeks. This allows the soap to harden and become milder for use.
Wrap and store the soap
Once the soap is fully cured, wrap it in parchment paper, tissue paper or plastic wrap. Store the soap in a cool, dry place until ready to use.
Tips:
Be careful when melting the soap base in the microwave as it can become very hot.
You can use silicone molds for more intricate shapes or designs.
To make the soap more colorful, add a few drops of purple or blue soap dye to the melted soap base.
Experiment with different scents and ingredients, such as peppermint oil, rose petals, or oatmeal, to create your own unique soap.
For a more rustic look, leave some of the lavender buds visible on the soap.
Making your own soap is a fun and creative way to pamper yourself and your loved ones. This DIY Lavender Loaf Soap is not only easy to make, but also makes a thoughtful and personalized gift for any occasion.
10 Relaxing Lavender Bath And Body Recipes You Can Make At Home
Lavender and Ylang Ylang Bath Syrup


Leave a Reply