• Home
  • Suggest A DIY
  • DIY Newsletter

Bath and Body

Soap Making, Oils and Recipes

  • About CraftGossip
  • Our Network
    • Bath & Body Crafts
    • Candle Making Ideas
    • Crochet Ideas
    • Cross Stitch
    • Edible Crafts
    • Felting Patterns
    • Glass Art
    • Home & Garden Ideas
    • Indie Crafts
    • Jewelry Making
    • Kids Crafts
    • Knitting Patterns
    • Lesson Plans
    • Needlework
    • Party Ideas
    • Polymer Clay
    • Quilting Ideas
    • Recycled Crafts
    • Scrapbooking
    • Sewing Patterns
    • Card Making
    • DIY Weddings
    • Not Craft Ideas
  • Giveaways
  • Roundups
  • Store
  • Search

DIY Lemon Poppyseed Melt and Pour Soap Recipe

April 20, 2019 by Shellie Wilson Leave a Comment

This DIY soap making tutorial is for Glycerine Melt and Pour soap base.  This soap tutorial is so easy to make that the kids and teens can jump in and help. Handmade soaps are a fun science led craft that the kids will enjoy. This soap making tutorial shows you how to make one of the easiest soap recipes around.

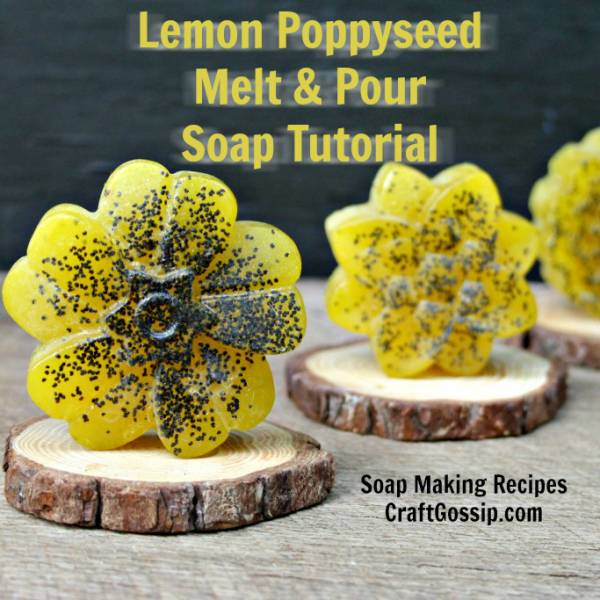
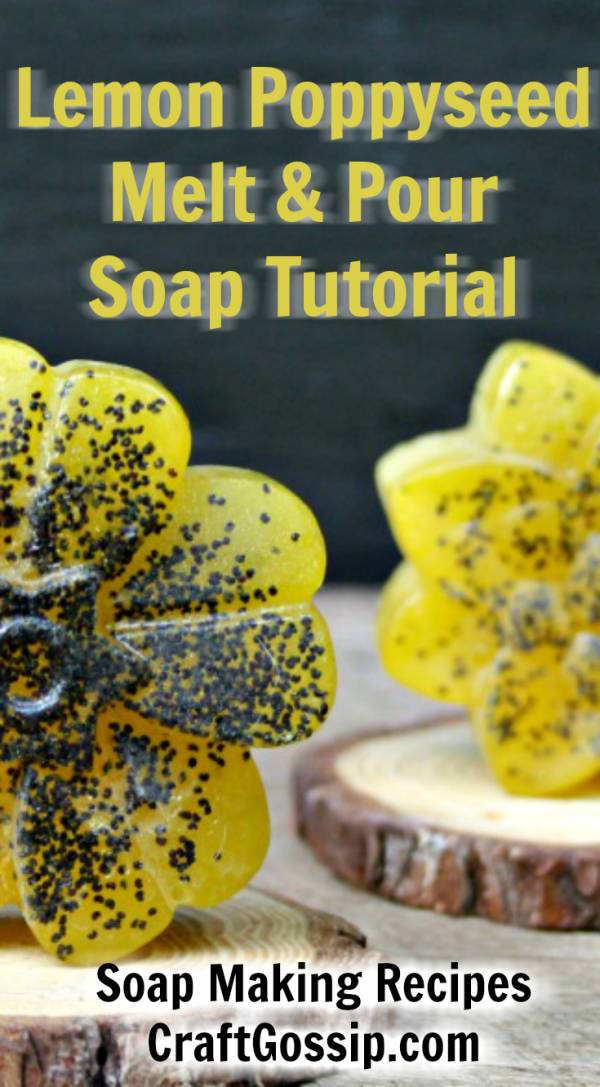
Lemon Poppy Seed Essential Oils Soap Recipe

Ingredients:
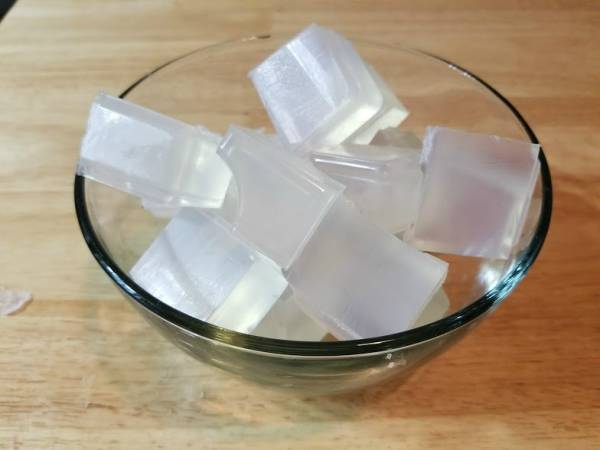
1/2 pound of clear glycerin soap base
1/4 cup coconut oil
1 tablespoon sweet almond oil
3-4 drops of argan oil (you can also use Vitamin E oil)
1/4 cup poppy seeds
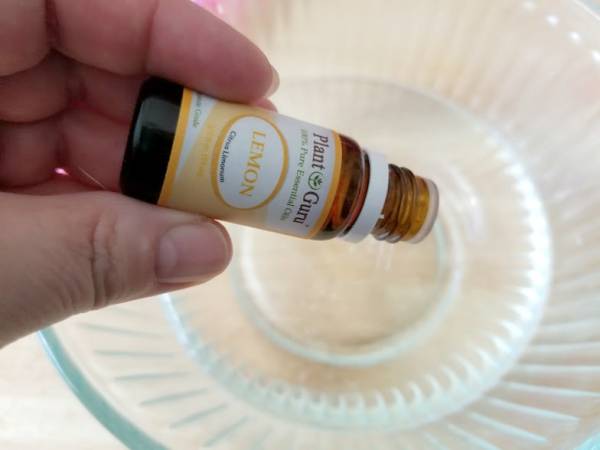
15-20 drops of lemon essential oil
Soap coloring
Spray bottle of rubbing alcohol
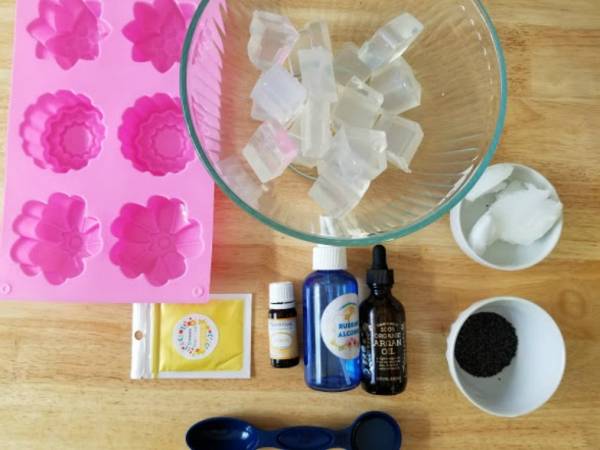
Soap Mold
Instructions:
Step 1: Place soap base in microwave and melt in 30 second intervals until melted

Step 2: Add coconut oil


Step 3: Add sweet almond oil


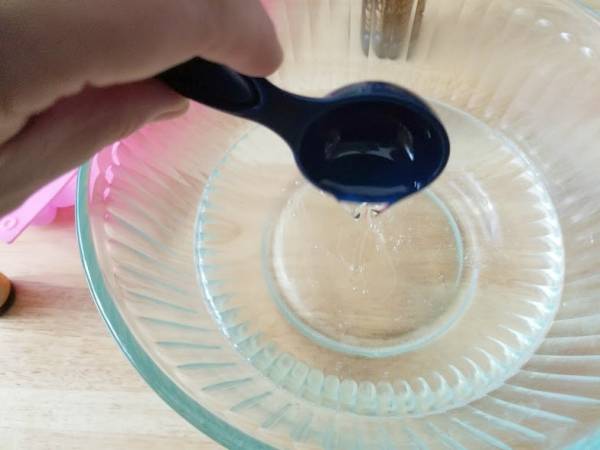
Step 4: Add argan oil


Step 5: Add lemon essential oils which help with problem skin, acne and oily skin types. Lemon oil is a natural antibacterial agent.


Step 6: Add poppy seeds


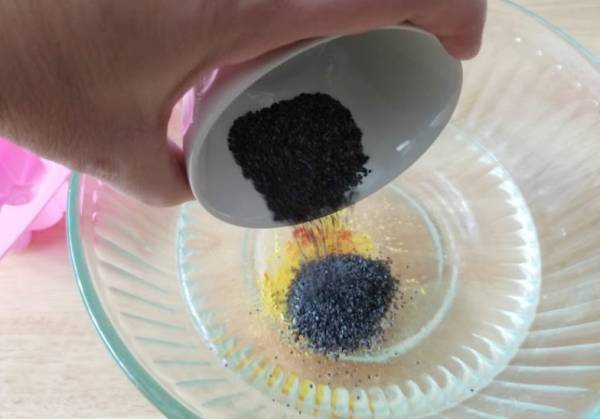
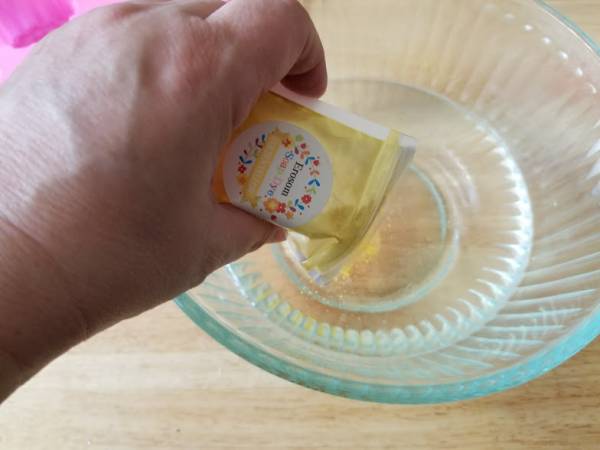
Step 7: Add soap coloring

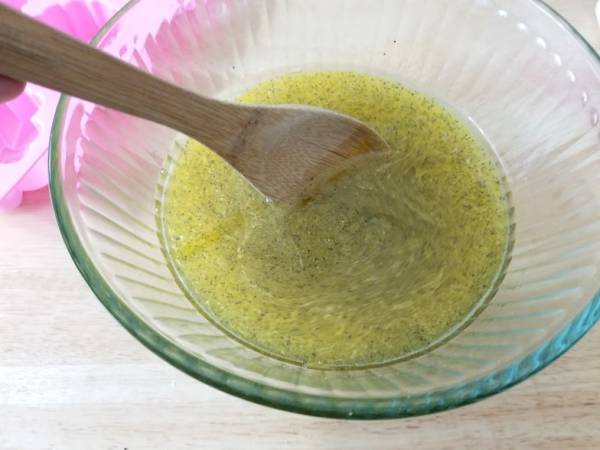
Step 8: Mix everything together


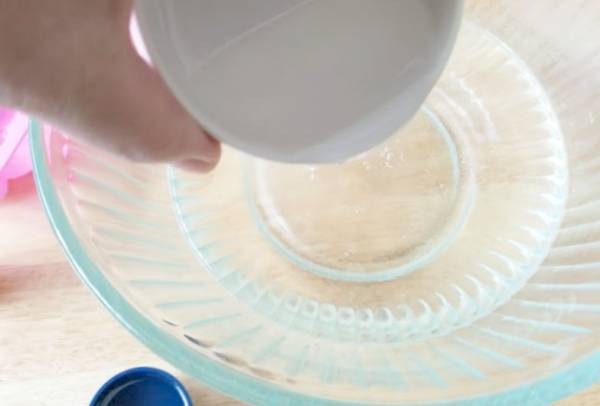
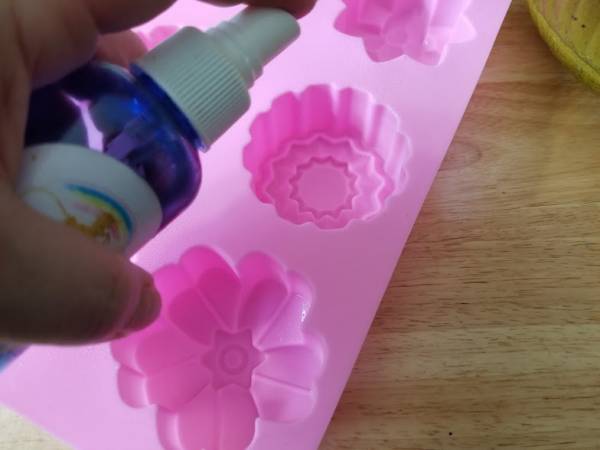
Step 9: Spray rubbing alcohol in bottom of mold


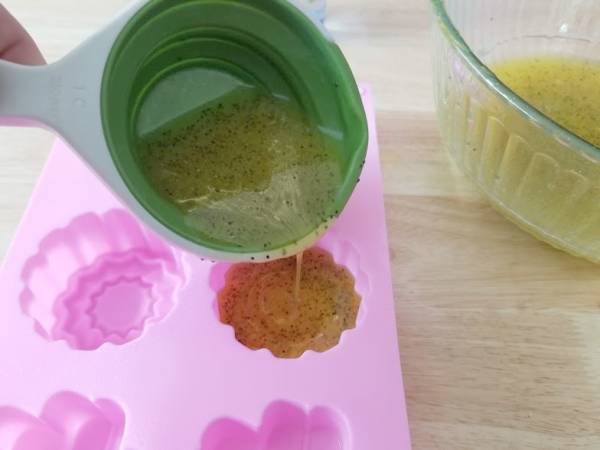
Step 10: Pour soap mixture into mold.

Allow to harden for at least two hours and store in an air tight container


Related Posts:

  • DIY Makeup Remover Recipes For Every Skin Type
  • Beginner’s Melt and Pour Soap Recipe with Essential…
«
»

Have you read?

DIY Sore Muscle Relief Balm with Essential Oils – Natural Comfort in a Jar

When your back’s tight, your shoulders are screaming, and even stretching feels like too much effort—sometimes, you just need a little help in a jar.

Enter this soothing DIY Sore Muscle Relief Balm. It’s warming, nourishing, and infused with essential oils known for easing tension and boosting circulation. Whether you’re dealing with post-gardening aches, a long day on your feet, or that stubborn neck kink from sleeping funny (again), this balm is a natural way to say goodbye to muscle misery.

I keep a tin of this on my bedside table and another in the kitchen drawer. It’s a go-to remedy in our house for everything from growing pains to post-walk stiffness—and trust me, with a big dog like Aloo dragging me around, I know sore calves!

Why Make Your Own Muscle Balm?

Commercial rubs often contain synthetic fragrances, petroleum byproducts, or ingredients that can be too harsh on sensitive skin. When you make your own, you’re in full control—and it doesn’t have to be complicated or time-consuming.

This DIY balm is:

  • Petroleum-free and non-toxic 
  • Packed with anti-inflammatory oils 
  • Warming without the burn 
  • Gentle on sensitive or mature skin 
  • Perfect for gifting 

Ingredients You’ll Need

Base Oils & Butters:

  • ¼ cup shea butter – rich in vitamins and helps deeply hydrate skin 
  • 2 tbsp beeswax pellets – thickens the balm and adds a protective barrier 
  • ¼ cup coconut oil – light carrier oil with natural anti-inflammatory properties 
  • 2 tbsp magnesium oil (optional but recommended for extra relief) 

Essential Oils Blend:

  • 10 drops peppermint essential oil – cooling and refreshing 
  • 8 drops eucalyptus essential oil – helps reduce inflammation 
  • 6 drops rosemary essential oil – boosts circulation 
  • 5 drops lavender essential oil – calming and soothing 
  • 4 drops ginger essential oil – gentle warming effect (skip if sensitive to heat) 

Note: Always do a patch test before slathering it on.

How to Make It – Step-by-Step

  1. Melt Your Base
    In a double boiler (or a heat-safe bowl over simmering water), melt together the shea butter, beeswax, and coconut oil until fully liquified. 
  2. Add Magnesium Oil (Optional)
    Remove from heat and stir in magnesium oil if using. This may cause some bubbling—that’s normal! 
  3. Cool Slightly
    Let the mixture cool for a couple of minutes. You want it warm but not hot to avoid damaging the essential oils. 
  4. Stir in Essential Oils
    Add your essential oils and mix thoroughly with a wooden stick or glass stirrer. 
  5. Pour into Tins or Jars
    Carefully pour the balm intometal balm tins or glass jars. Let cool uncovered until set. 
  6. Label & Store
    Store in a cool place away from direct sunlight. It should last 6–12 months. 

How to Use Your Homemade Muscle Rub

  • Massage a small amount into sore muscles after a shower or bath. 
  • Use it before bed to help loosen tight areas and promote deeper sleep. 
  • Rub into feet and calves after long days of standing or walking. 
  • Warm it between your hands for easier spreading on cold days. 

Bonus tip: Rub a bit onto temples and neck during tension headaches—peppermint works wonders.

Customize Your Balm

Want to make it your own? Here are a few add-ins:

  • Arnica oil – great for bruises and swelling 
  • Cayenne pepper oil – for extra heat (only a drop or two!) 
  • Menthol crystals – adds a deep cooling sensation, use sparingly 
  • Comfrey-infused oil – old-school remedy for joint pain and strains 

Gift It!

This balm makes a thoughtful gift for:

  • Gym-goers 
  • Gardeners 
  • Grandparents 
  • Stressed-out teachers 
  • Care packages for new mums or anyone in recovery 

Pair it with a cozy pair of socks or a DIY rice heat pack for a full self-care bundle.

Making your own sore muscle balm isn’t just about saving money or going natural—it’s about putting a little love and intention into your self-care. This balm smells divine, feels luxurious, and actually works. No mystery ingredients. No overpriced tubes. Just natural, handmade relief whenever you need it.


Leave a Reply

Your email address will not be published. Required fields are marked *

RSS More Articles

  • Book Review: Better Homes and Gardens Flea Market Decorating
  • DIY Backyard Water Play Ideas To Keep Kids Cool All Summer
  • Book Review Wednesday: The Complete Guide to Trinket Dishes for Beginners
  • How to Embroider on Canvas Shoes for a Custom Look
  • 12 Unique Borders for Scrapbook Layouts
  • Book Review: Wild Your World
  • Knit a Stunning Bestiary Scarf
  • Quick Quilting Projects for the 4th of July
  • Samplers to Cross Stitch for the Fourth of July
  • DIY Flag Banner for 4th of July Decorating

Copyright © 2026 · CraftGossip | Start Here | Contact Us | Link to Us | Your Editors | Privacy and affiliate policy