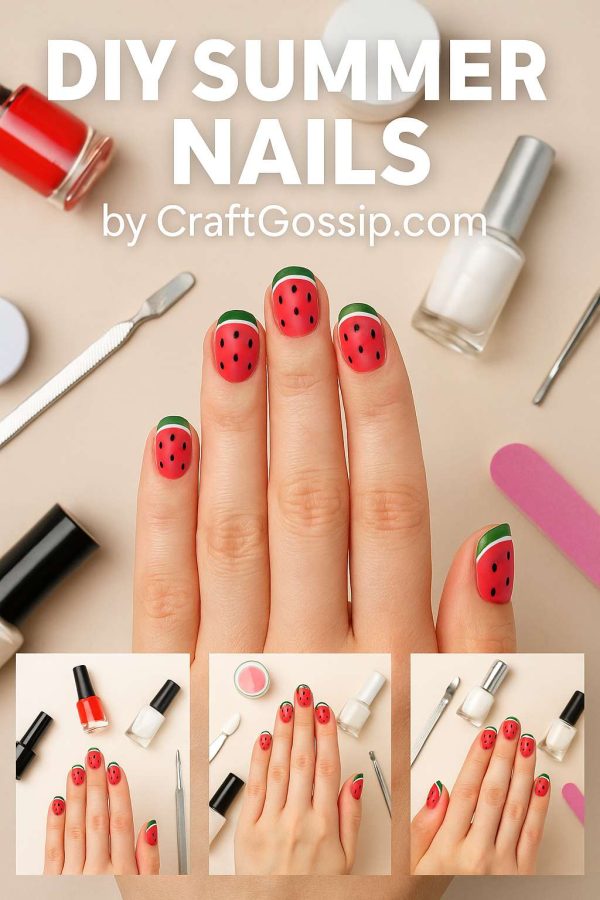
As soon as the weather heats up and the days get longer, I swap out my moody nail colors for something a little more fun, flirty, and full of sunshine. Summer is the perfect excuse to get playful with your nail designs — and this year, I’ve been experimenting at home to find a few favorites that are both easy to paint and seriously cute.
I’ve rounded up three of my go-to summer nail looks that you can totally do yourself, even if you’re not a pro. These are the styles I keep coming back to because they’re fun, eye-catching, and honestly — they just make you feel good. Whether you’re heading to the beach, a backyard BBQ, or just want to admire your nails while holding an iced latte, these are the ones to try.
Let’s dive in!
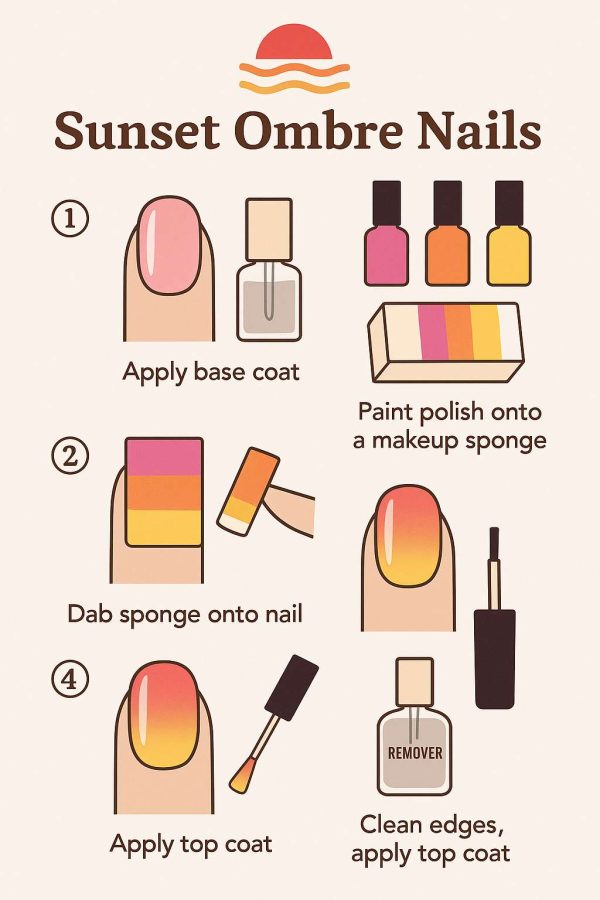
Sunset Ombre Nails
This is hands down one of the most satisfying nail designs you can do yourself. The colors melt into each other like a beach sunset, and the end result looks way more advanced than it really is.
You’ll Need:
A base coat
Three polishes (I use pink, orange, and yellow)
A makeup sponge
Top coat
Nail polish remover for cleanup
How to Do It:
Start with a clear base coat to protect your nails.
Paint horizontal stripes of your 3 colors directly onto the makeup sponge.
Dab the sponge gently onto your nail, reapplying polish to the sponge as needed. Tap until the gradient blends.
Clean up any excess polish around your cuticle.
Apply a top coat to smooth the colors and add shine.
This design is one of those that looks good even when it’s a little messy — the top coat really pulls it all together.
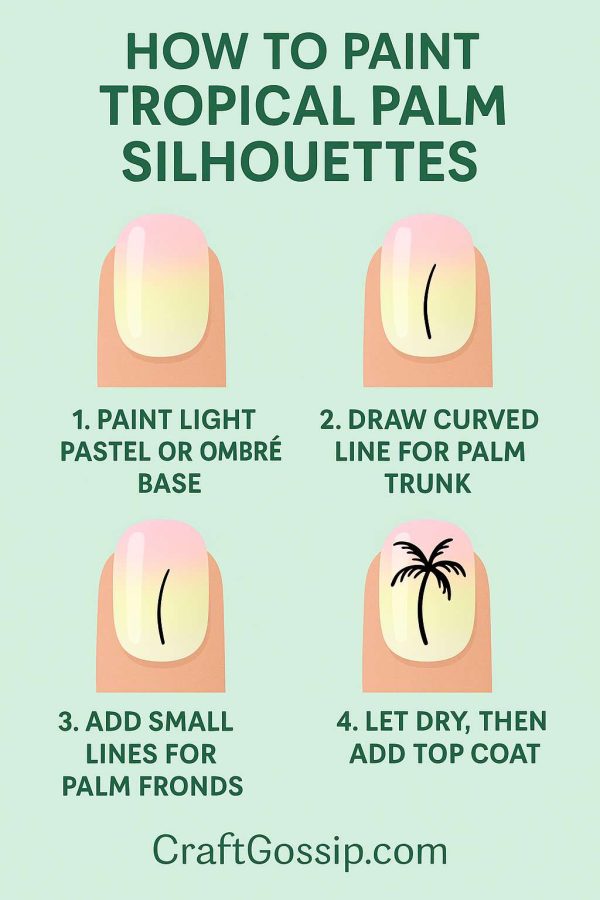
Tropical Palm Silhouettes
If you want vacation vibes without actually going anywhere, this one’s for you. The pastel base paired with simple black palm trees gives it that dreamy island feel.
You’ll Need:
A light pastel base polish or soft gradient background
Black nail art pen or thin brush with black polish
Top coat
How to Do It:
Paint your nails with a soft pastel or ombre base.
Once dry, draw a thin curved line for the palm trunk.
From the top of the trunk, add small lines that fan out to mimic palm fronds.
Let everything dry completely before adding a glossy top coat.
Even if your palm trees aren’t perfect, they still look awesome. Think of it like nail doodling — just more tropical.
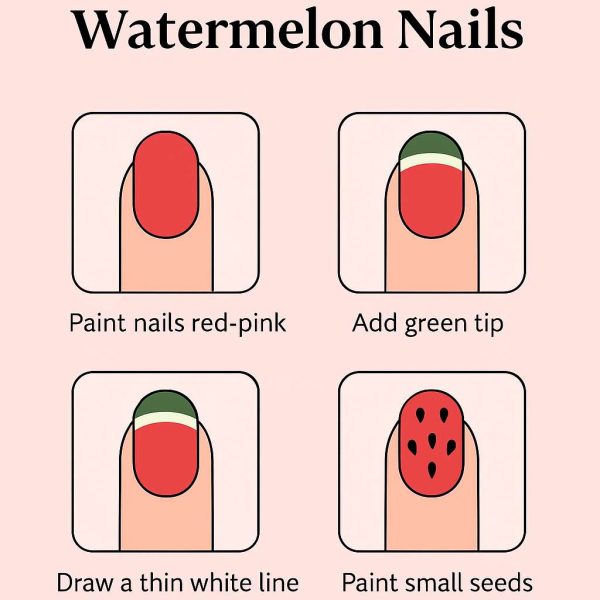
Watermelon French Tips
This design is so cheerful, I smile every time I see it. It’s a fruity twist on a French manicure and it’s perfect for pool parties or picnics.
You’ll Need:
Pink polish for the base
Green and white for the rind
Black polish for the seeds (use a dotting tool or toothpick)
Base and top coat
How to Do It:
Paint your entire nail a soft pink.
Add a green curved tip at the top edge (like a French tip).
Under the green, paint a very thin white stripe.
Add small black dots on the pink section to create seeds.
Seal it all in with your favorite top coat.
This one is such a crowd-pleaser and looks adorable on both long and short nails.
Whether you try one of these or rotate through all three this summer, I hope these nail designs add a little color and creativity to your routine. They’re simple enough to do at home but still look like you spent time (and money!) at the salon.
Let me know which one you’re trying first — and don’t forget to tag us if you share your summer nail look!


Leave a Reply