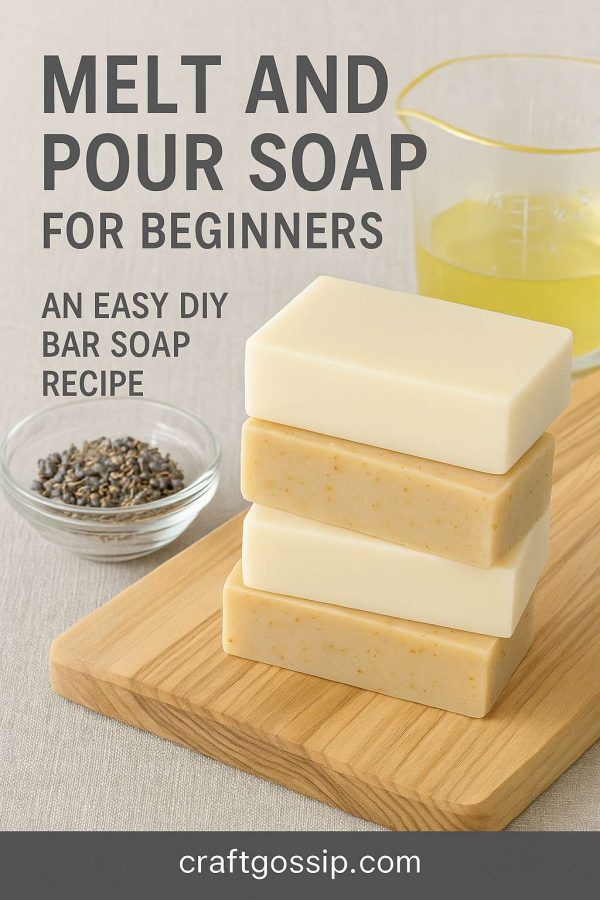
Let’s be real—some days, you want the joy of crafting without the faff. That’s where melt and pour soap comes in. It’s instant gratification with just enough wiggle room to get creative. No lye. No goggles. No curing time. Just melt, pour, and wrap up a batch of pretty, personalized bars.
Melt and pour soap bases come pre-saponified, so you can skip the tricky science bit and dive straight into the fun stuff—colours, swirls, layers, and botanical bits. It’s beginner-friendly, kid-friendly, and perfect for last-minute gifts, party favours, or weekend craft therapy.
What You’ll Need
You can pick up most supplies from your local craft store or online in soap-making kits. Try experimenting with clear and opaque bases to layer colour and texture. For those looking for a quick start, I highly recommend these Soap Making Kits.
Supplies:
- Melt and pour soap base (clear or white)
- Soap-safe essential oils or fragrance oils
- Soap-safe colourants (mica, liquid dyes)
- Add-ins: dried flowers, herbs, oats, clay, loofah
- Silicone soap molds or muffin trays
- Heat-safe jug or double boiler
- Isopropyl alcohol in a spray bottle (to pop bubbles)
Step-by-Step Melt and Pour Instructions
Step 1: Chop and Melt
Cut your soap base into cubes for even melting. Use a microwave-safe jug or double boiler and heat slowly, stirring often to prevent scorching.
Step 2: Customise
Once melted, add your chosen fragrance (generally 0.5–1% of your batch weight) and colourants. Stir gently to avoid introducing bubbles.
Step 3: Pour and Set
Pour into molds. For added wow factor, layer colours or embed items like dried citrus or pressed flowers. Spritz the surface with isopropyl alcohol to remove bubbles.
Let the soap set completely—usually 1–2 hours depending on size. Once firm, unmold and wrap tightly in plastic or cellophane to prevent moisture loss or glycerin dew.
Recipe 1: Lavender & Oat Spa Bar
This bar is calming, classic, and lovely for dry skin.
You’ll need:
- 450g white M&P base
- 10 drops lavender essential oil
- 1 tsp finely ground oats
- 1 tsp dried lavender buds
How to make it:
- Melt base in short bursts, stirring between.
- Add lavender oil, oats, and buds. Stir gently.
- Pour into mold and spray top with alcohol.
- Let harden and unmold.
Recipe 2: Citrus Swirl Glycerin Bar
Zesty and refreshing with a gorgeous two-tone swirl.
You’ll need:
- 450g clear M&P base
- 10 drops sweet orange oil
- 5 drops grapefruit oil
- Orange and yellow mica
- Skewer or chopstick for swirling
How to make it:
- Melt base and divide into two jugs.
- Tint one with orange mica, one with yellow.
- Alternate pours into mold and swirl lightly with a skewer.
- Spray with alcohol and let set.
Advanced Tips for Creative Melt & Pour
- Layering: Let each layer form a thin skin before adding the next to prevent colours bleeding.
- Embeds: Add soap curls, dried loofah slices, or tiny toys for visual interest.
- Transparency: Use clear base to suspend petals, glitter, or fruit peel.
- Packaging: Wrap each bar tightly in cling film or shrink wrap to preserve freshness and visual appeal.

Leave a Reply