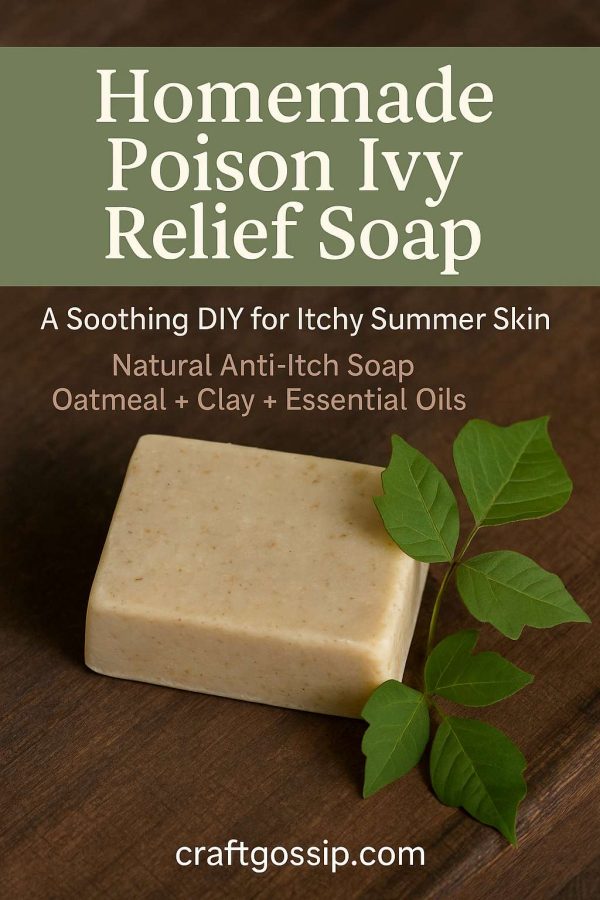
If you’ve ever had a run-in with poison ivy, oak, or sumac, you know that itch is no joke. It’s the kind of relentless irritation that makes you want to scrub your skin raw—except that’s the worst thing you can do. What you need is a gentle, calming cleanser that helps draw out the irritant oils and soothe the inflamed skin. Enter: this handmade poison ivy relief soap.
This DIY soap is packed with skin-calming ingredients like colloidal oatmeal, bentonite clay, and essential oils that offer anti-inflammatory and cleansing properties. It’s easy to whip up and a total summer lifesaver—perfect to keep on hand for camping trips, gardening days, or curious little explorers.
Why Make Your Own Poison Ivy Soap?
Store-bought poison ivy soaps can be harsh, overpriced, or full of questionable ingredients. Making your own lets you control every soothing, nourishing element that touches your skin. Plus, it’s a satisfying little project that can double as a thoughtful gift for the outdoor lovers in your life.
Ingredients You’ll Need
- 1 lb melt-and-pour glycerin soap base (choose a clear or shea butter base for extra skin comfort)
- 2 tablespoons finely ground oatmeal (colloidal oatmeal is best, but you can grind your own)
- 1 tablespoon bentonite clay (helps draw out urushiol, the oil from poison ivy)
- 10 drops tea tree essential oil (natural antiseptic and anti-inflammatory)
- 10 drops lavender essential oil (soothes skin and calms irritation)
- Optional: a few drops of peppermint essential oil for a light cooling sensation
Equipment
- Microwave-safe bowl or double boiler
- Silicone soap mold
- Wooden skewer or chopstick for stirring
- Spray bottle with rubbing alcohol (to remove bubbles)
Step-by-Step Instructions
Step 1: Melt the Base
Cut your melt-and-pour soap base into small cubes and place it in a microwave-safe bowl. Heat in 30-second bursts, stirring in between, until fully melted. You can also use a double boiler if you prefer.
Step 2: Add the Good Stuff
Once melted, stir in your oatmeal and bentonite clay until smooth. Work quickly, as the soap can start to thicken. Then add your essential oils and give it another good mix.
Step 3: Pour and Set
Pour the soap mixture into your mold. Spritz the top with rubbing alcohol to eliminate bubbles and give your soap a clean finish.
Step 4: Let It Cure (But Just a Bit)
Let the soap sit at room temperature for a few hours until fully hardened. Pop them out of the mold and they’re ready to use! No long curing times needed with melt-and-pour soap.
How to Use
Gently lather the soap over affected skin and rinse with cool water. This won’t stop a rash in its tracks, but it will help reduce itching, cleanse the skin of oils, and give your skin a break from the inflammation spiral.
Use the soap as soon as you suspect contact with poison ivy, and wash clothing and tools too—urushiol can linger for weeks.
Optional Add-Ons
- Calendula petals or chamomile flowers: Add extra anti-inflammatory power.
- Activated charcoal: Great for deeper detox and drawing out oils.
- Neem oil: Has antibacterial properties and adds to the skin-soothing effect.
Storage Tips
Store your finished bars in a cool, dry place away from direct sunlight. I like to keep a couple bars in my camping box, one in the laundry area (for post-yard work scrubs), and another tucked in a muslin bag for gifting.
Making your own poison ivy soap isn’t just about the ingredients—it’s about feeling a little more prepared when nature throws a rashy curveball. This recipe is gentle enough for kids, budget-friendly, and a thoughtful solution for summer skin woes.
Stay itchy-free out there, friends!


I tried this using Kirks Original Castile Soap and it did not work. It would NOT melt..It actually blew up like a balloon and the edges got soft but re-hardened within seconds. I would suggest the melt & pour soap rather than learning the hard way that your soap wont melt.